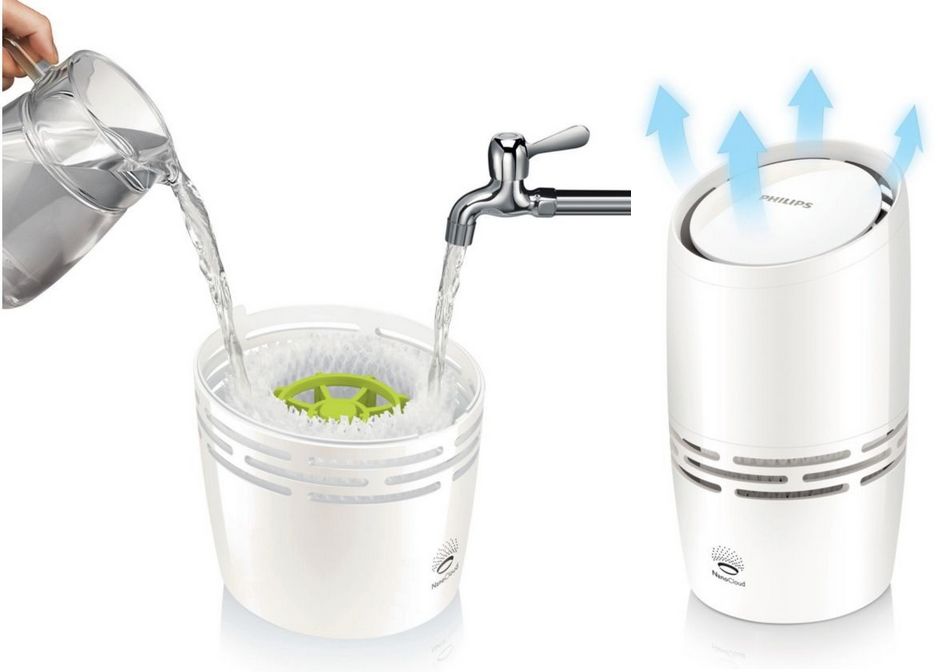
DIY air humidifier
An air humidifier is a device used to create air humidity comfortable for the human body in the range from 40 to 70%. At home, if you have hands on your shoulders and the necessary materials for construction, it is quite possible to assemble a device that is in no way inferior to a purchased analogue.
Air humidifiers are divided into three types based on their operating principle:
- On a cold steam. The principle of operation is as follows: due to the temperature difference between water and air, steam is formed, and the fan on the device promotes the spraying of evaporating water in the room.
- Steam device. The vessel containing the water heats up, and the steam generated by the evaporation of the water leaves the vessel into the room. Such devices have low productivity, so they are not widely used.
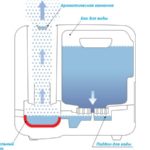
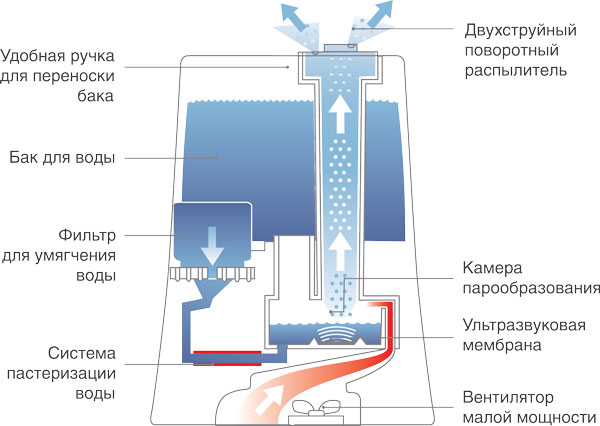
- Ultrasound device - a relatively new invention in which water is converted into steam using ultrasound, after which it is sprayed throughout the room. It is superior in performance to its cold steam counterparts.
The content of the article
- How to create an ultrasonic humidifier at home: diagram and work plan
- How can a homemade air humidifier differ from a purchased one?
- Benefits of DIY humidifiers
- Practical recommendations for making an air humidifier at home with photos
- How to decorate a homemade air humidifier with inexpensive materials
How to create an ultrasonic humidifier at home: diagram and work plan
To assemble the structure you will need:
- ultrasonic transducer;
- computer cooler for processor;
- plastic bottle with a capacity of 5–10 liters;
- plastic cup;
- a ring from a children's pyramid toy;
- 24 V power supply, with converter from 24 to 12 V;
- corrugated plastic pipe;
- aluminum corner.
Attention! To operate a humidifier with a unit converter, pure distillate is used!
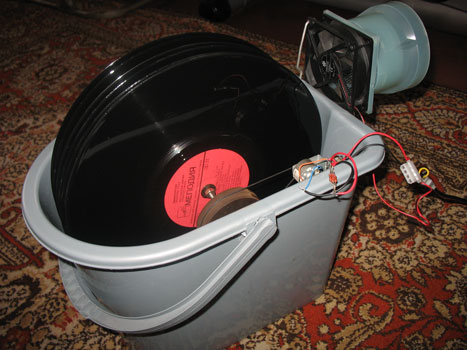
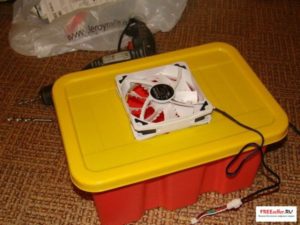
Holes are drilled in the lid of the container using an electric drill for mounting the cooler mount. The steam generator wire, outlet tube and fasteners are inserted into these holes, after which the fan is screwed to the container and a plastic corrugated pipe is inserted.
The steam generator must remain on the surface of the water at all times, for which it is placed in a platform made of a plastic cup. The glass is inserted into the ring from the children's pyramid, a hole is drilled in the bottom of the glass, and a piece of fabric is attached to the bottom using an elastic band. In this case, the fabric is needed as a filter. The steam generator is then inserted into the cup.
The device does not require any special care or maintenance, the only thing is that you need to make sure that there is always water in it.
Important! The humidifier requires 24 volts and the fan requires 12 volts. Therefore, the fan is powered through the stabilizer! It makes sense to use a variable resistor with an adjustment knob for smooth power adjustment, and place the converter chip and the resistor itself under an aluminum corner.
How to make a humidifier with your own hands from a plastic bottle: video recommendations
In general, you can collect a lot of things from plastic bottles. When designing a humidifier, you can go in two ways:
- Make a cut on the side of the bottle along its length, approximately 10X2 cm, in the shape of a rectangular window. The structure is suspended under a straight horizontal section of the heating pipe 10–20 centimeters from it. Water is filled into the bottle. A strip of gauze about 10 cm wide and a meter long is cut out, the end of which is lowered into the cut-window. The gauze is wrapped around the pipe and the process begins. The advantages of the method are the simplicity and low cost of the device, the disadvantage is low productivity due to the direct evaporation of water without spraying.
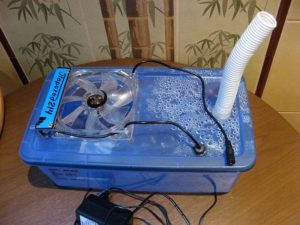
- We cut off the neck of a large, 10–20 liter plastic bottle so that a computer cooler can be attached to it. We attach the cooler, using an old computer power supply we supply 12 volts to it. On the sides of the bottle, approximately 7–10 centimeters from the top, we make holes for air to escape. Pour water just below the level of the holes and attach the cooler to the neck of the bottle using tape. We plug the power supply into the outlet and the device begins to function. The pros are the simplicity and efficiency of the device, the minus is the not very neat design in terms of aesthetics, the need to disconnect the cooler every time when filling the container with water.
How to make a battery-powered humidifier with your own hands
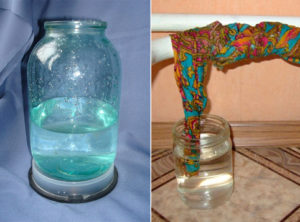 The first option was described above; you can use a plastic bottle, hanging it under the heating pipe. The second way is to place a metal pan, a large iron mug, etc. on the battery. with water of a suitable size so that it does not fall.The method, of course, is not aesthetic, but simple and practical. The bad thing is that scale forms at the bottom of the container, and it is quite difficult to remove it, so you should take a pan that you don’t really mind.
If you want everything to look beautiful and neat, you can take rectangular vessels with water and attach them with a rope (or wire hooks, the main thing is securely) on the front side of the battery. It turns out to be both an air humidifier and a decoration for radiators.
How can a homemade air humidifier differ from a purchased one?
 The differences between home-made devices and store-bought ones is a rather subtle issue in the sense that each hand-made device is unique, it does not have any declared characteristics of power consumption or performance. The humidifier either satisfies the requests and performs its task, or it does not.
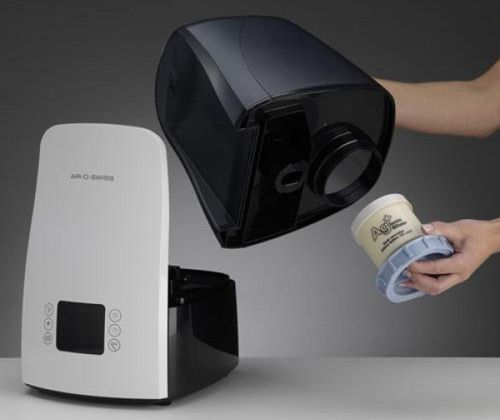
Purchased devices, which are always standard, usually have a neat and attractive design, always have declared power consumption, performance, safety class, and clearly defined dimensions. But all this does not mean that a purchased humidifier is better than a homemade one - it all depends on the specific models and how the homemade device is assembled.
Benefits of DIY humidifiers
 The main advantage of a homemade device is its relative cheapness. Such devices are usually assembled from what was found on the farm. Therefore, their cost tends to zero. In addition, no one limits the design train of thought, and the final parameters of the humidifier depend solely on what materials and elements were used in its manufacture.And finally, all people feel proud of having done something themselves - this increases self-esteem. It is possible to judge which air humidifier is better - homemade or store-bought - only in each specific individual case.
Practical recommendations for making an air humidifier at home with photos
The following recommendations can be given to beginning Kulibins:
- It makes no sense to shell out money to buy components; it’s better to think about what you can use from scrap materials. As Filias Fogg used to say - use what is at hand, and do not look for anything else;
- When assembling and preparing for operation of the humidifier, you should make sure that the contacts of the electrically powered elements are isolated from moisture;
- You should think about the issue of aesthetics - if the device looks very clumsy, then it will irritate the spouse.
How to decorate a homemade air humidifier with inexpensive materials
Colorful containers can be used as decoration; you can line the bottom of the container with sea pebbles, corals, and shells. In principle, an entourage of artificial fish, starfish, and crabs would be suitable. There are a lot of options - there are no restrictions here, the main thing is that it looks nice.

