How to make a washing machine bearing puller with your own hands? Step-by-step instructions from the master
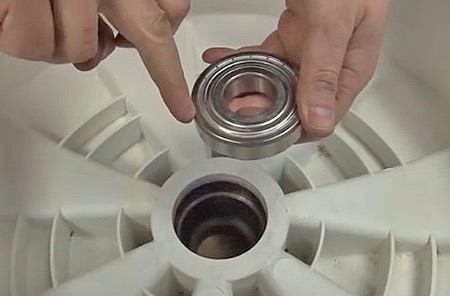
Bearing puller - an integral tool in the repair of washing machines. Purchasing a ready-made puller can be quite expensive, and this tool is not always at hand when you need it. Making a washing machine bearing puller with your own hands is not only saving money, but also an opportunity to create a tool that best suits your tasks.
The content of the article
Required tools and materials
To create a puller, you need to have on hand a metal strip or angle, bolts and nuts, drills of various diameters, a drill or screwdriver, as well as a hammer and screwdriver.
Preparation of structural elements
First measure the dimensions of the bearings. The size of your future puller will depend on this. Next, cut the metal strip or corner to the desired length. The dimensions must correspond to the dimensions of the washing machine bearings. After this, drill holes for the bolts in the metal strip. Position them so that they form the optimal structure for removing the bearings.
Assembly and configuration
Assemble the main structure of the puller using bolts and nuts. Tighten them securely.Depending on the design, it may be necessary to install additional elements, such as special grips or hooks.
Instructions for use:
- Perform initial testing of the puller on a piece of material or an old bearing.
- If necessary, adjust the structure: you may have to adjust the dimensions or tighten the bolts.
- Use the puller in accordance with the washing machine repair instructions, making sure that the bearings are completely removed and there is no damage left.
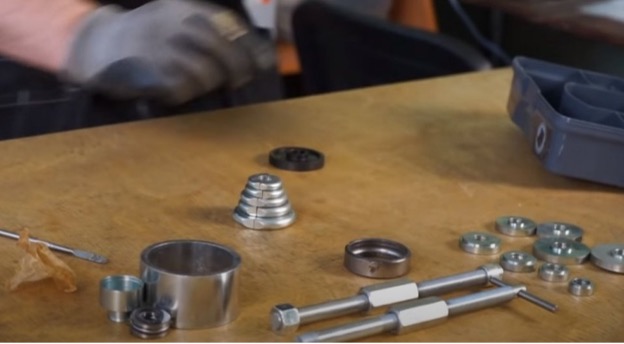
Mistakes when creating a do-it-yourself washing machine bearing puller
One of the most common shortcomings is incorrect bearing measurements and unsuitable materials. If your puller is not sized correctly for the bearings, it can damage them or break the tool itself. Also, choosing cheap or unsustainable materials can lead to premature wear.
Weak fastening of elements
Using loose bolts and nuts or not tightening fasteners sufficiently can cause the puller to break or become deformed during operation. This can lead to unpredictable consequences, including damage to the washing machine.
Insufficient testing
Lack of preliminary testing of the puller may reveal its shortcomings already at the repair stage, which will increase the risk of damage to bearings or other elements of the washing machine.
Neglect of instructions and safety
Neglecting basic safety rules and operating instructions can lead to accidents. It is important to strictly follow the instructions and use the puller only for its intended purpose.
Recommendations for avoiding mistakes:
- use high-quality materials and tools;
- take accurate measurements before starting work;
- test the puller on old bearings or pieces of material;
- Follow the instructions and safety rules.
By following these simple recommendations, you can avoid the main mistakes when creating a washing machine bearing puller with your own hands and produce a high-quality and reliable repair tool.
conclusions
Now that your DIY washing machine bearing puller is ready, you can confidently begin the repair. Not only will you save on purchasing a finished product, but you will also receive a tool that is ideal for your specific washing machine.

