Do-it-yourself juicer from a washing machine
Autumn is harvest time. If you are the proud owner of a small garden, then if the year is favorable, you may be faced with the question of how to cope with a large number of apples or other fruits that are ripe and require harvesting and processing. One of the reasonable solutions is to collect juice. But a regular juicer won't do the job. The approach described in this article is to make a high-performance juicer out of an old washing machine.
The content of the article
Preparing tools and materials to create a juicer
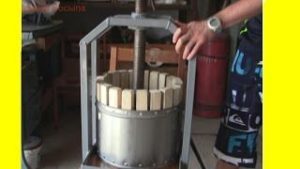 To build such a device, you will first need an old washing machine, perhaps even one that is out of order. The main thing is that the motor is working and the drive mechanism is in working order.
In addition, you will need: wooden blocks for installing the device, metal mesh, a set of bolts with nuts, rubber plugs, a piece of clean hose for draining the juice and a large container for the finished product.
Tools you will need: a set of screwdrivers, wrenches, welding, an angle grinder with a metal disc, a drill and a hammer. Metal scissors will also come in handy.
Remodeling the washing machine tank
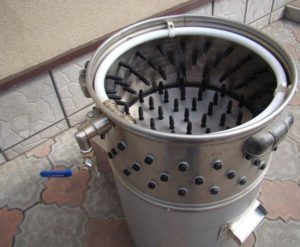 How to make a juicer from a washing machine? To get started, you need to remove the tank from the machine.
First of all, disassemble the outer walls of the case. Locate the pulley that drives the drum. Remove it carefully.
After this, you need to press out the sealing gasket on the tank hatch and remove the clamp along with the gasket. Next, unscrew and remove all the bolts securing the tank, disconnect other parts that interfere with its removal. Carefully remove the tank.
To modify it, you need to disconnect the drum located inside. Depending on the design, this requires either freeing the tank from all fasteners (bolts, latches, etc.) or carefully cutting it using a grinder. The rotating assembly can then be removed.
Important! Before further manipulations with the components of the washing machine, it is necessary to thoroughly clean its components from the effects of washing - scale, rust, dirt, etc.
Start upgrading: seal all technological openings of the tank using rubber plugs or patches made of metal plates (by welding), with the exception of the drain hole; attach the drain pipe to it.
Drum conversion
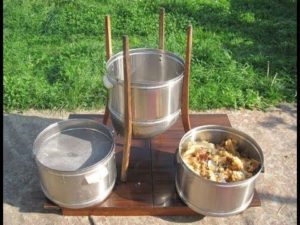 How to make a juicer from a washing machine with your own hands? The drum will also require some work. First of all, it is necessary to get rid of the standard holes by welding - they are too large and will not protect the juice from the penetration of fruit pulp formed in the drum.
After this, using a drill with a small diameter, make new holes to allow the liquid fraction of the substance to leak through them.
An alternative option is to install a fine metal mesh on the inner surface of the drum along its diameter between its ribs, which will act as a coarse cleaning filter. The mesh is cut out with metal scissors and attached with self-tapping screws.
Turn the drum over so that the hatch opening faces up. This will be the working position of the future juicer. Now you need to install a grater at the bottom of the drum to chop the fruit. It can be made from a metal pan or bowl with a diameter that fits into the hole in the hatch. After cutting off the lower part and making holes in it from the inside using a hammer and nail, make a grater for grinding raw materials.
Turn the improvised chopper over with the convex side up and attach it with self-tapping screws to the flat part of the inner surface of the drum.
Assemble the drum and tank together. Stably fix the structure in the “hatch up” position on a wooden base. Attach the motor, pull the belt onto the drive. Connect the electric motor wires according to a simplified diagram (without connecting to the speed sensor). To do this, you need to connect two wires together: one coming from the motor brushes, the second to the stator.
We connect one remaining free wire from each pair to the conductors going to the contactors of the power plug. The drum will operate at maximum rotation speed (in spin mode), which is what is required in this case. The juicer is ready for testing.
Device testing
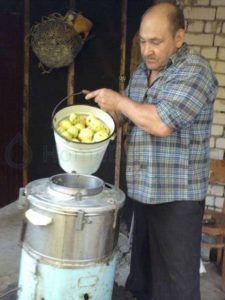 To carry out the tests, two more auxiliary devices will be required.
- Guide dishes, cylindrical in shape without bases, slightly tapering towards the bottom. It is installed above the grater with support on the tank body so as not to touch the rotating parts of the drum.Fruits to be crushed and squeezed will be loaded into this cylinder.
- A wooden handle or cue for pushing raw materials into the grinder.
Now everything is ready to start testing. Plug in the unit. Place the guide container, load the product, and use a wooden pusher to compact it until it is completely crushed. Turn off the engine and remove the cylinder.
The raw material is in the drum in the form of a slurry. Restart the drum. Under the influence of centrifugal force, the juice will exit through the walls of the drum into the drain hole of the tank and fall into the container for the finished product.


