Why does my sewing machine skip stitches?
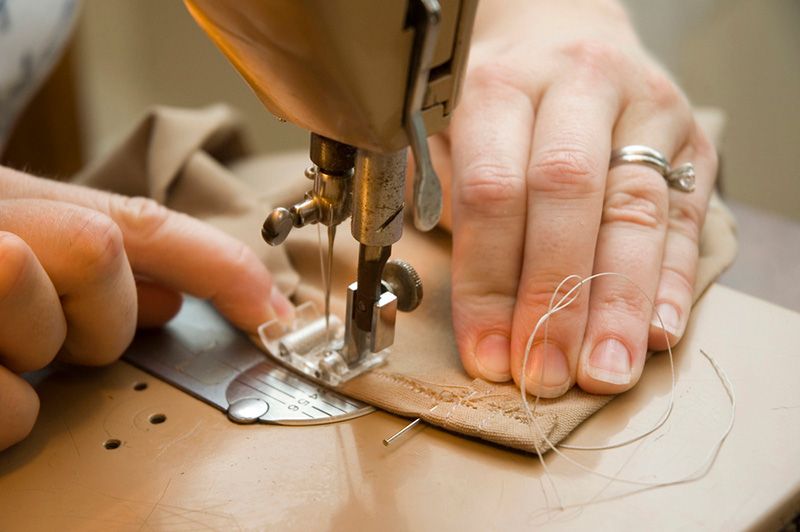
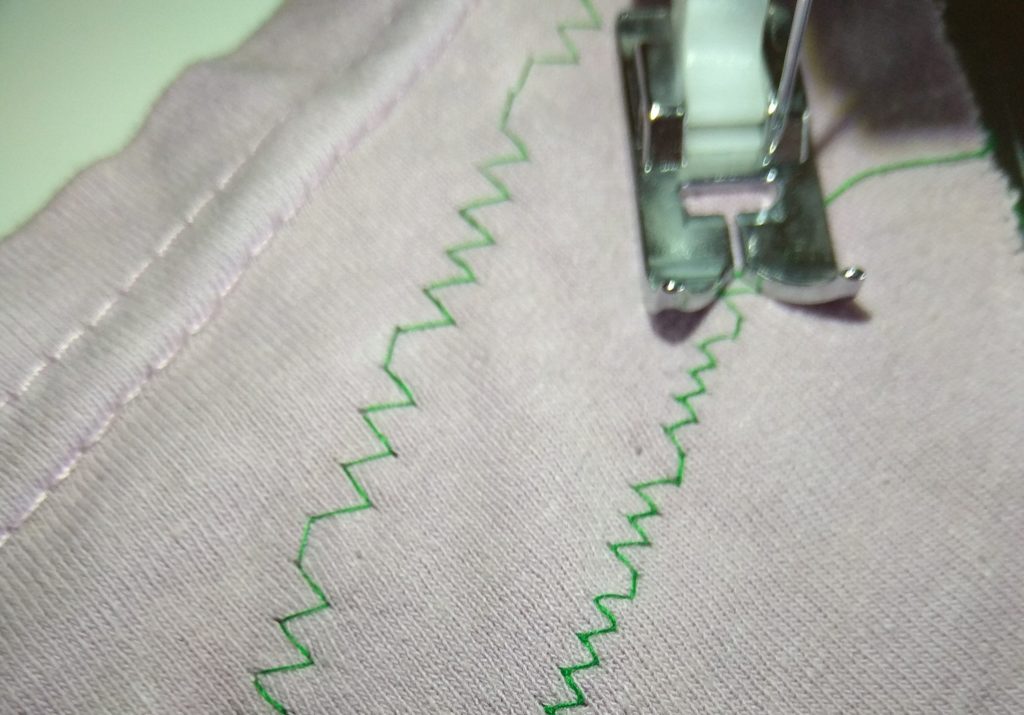
High-quality stitching is characterized by an even seam. But sometimes the machine simply “refuses” to work as expected and skips stitches. If this happens during the transition from a thickening to a thin area and the omissions are sporadic, then usually a simple replacement of the needle with a suitable one is sufficient. But if there are a lot of gaps on the seam, you will have to work a little magic on your faithful assistant in order to find out the reason for her whims.
The content of the article
Why does the machine skip stitches?
Sometimes the fabric itself is to blame. To eliminate the possibility of this, simply place a strip of newspaper under it and check the quality of the stitching.
If the problem has disappeared, you can safely continue working “on paper”; fortunately, such a lining does not affect the density and aesthetics of the seam. And it’s easy to remove the newspaper later. But if the advice did not help, you will have to take a more detailed study of the working part of the sewing machine.
Possible reasons
Sometimes skipped stitches occur because the hole in the needle plate is broken. The fabric is pressed into it, slows down the thread and, as a result, a loop does not form on the needle. Before you go looking for a “deeper” problem, it’s worth eliminating this one.
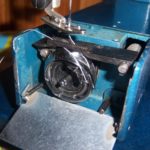
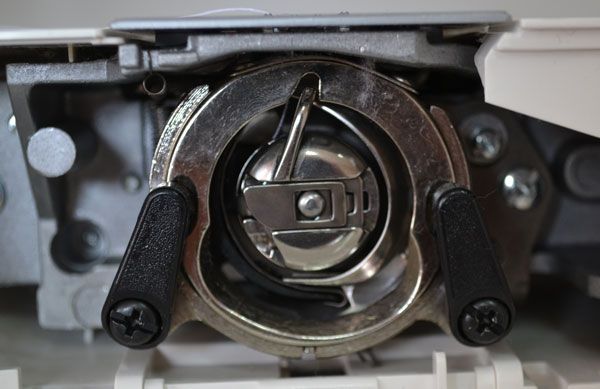
If the problem is not the plate, then remove it, arm yourself with a magnifying glass and study the process of interaction of the needle with the shuttle.Too much gap between these elements is the most common cause of skipped stitches. To exclude or confirm the “diagnosis”, you need to switch the machine to straight stitch mode and turn it until the nose of the shuttle is in the same plane with the needle. Next, you should inspect the “working area”, paying attention to the following.
- The tight fit of the shuttle nose to the needle blade is the optimal gap of less than 0.3 mm.
- At what distance above the upper edge of the needle eye is the nose of the shuttle - it should be approximately 1.5 mm (recommended value for thin fabrics - 1 mm, for thick ones - 2 mm).
If the gaps are met, you should run the machine at low speed, looking closely at which side of the needle the loop is formed on. Occasionally, poor thread quality or excessive thread tension prevents the sewing machine from working properly. In such a situation, the loop will form on the side opposite to the shuttle.
If, when assessing the gaps, a deviation from the norm is detected, you will have to step by step eliminate possible causes.
How to fix
In the vast majority of cases, the culprit for large gaps is the needle.
If, at the moment the thread is captured by the shuttle, it is more than a third of a millimeter away from its nose, it makes sense to remove it and inspect it for curvature. This is easy to do: you should place the needle on the plane of the ruler and assess the degree of curvature - there should not be any. If there is, the needle is replaced with a new one.
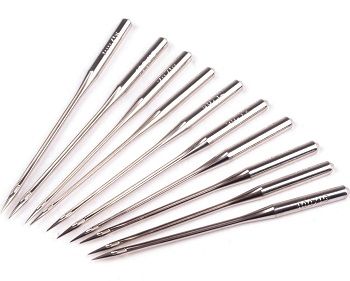
The second most common “breakage” is an incorrect bulb. It can be round (for industrial sewing machines) or with different cutting depths (for household ones). In addition, this element also differs in diameter.The easiest way to avoid problems with the size of the flask is to take your old needle with you before going to the store for new ones.
If the nose of the shuttle at the moment of gripping the thread is located above the eye at a distance of more than 2 mm, then the problem most often is also in the needle - it is either too long or does not “fall into place” due to an unsuitable bulb.
In the same case, when the gap has changed when using a correct, defect-free needle, it is best to contact a service center. Attempts by an inexperienced user to independently adjust the shuttle height can lead to more serious problems.
Tips to prevent the situation
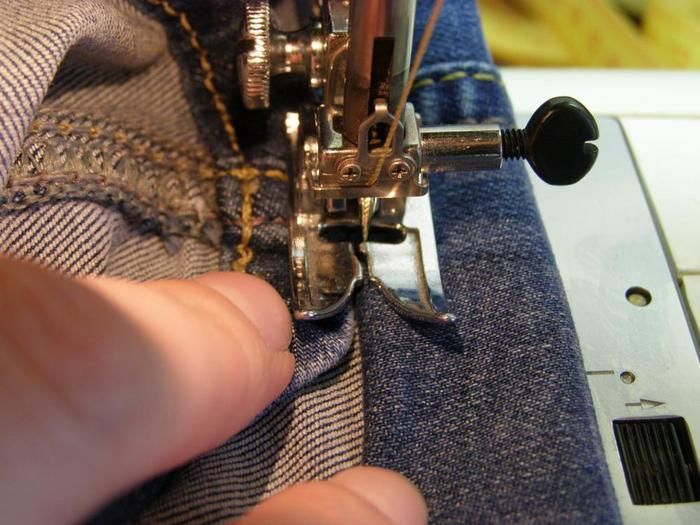
The long service life of the sewing machine without various malfunctions in its operation is ensured by attention to detail. You can avoid gaps in a line if:
- choose the right needle for the material;
- take the thread corresponding to the needle number;
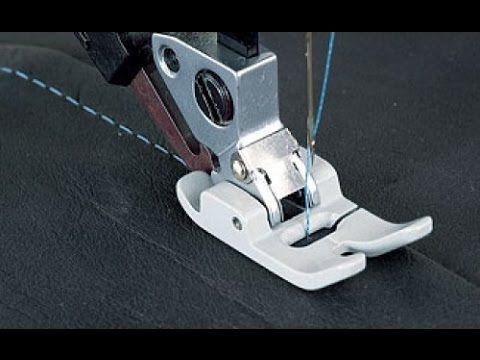
- adjust the presser foot pressure on the fabric;
- refuse to use low-quality (twisted or polished) threads.
And the most common advice: you should always check the sharpness of the needle. Especially if the machine begins to act up when working with material with which there were no problems before. A dull needle not only leaves unsightly holes (it does not push apart, but tears the fibers of the fabric), but also drags the material along with it into the hole of the needle plate. This problem is temporarily solved by using a newspaper lining. However, immediately after completing the work, you should start replacing the needle with a new one.

