Why does the top thread break in a sewing machine?
 Proper operation of the sewing machine may not cause any problems for a long time. But at a certain point the thread begins to constantly break, which significantly reduces the quality of sewing products. In this case, it is necessary to identify and correct this situation. There are many main reasons why the machine starts to tear the thread.
The content of the article
Causes of upper thread breakage
The thread may break for the following reasons:
- The most common cause of rupture is very strong tension. In this case, the weaving of threads begins to occur at the top of the material.
- Weak tension can also lead to rupture. In this case, the thread gets tangled in the shuttle and breaks.
- Incorrectly installed needle. If the needle begins to come into contact with the walls of the hole of the needle plate, then the thread gets caught on its edges, which will certainly lead to a break. This problem also causes needles to break frequently.
- A break may occur due to an incorrectly installed spring in the tension regulator assembly. Large coils of the spring must be located as close to the body as possible, and at the same time the spring must move easily inside the regulator.
- If the tension regulator is incorrectly assembled, a breakage also occurs.
- Sharp edges on various parts of the sewing machine can cut the thread, causing it to break.To get rid of this problem, it is necessary to process the working parts with a fine file.
- Sometimes the problem is hidden in the spool cap. If it is too tight, it will cause the thread to break. The sewing machine also starts to malfunction if the cap is dirty.
Attention! There are quite a few reasons why a thread breaks. As a rule, this is due to incorrect installation of various parts. In this case, the sewing machine does not fix the thread correctly and jams it, this, in turn, leads to rupture.
How to fix the cause yourself
The most common causes of breakage are materials used incorrectly in the work. In this case, you just need to review all the threads and needles for defects and change them.
You also need to check the thread tension. Correctly adjusted tension should weave the thread from the inside, and not from above the material. It is best to adjust only the upper thread tension. Adjustment of the lower part is made only in emergency situations.
If the tie becomes tight and the material begins to wrinkle, this is also due to improper thread tension. In this case, it is necessary to adjust both the tension and the length of the line. For thick material the length must be increased, for thin material it must be reduced.
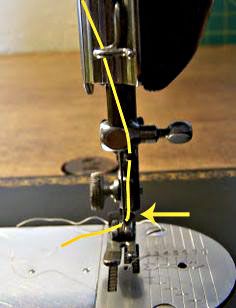
If the tension is normal, then you need to check whether the needle fits correctly into the hole of the plate. To do this, slowly turn the wheel and, using a magnifying glass, make sure that the needle does not touch the walls of the hole.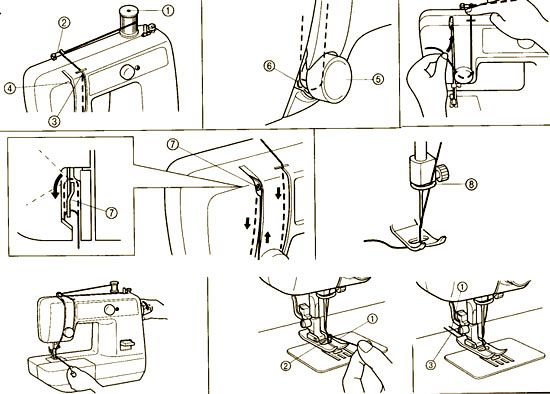
Make sure the spring is in the correct position. If the main part sticks out in the wrong direction, then it needs to be turned around. If the slot is too tight, unscrew the nut a little.
You also need to make sure that the regulator that controls the voltage is correctly assembled. Why do you need a sewing machine instruction manual? It is necessary to pay attention to both the correct location of the parts and which side they are facing.
It is not uncommon for a thread to break after disassembling various parts of a sewing machine. As a rule, the problem lies in the incorrect fastening of the pusher - if this part is accidentally installed in the other direction, when the flattened part of the pusher is turned towards the lever, this will certainly lead to a break. Sometimes this element is not installed at all. You also need to pay attention to the release washer; it is probably also installed incorrectly.
If the machine has recently been disassembled, then you need to make sure that all the elements are in place, they are not deformed and are securely fastened. If any part is missing, it must be ordered.
Important! Most often, the problem of thread breaking can be corrected yourself. But if after all the measures taken the problem still remains, then you need to contact the adjuster.
How to properly adjust the upper thread
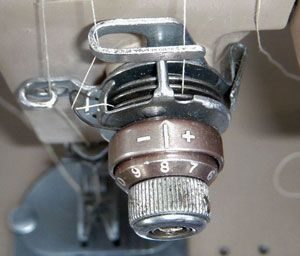
First, find the tension regulator. On different models of machines it may be located in different places; if you don’t know where exactly the regulator is located, then use the instructions for the machine. If there are no instructions, then you need to find a regulator with numbers that is not responsible for choosing the type or size of stitches.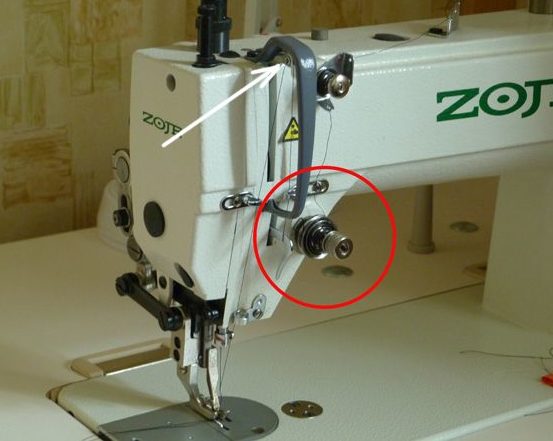
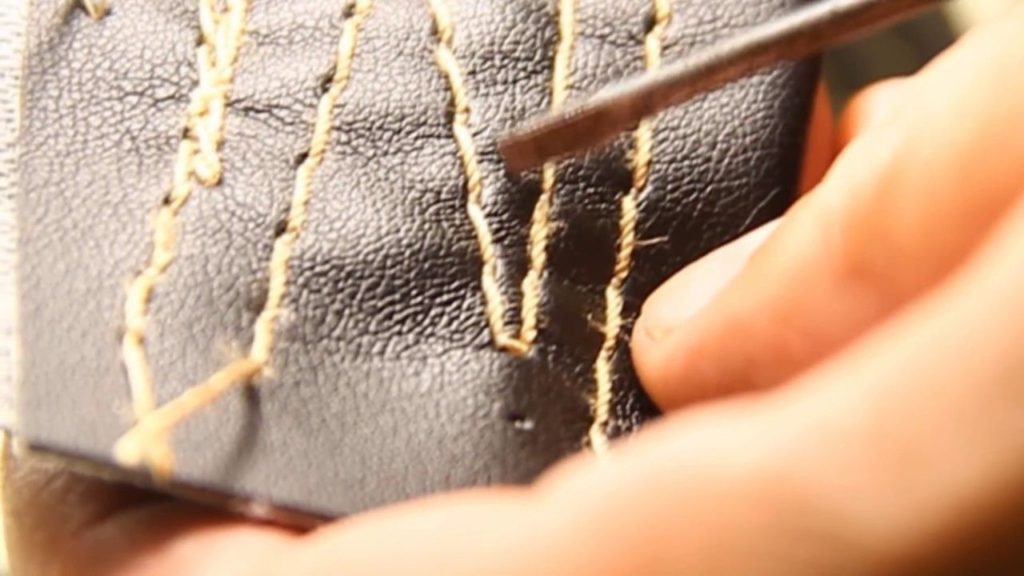
To increase the tension, the regulator must be turned towards increasing numbers. Try rearranging it by half a division or by one number, and then check how the tie turns out on a piece of fabric.Adjust until the top thread is no longer visible on the back of the tie.
To reduce the tension, you need to scroll the regulator taking into account the decreasing numbers. Continue adjusting until the screed is perfectly level.
When the top thread breaks, it is necessary to carefully monitor the operation of the sewing machine and correct the problem, eliminating the initial incorrect choice of needle and fabric. Before contacting an adjuster, work on the machine using different needles, threads of different quality on different spools, make sure that the malfunction did not appear after setting up or repairing the equipment yourself.


