Why does the bottom thread get tangled in a sewing machine?
 The tangle of lower threads in a sewing machine is the most common problem for embroiderers. It happens for various reasons, but it always causes inconvenience - when stitching, a bunch of threads appears and the needle gets stuck in them. Why does this happen and how to fix the situation?
The content of the article
Why does the bottom thread get tangled on a sewing machine: reasons
The bottom thread in any sewing machine gets tangled due to:
- unsuitable needle in the machine, pulling threads and material (it should not be blunt or too wide);
- a bad rack that is not calibrated in the area of the teeth or jumper;
- dull teeth on the rack;
- improper operation of the rack, its sudden movement when the needle has already pierced the fabric and started working;
- malfunction of the pressure spring as a result of damage or old age;
- broken lower part of the foot;
- defect on the lower part of the paw;
- loosely fixed bobbin to the structure;
- incorrectly installed friction washer on the flywheel;
- low or excessively high thread tension. Each fabric must have its own tension;
- a break in the bottom thread, which begins to constantly dangle around the entire part of the bobbin and stop looping the fabric;
- an inappropriate hole on the needle plate that interferes with the work of the needle on the fabric;
- incorrectly threaded thread;
- unusual threads. Usually, the right-twisted type of sewing thread leads to confusion;
- non-standard spools, threads or bobbins.
Bobbins are required to feed the thread from the creel and to remove them upward. Each of them has a cone shape and is ideal for this type of work. When using a conventional machine, where the thread is fed to the left or right, the bobbin becomes inconvenient because it is heavy and too wide in diameter.
Also, the causes of confusion include fanatical pulling or pushing of the fabric with your hand - this activity will not only break the thread, but will also lead to damage to the fabric being processed. In this case, it is recommended to make a test stitch on a piece of material before each sewing session to find the desired rate of stretching of the fabric.
Reference! Naturally, there are other reasons for the tangle of threads in a sewing machine, which sometimes arise while working with it. This mainly concerns wear of parts and breakdowns in the internal components of the machine, for example, the shuttle, needle bar or control unit.
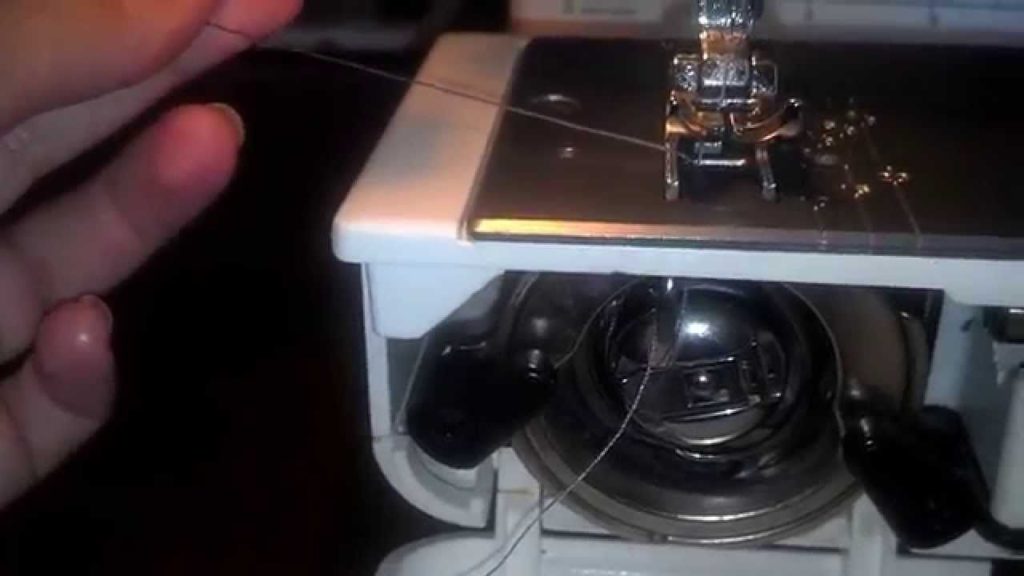
How to adjust the bobbin thread yourself
Incorrectly threaded thread is the most common cause of a lump of thread when working with a sewing machine. The first thing to do is check that the filling is correct. This applies not only to the top thread, but also to the bottom thread. Refill both according to the instructions for the machine and try working with the device again.
Also, confusion arises due to the fact that the threads are unevenly tensioned: the upper one is adjusted using adjustment plates, and the distance between them is determined using a switch that is installed on the body of the device. As for the bottom, it is adjusted by the bobbin case plates.In order to adjust the tension, you will need to take a screwdriver, remove the presser foot and needle plate, and then use the tool to turn the bobbin case screw to tighten or loosen the thread tension.
If the lower thread does not hold the upper thread, and during operation of the machine it climbs up, then the stitches may look sloppy or even tangled. In this case, it is necessary to increase the tension of the bottom by moving the plate. This is done by tightening the screw of the bobbin case. After tightening the screw, you need to check the operation of the machine. If everything is fine, you can continue sewing.
The threads may become tangled due to the bobbin not being positioned correctly. To adjust everything, you need to use the instructions for the device. During repairs, the click of the shuttle characteristic of the machine will be heard.
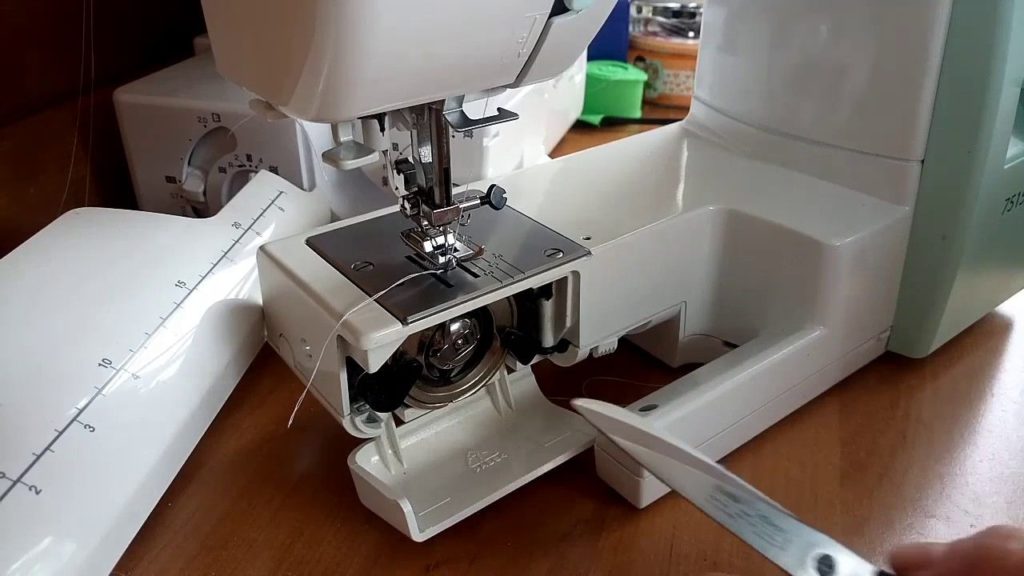
If the tension is normal, but the sewing machine is not functioning well, the problem may be with the device itself. It may be faulty. Then, in order to adjust its operation, you need to contact a master who knows how to repair sewing machines. Or replace the device with a new one. If we are talking about a small defect on the shuttle, then you need to remove the needle plate and visually evaluate what the thread is bumping into. To do this, you need to turn the wheel of the lift lever, carefully remove the shuttle and look at it. If there are burrs, they must be removed using a scalpel or other sharp object. After removing the defect, return everything back and check the operation of the device.
How to thread correctly to avoid tangling
Manufactured sewing machines are equipped with a step-by-step diagram that allows you to thread correctly, and a logical design that everyone can understand. With rotary devices it is a little more complicated.Next, let's look at a few simple instructions that will help you learn how to quickly and correctly thread the thread without further tangling:
Instructions for threading the bobbin thread:
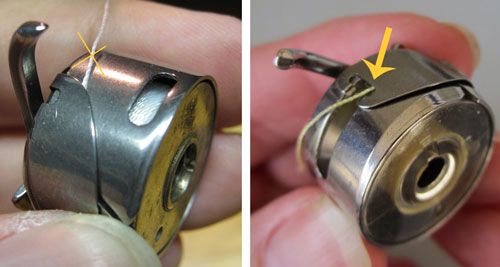
- insert the bobbin into the bobbin case;
- bring the thread into the slot of the bobbin case under the leaf spring;
- insert the bobbin case into the hook;
- bring out the lower part using the needle hole at the top of the thread;
- tuck the threads under the presser foot and use the device.
Upper threading instructions:
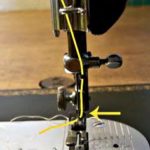
- insert the thread into the body of the device;
- take it through it to the voltage regulator structure and to the right to the compensation spring, which resembles a hook;
- then lower the thread to the thread guide, bring it down to the mount and the eye of the needle.
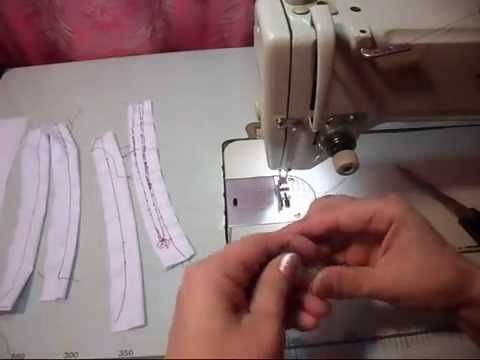
Attention! If you need to set up a manual machine, you need to select the correct needle with the thread number for a specific fabric, and then adjust the thread tension. Otherwise, it will not be possible to thread the sewing machine without damaging the quality of the stitching.
To refuel correctly, use the following simple instructions from the manufacturer of Seagulls:
- Turn the handle so that the device that attracts the threads goes up.
- Insert the needle all the way into the hole in the holder.
- Turn it towards the rod where part of the foot is located.
- Secure the needle with a screw.
- Install the spool and threads on the rod structure.
- Insert part of the thread into the friction washer with thread guide.
- Fix the needle holder by inserting the thread into a special guide.
- Insert part of the thread into the eye of the needle area.
- Make an insert for the lower thread by winding it around the bobbin structure and threading it into the cap.
- Secure the cap onto the bobbin until you hear a characteristic click.
- To tighten the thread, you need to turn the handle of the machine.
- Place the threads under the bottom of the foot.
To regulate thread tension:
- apply the screw in the bobbin case and tighten it;
- repair the tension using the adjuster of the lever device that raises the presser foot.
Some tips for using a manual sewing machine:
- lower the needle under the foot in advance; you cannot make a seam;
- turn the handle of the device towards you, changing the direction of rotation;
- Sew on a machine only those fabrics that are suitable for a hand machine. Otherwise, you can damage the fabric and machine. You can learn about which fabric is suitable for sewing on a manual sewing machine from numerous articles on the Internet. Basically, these are dense types of fabrics, not silk and satin.
In general, the lower and upper threads on a sewing machine create confusion and prevent it from functioning normally due to improper fastening of the threads and the operation of some internal devices. Almost any breakdown in a sewing machine can be fixed either independently or with the help of an experienced craftsman. You can eliminate thread tangles yourself by following simple and clear instructions, as well as using high-quality sewing parts.

