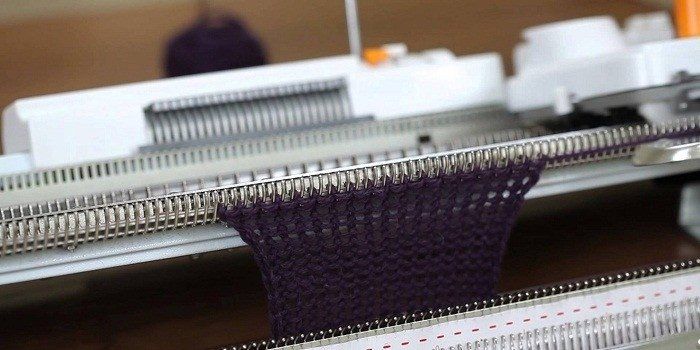
How to knit on a knitting machine
Nowadays, the industrial clothing industry is multifaceted and such a concept as self-knitting, it would seem, should sink into oblivion. However, this hobby is gaining ever larger scale of development, which is not surprising, because even the highest quality thing made on a production scale will not replace the “warmth” and individuality that hand-knitted things have. But this process can also be automated at home if we are talking about machine knitting.
The content of the article
What are the differences between machine and hand knitting?
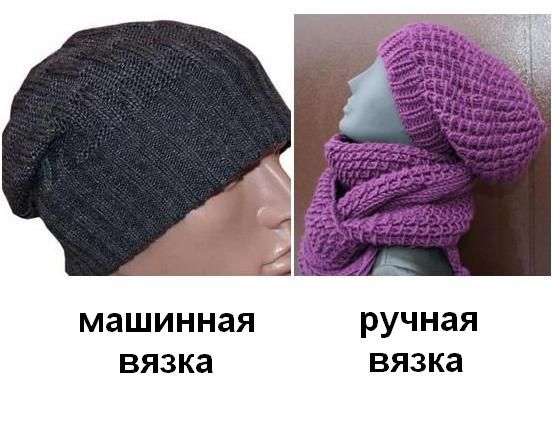
The fabric knitted by hand will be more magnificent. The machine evenly presses the product.
Hand knitting has dozens of different patterns and knitting techniques, and although knitting machines are constantly being modernized, they still cannot have as many pattern modes. The speed of obtaining the finished product is also important. However, there is no automatic knitting mode without human participation.
Types of devices
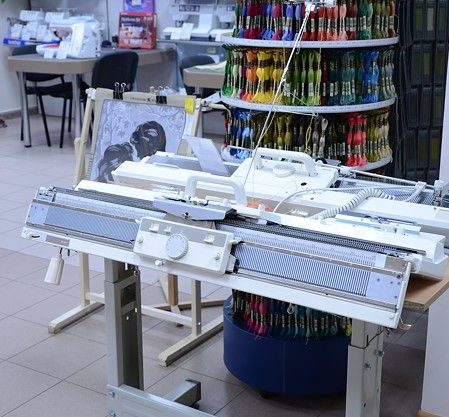
 All knitting machines have one texture or two textures. A knitting machine with one texture has one needle bed. Acceptable for the manufacture of a homogeneous fabric with a double-sided pattern, provided that the product has a fabric lining. For example, a coat or cardigan.However, if you need to knit a pattern in different colors, then the threads will stick out from the inside. Devices with two textures respectively have two needle beds. Things turn out smooth and neat both on the front side and on the back.
- Divided by class. It is this criterion that regulates the thickness of the thread. According to marketing statistics from manufacturers and, more importantly, according to consumer reviews, V-class devices are the undisputed favorite. They are universal and can work equally well with both thin and thick threads.
- According to the method of recreating the ornament. Perforated, the pattern is applied to special plates from stencils, after which they are inserted into the machine. Computer. Everything is calculated by the electronic application. Manual. The person “knits” the pattern himself.
How to learn to knit on a knitting machine
You need to understand that, despite its compact appearance, a knitting machine is a serious technical device, and if you seriously decide to learn and understand how to knit on a knitting machine, then you should be patient.
Of course, the first question that should confront us before starting to use a knitting machine is what to knit from.
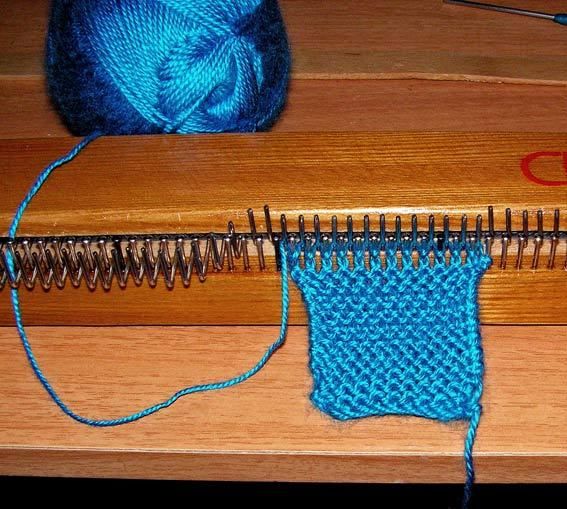
Which yarn to choose
In the first stages, experts advise choosing soft yarn. The threads should be of medium size.
IMPORTANT. Threads for machine knitting are produced in separate spools and can be made not only from natural wool, but also synthetic.
Next, it is important to prepare the yarn for knitting. In this case, it means that the yarn needs to be unwound and the ball re-wound.This will give our threads lightness, and the knitting will proceed evenly and without jumps, which undoubtedly worsen the quality of the product.
IMPORTANT. Spools of factory threads, as a rule, are wound very tightly; they must also be rewound into a new ball before knitting.
Knitting process
It is believed that the first row is the most difficult test, after which many people give up their attempts to knit on their own. But any undertaking is not easy, however, we only need accuracy and attentiveness.
So let's get to work. For study, we will consider a specimen called Neva - 5.
- We thread the yarn into the thread guide.
- Using a disc wheel we achieve the desired degree of tension. If the tension is correct, the string will be slightly bent.
 We pass the thread behind the thread guide carriage and close the lid. The free end can be attached to the left leg.
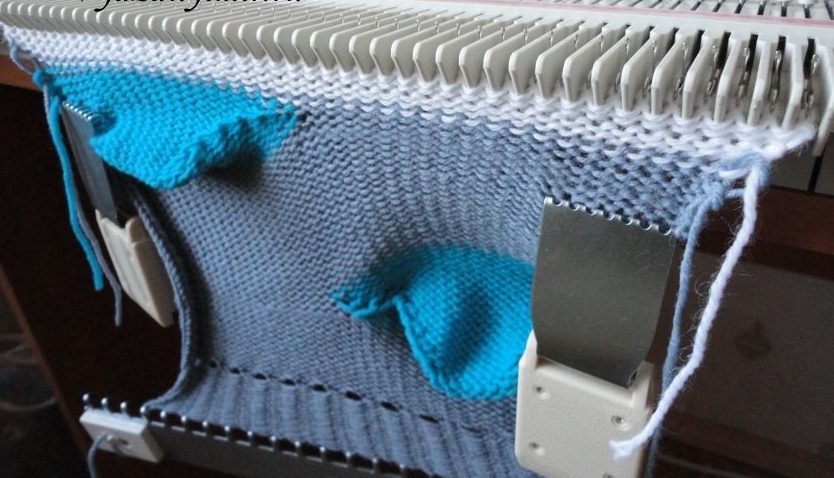
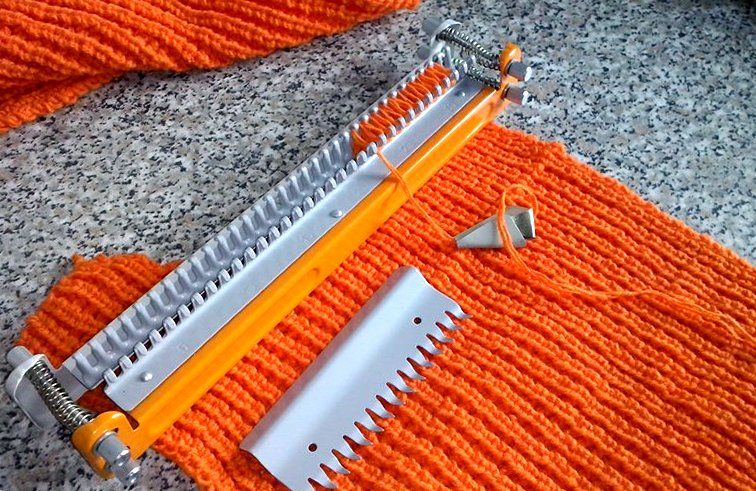
- We fix the yarn on the needles. Let's start with the far left. We hold the thread and wrap it in one movement of the needle counterclockwise. After we have wrapped all the needles with threads, we take a comb (it is included with the machine) and move our thread to the base of the needles.
- We place the upper carriage levers on both sides in a triangle position.
- We set the density of the fabric on the corrector to a value of 8. Our fabric, of course, will come out very loose, but do not forget, we are knitting only the first row and neither the manufacturers nor the craftsmen themselves recommend giving more thread tension at this stage.
- Now we set up a “weight ruler”, this is a device that will not allow the first row of loops to “heal” with the machine.
- We move the carriage to the left and now we have knitted our first row of loops. Now we repeat all of the above and knit our first sample.
This activity will delight your loved ones with exclusive things and bring you deep moral satisfaction.
