How to sew leather on a sewing machine
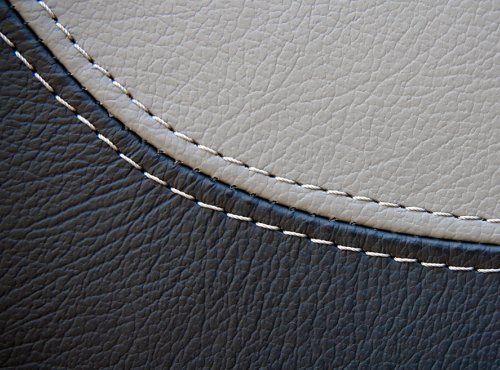
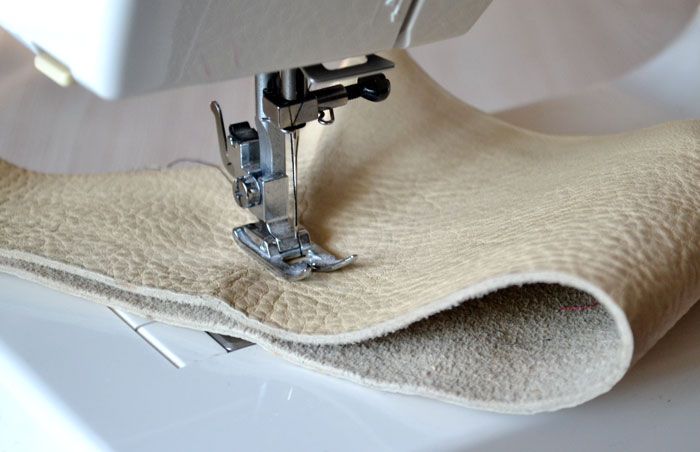
Many needlewomen have to deal with leather in their work. Products made from this material look very impressive and stylish. But this material is not as easy to process as it might seem at first glance. Let's look at the basic parameters of the work, as well as how to sew leather on a sewing machine and what threads to use.
The content of the article
What to prepare
There are a lot of different features and details when working with leather, and if you are unfamiliar with them, you are unlikely to be able to do a good job with this material. For example, if you need to cut out identical parts, it is worth remembering that in a transverse position the material stretches better than in a longitudinal position. Based on this, we can conclude that you can cut paired parts in any direction, but always in the same direction.
 Pins should not be used to break leather. There may be traces of jokes on the material. Therefore, by choosing pins for work, you will simply ruin the product.
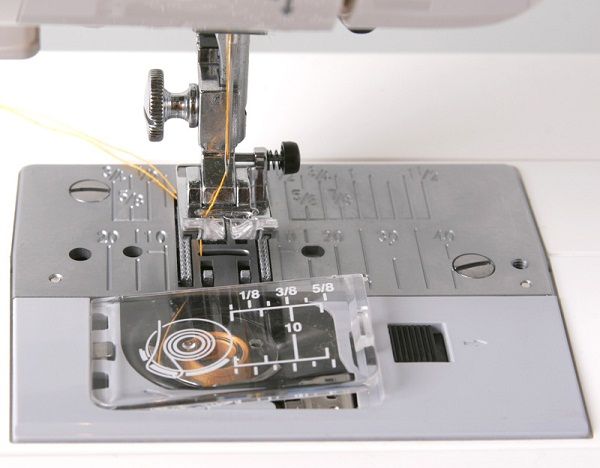
- When working with soft leather on a sewing machine, you can safely use a regular needle number 80 or 90. If you plan to work with rough leather or when working on thicker areas, you will need to buy a special needle for working with this material. When adjusting the stitch length, you should not choose too small, because this can lead to the fact that with frequent punctures the material will begin to tear.
- The needle for hand sewing must also be special. It looks special; instead of the usual point, it has a triangular tip. The tools you may need are the following: a shoe knife, a thimble and strong synthetic threads. When working with a needle to stitch a product, be careful not to tear it.
How to work with natural materials on a sewing machine
For many, such work may seem like an impossible task, but if you approach the task with skill, you will certainly succeed.
Let's look at how you can sew natural leather so that when you move on to this stage of work, you won't have any difficulties.
- First you need to place the parts right sides together. Line up the edge. For fixation, you can use clamps or clothespins.
- Set the stitch length on the technique to 3.5-4 mm. Make a stitch of the length you require.
- It is necessary to leave a thread at least 4 cm long on each side for ease of processing.
- The edges of the threads must be pulled to one side, where you can tie them with a double knot.
- You will need to apply glue to the seams and knots. Unfold them and press them to the base.
If desired, you can do a finishing stitch.
Useful tips
- When making clothes using natural material, it must be ironed from the back, and the iron should not be too hot. Use a dry cloth for ironing, do not use steam.
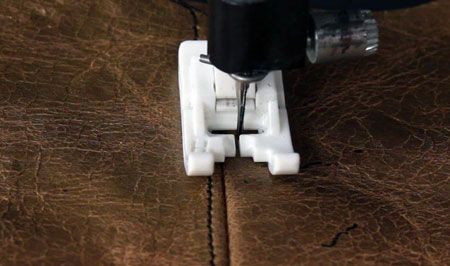
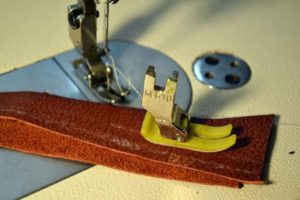
- In order to prevent the parts from being pulled out, you need to use a special foot.
- Secure the seams more securely with a couple of knots, otherwise you risk that the seams will simply unravel.
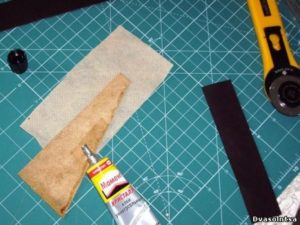
- To work, you will definitely need to use glue.In this case, PVA or Moment is suitable, or it can also be rubber glue.
Features of work
Here are some tips for sewing leather goods and leatherettes so that you will be pleased with the result:
 Choose patterns that do not require planting. When it comes to complex shapes, they are much easier to achieve when making structural joints.
- Kimono or raglan sleeves are much easier to make than set-in seams. If you decide to work with set-in sleeves, you need to measure the increase in fit, no more than 1.5 cm. Experts recommend choosing a shirt cut seam.
- It is important that you are confident that your pattern is correct. If you are working with new models, experiment on regular fabric. This will avoid the possibility of damage to expensive material.
- Marking can only be done on the wrong side. Use a pen or soft pencil for this; you can also purchase a special pencil.
- The width of the seam allowances should be the same.
- Since the needle leaves punctures during the sewing process, the products are not pre-basted or chipped. For this purpose, you can use special adhesive tape or paper clips.
- Choose a stitched seam, a stitched one, or a closed one.
- The seam allowances must be glued so that the product ultimately looks neat; which glue to choose is described above.
- A special non-woven fabric can be used as lining material.
Before you start working with this beautiful but difficult material, familiarize yourself with the features of its processing and in this case you will certainly be able to achieve the desired result.
