How to use a sewing machine
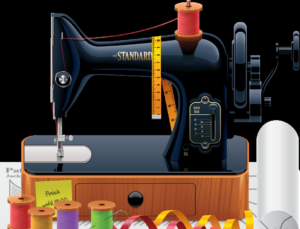 The main problem associated with inherited or used sewing machines is the lack of instruction manuals. After all, with its help it is much easier to figure out “what’s what.” But even if you don’t have a useful booklet, it’s easy to learn how to use it.
The content of the article
Installing and setting up a sewing machine before starting work
After delivery and unpacking of the device, you need to select the optimal location for its placement. It is important to meet several conditions, the main one being convenience. Whether it is a desk or a stand, it is advisable to place them closer to the window - this is necessary to ensure normal lighting during the daytime. At the same time, it is important to keep about 0.5 m of space free from other interior items.
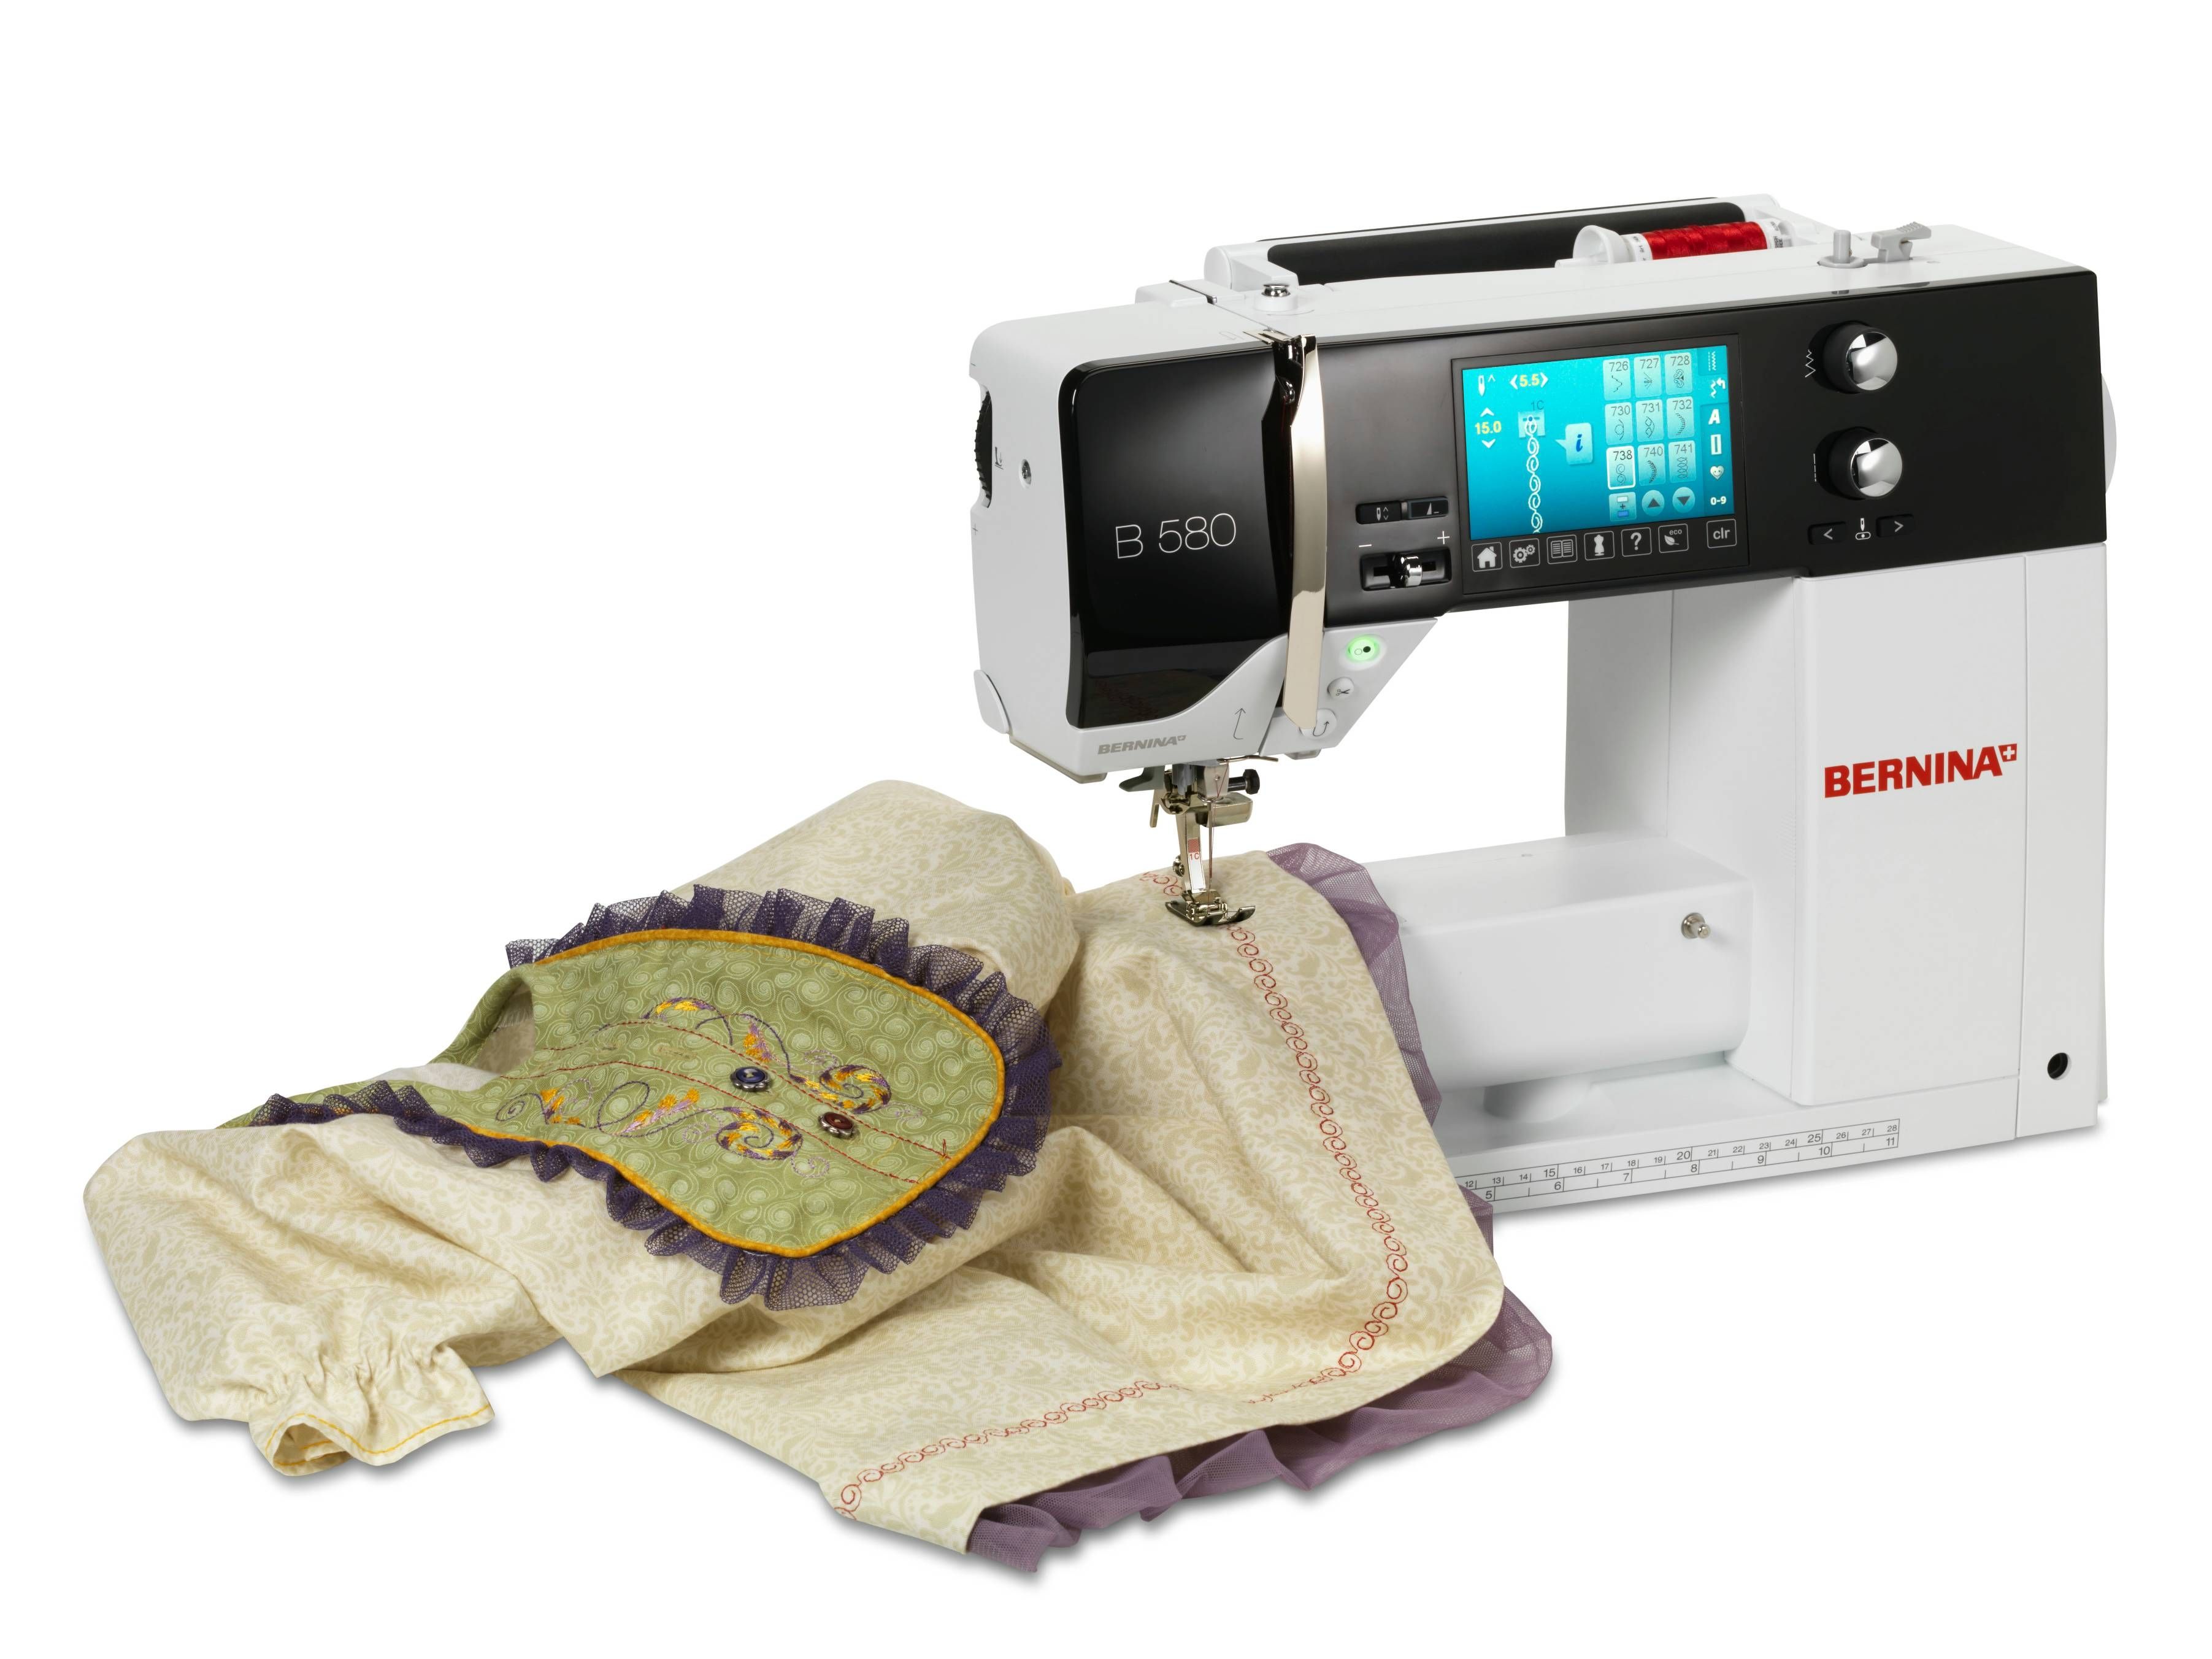
The machine is placed so that the needle is on the left side. Then a pedal is connected to it, which is placed in a place convenient for the user. Before connecting to the network, you should familiarize yourself with the control panel of the machine:
- start button;
- stitch pitch regulator;
- stitch switch.
After studying these elements you need to find:
- reel seat - a pin on the top or side panel;
- thread take-up - a metal strip with an eye;
- needle holder screw;
- foot and lever for adjusting its position;
- needle plate - it is necessary to study the system of removal and reinstallation;
- bobbin holder - a metal cap with a movable eye into which a bobbin is inserted.
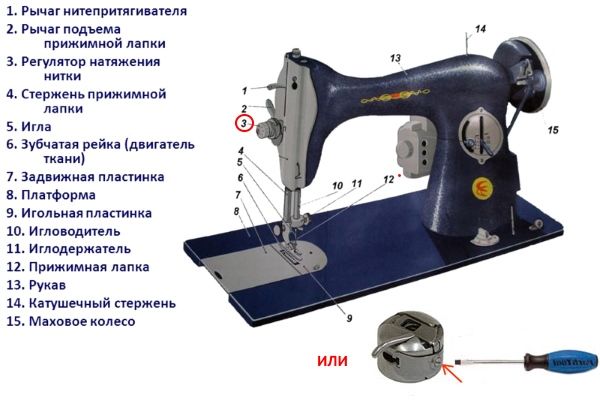
After you have found all of the above elements, you should also find the mechanism for winding the thread onto the bobbin. It is usually located near the reel seat pin.
Inserting the needle
After studying the structure of the sewing machine, you can begin preparing for work. And the first step is to install the needle. To do this, inspect its upper wide part - the flask. For household machines, this element is made with a groove - a flat. To correctly install the needle you need to:
- rotate the flywheel (the wheel on the right side of the body) to raise the needle holder;
- insert the needle bulb into the connector - depending on the model, the flat can be directed to the left or in the direction opposite to the user;
- secure by tightening the needle clamp screw.
IMPORTANT! The consequence of incorrect needle installation is the absence of loops and, as a result, skipping stitches in the line.
Installing the coil
The minimum required for any household sewing machine is 2 threads. The top one is the coil mounted on the holder pin. But the bottom one must first be wound onto a bobbin. For this you will need:
- install the coil on the holder pin;
- pull the thread through the thread guide;
- pass it through the disc tensioner;
- make several turns around the bobbin, which is then installed on the winder (small pin in the winding mechanism);
- move the latch resembling a curved plate to its extreme position until it clicks;
- Depending on the device of the machine, press the pedal or a special button, after which the thread will begin to wind.
ATTENTION! The bobbin should not be filled to capacity. It is desirable that its sides protrude slightly above the thread. This will facilitate the further process of preparing the sewing machine for work.
Threading the thread
From the top everything is quite simple. The free end is passed through the thread guide, disc tensioner, thread take-up and tucked into the eye of the needle. On most modern models, the procedure is indicated by small numbered arrows on the body.
To thread the bottom, just install the bobbin in the bobbin holder cap and insert it into the shuttle assembly. In this case, it is worth pulling out about 3–5 cm of thread. Then the needle plate is installed. Then, using the flywheel, the needle lowers, grabs the thread and brings it out.
Learning to sew on a sewing machine
After preparing your assistant for work, you need to set it to idle. Then, by pressing the control pedal, the machine starts. Increasing pressure on the pedal speeds up sewing, decreasing pressure slows it down. After removing your foot from the pedal, the machine should stop.
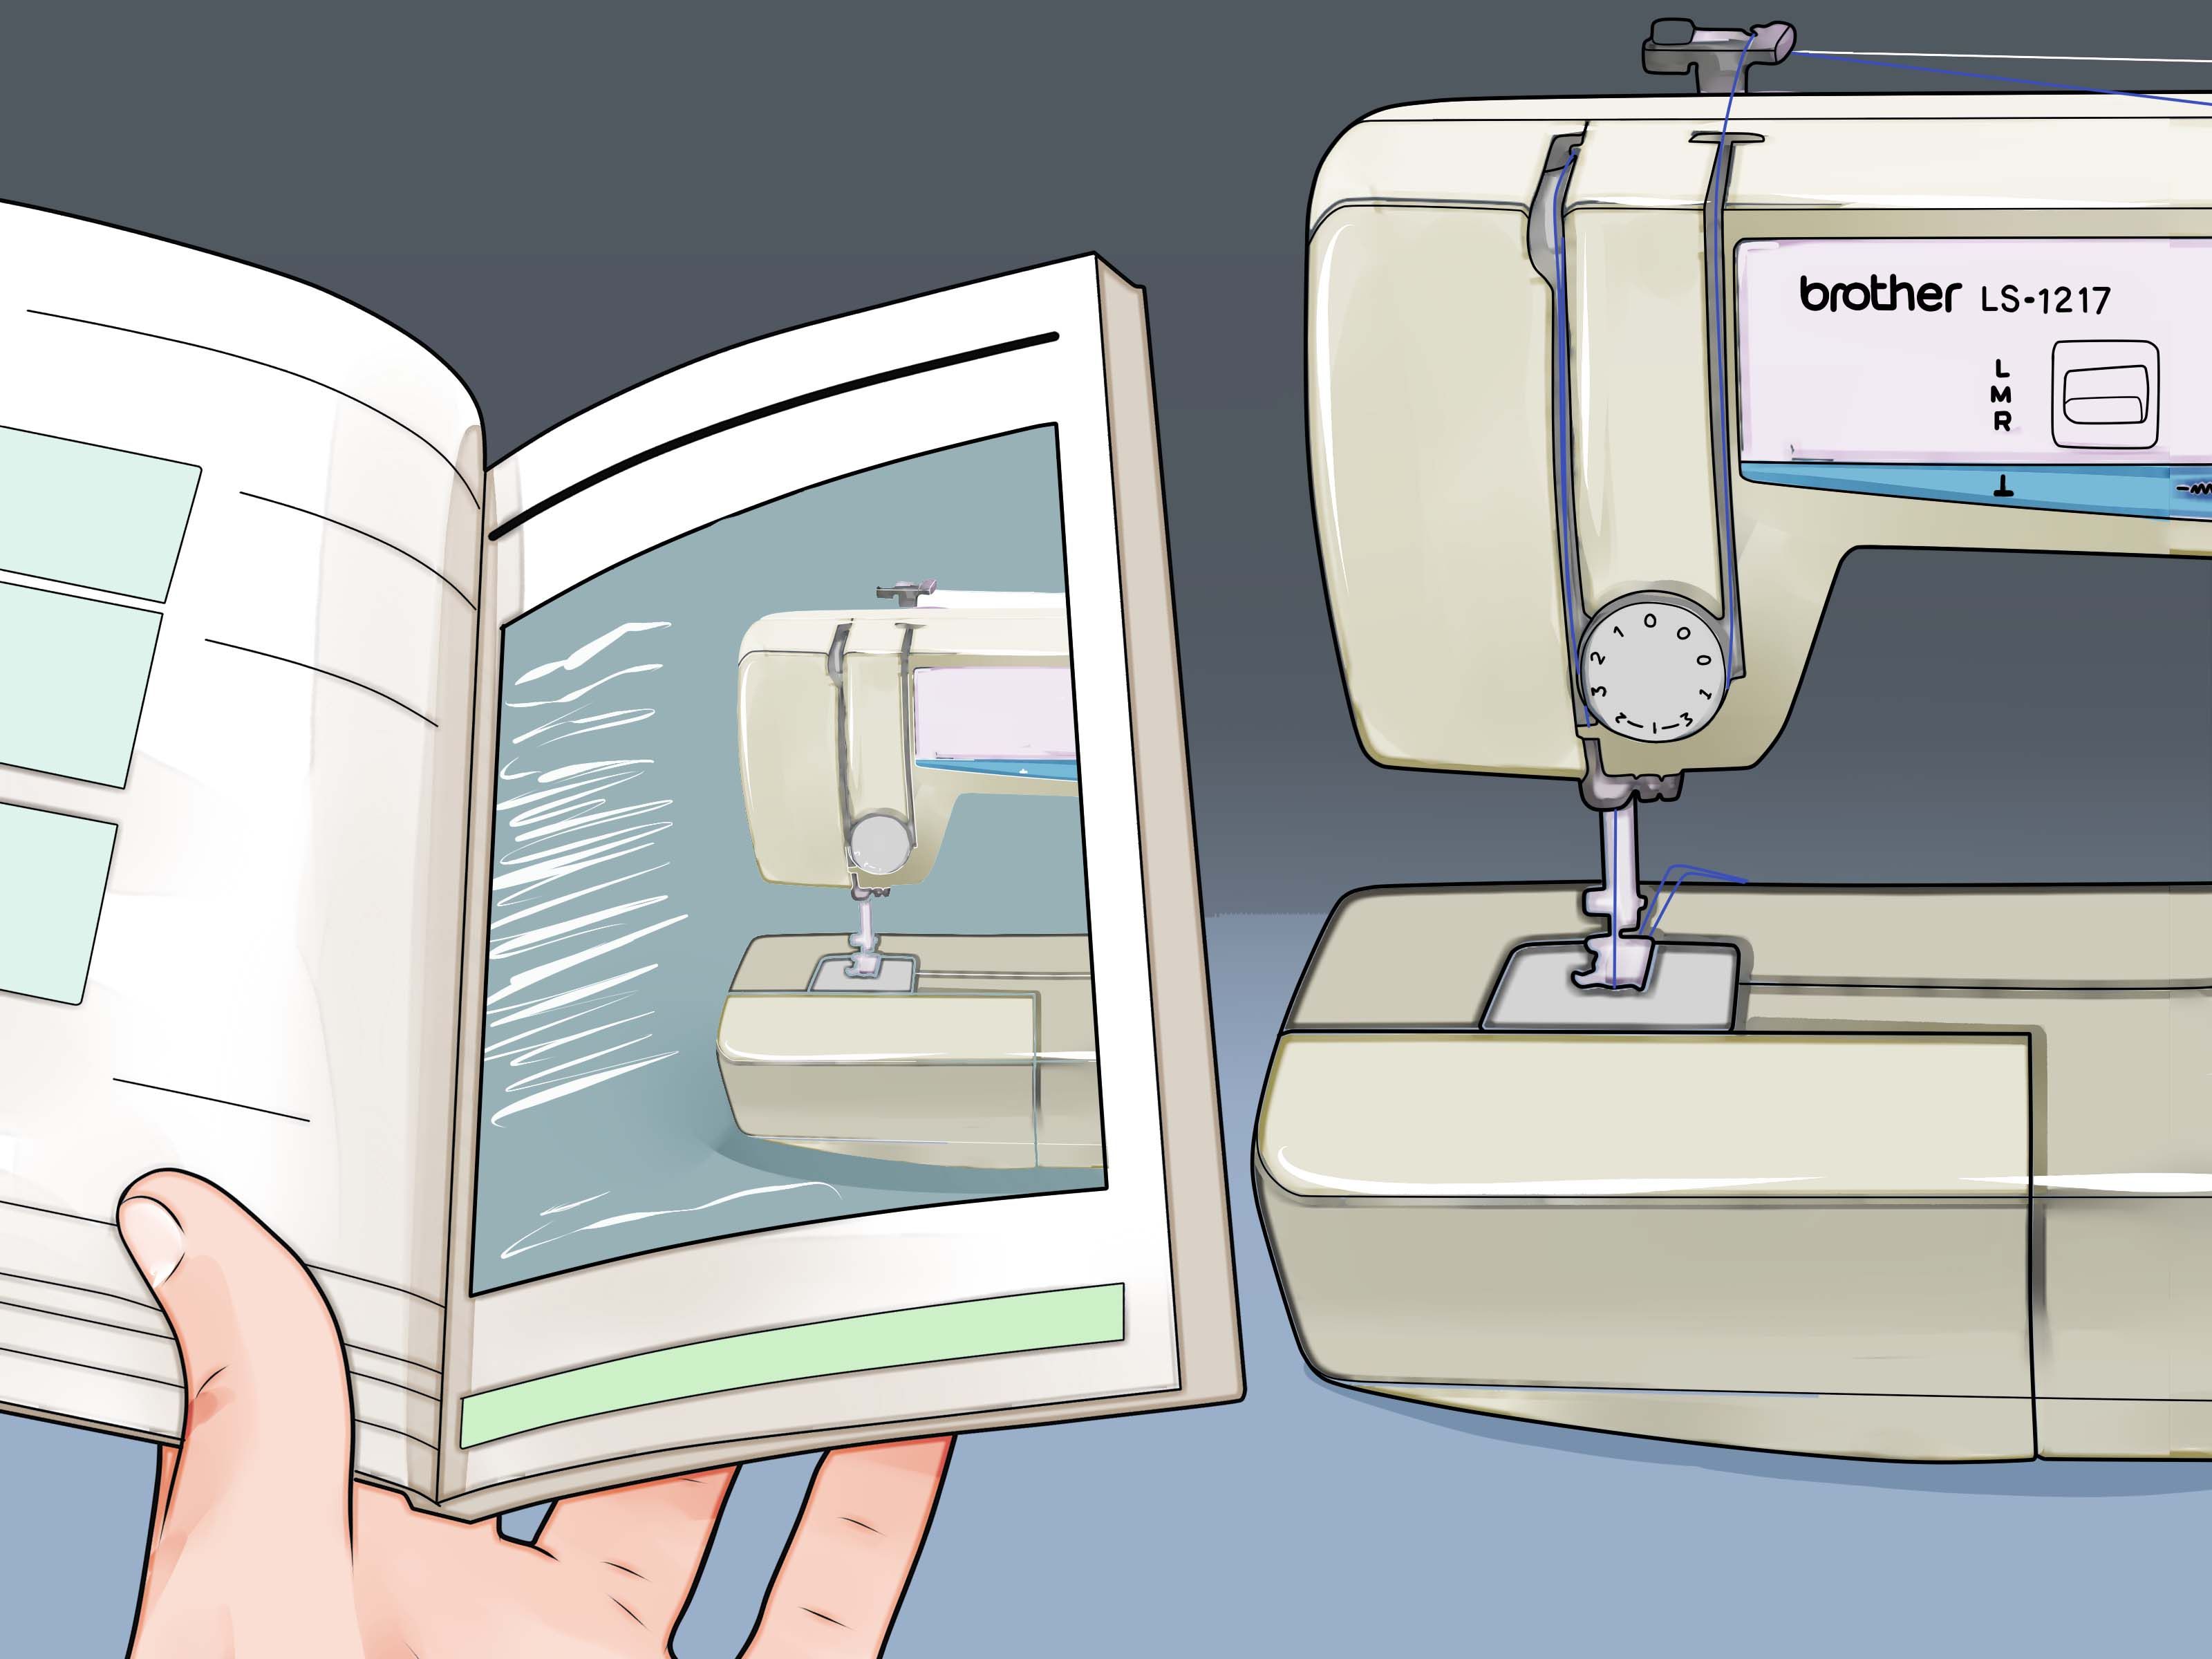
Trying to make stitches
To do this you will need several small pieces of fabric. First, using the regulator, the machine is set to straight stitch mode. Then the folded section is brought under the raised foot, which should then be lowered. After which the machine is started.
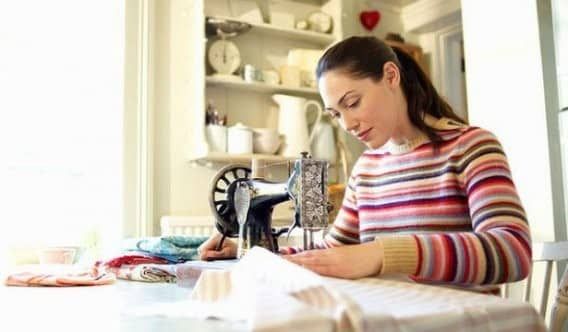
ATTENTION! During operation, the fabric cannot be pulled - its advancement is regulated by a gear.It is only necessary to control the direction of movement of the material (with your left hand) and the exact relative position of the layers (with your right hand).
Having mastered the straight stitch, you can begin to master more complex shapes. To do this, various figures are drawn on the fabric with chalk, the contours of which should be stitched.
ATTENTION! A smooth turn is carried out at low speed. A straight or acute angle is formed after the machine has completely stopped with the needle lowered to the bottom position.
How to use a mini sewing machine
Miniature versions of faithful assistants are compact, easy to use and easy to thread. To get started you need:
- pass the only working thread through the thread guide;
- tensioner;
- another guide loop (inside, near the needle);
- thread it into the eye of the needle;
- set the stitch length.
After which the original tool is ready for minor repairs to clothing or fastening unraveling seams.
General rules for operating hand sewing machines
Before starting work, you should remove all fastening pins from the product, which could lead to needle breakage. While working, do not put your fingers near the needle or try to adjust the thread. When finished, lift the clamping foot. This is a necessary safety measure that will help protect against injury if the device is accidentally pressed.

