How to set up a sewing machine
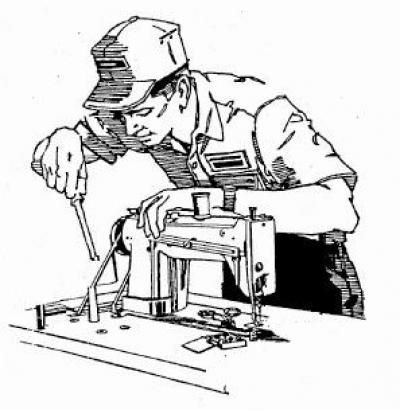
A sewing machine is a functional and reliable assistant for those who prefer to make high-quality products on their own, both for themselves and for sale. But, like any equipment, it periodically requires repairs and adjustments, which are best left to an experienced specialist. If there are none nearby, then you can do it yourself, because the process is not particularly complicated and requires only attention and accuracy. How to set up a sewing machine yourself and what rules should you follow?
The content of the article
How to set up the device?
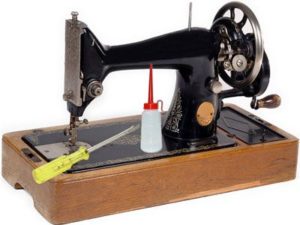
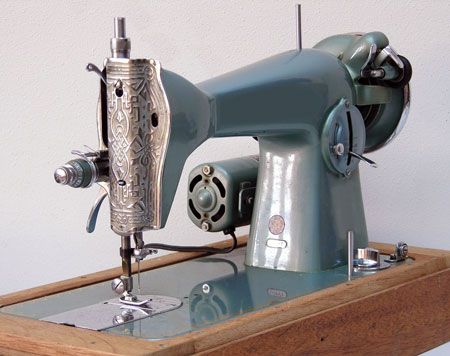
Old models amaze with their endurance and durability - despite their venerable age, the quality of their work is in no way inferior to modern products. Proper setup of a sewing machine depends on understanding the principle of its operation:
- A winder (wheel) is attached to the right side, which is operated manually. A nearby lever is used to adjust the stitch length.
- There is a shuttle fixed on the left, and next to it there is a presser foot with a needle.
- The movement of the material during sewing is ensured by slats fixed to the working surface.
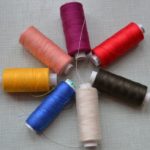
First of all, you will need to choose the numbers of needles and threads, which will make it possible to work with all kinds of materials.In addition, you should pay attention to the stitching, but before work you need to carefully study all the settings, only then you will be able to determine which stitch is better to choose. The thread, which is tensioned from below, is regulated by a screw installed on the bobbin cap, and the upper thread is regulated by a special regulator located near the lever that lowers the presser foot.
What parameters can be adjusted?
The need for adjustment when using sewing machines at home often arises when the thread and needle numbers are incorrectly selected in relation to the material being processed.
NOTE. Working with coarse material requires a higher needle number and a lower thread number. When sewing thin material, on the contrary, you will need a higher thread number and a lower needle number.
The main parameters that are available for self-adjustment are the following:
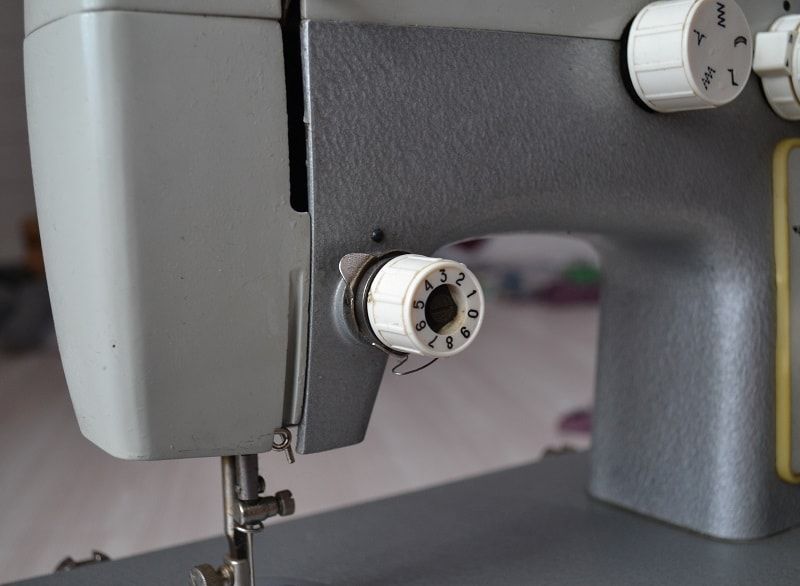
 Stitch length. For classic material the value is 2 mm, for thinner material the stitching is done more often, and for coarse material – less often. The maximum stitch length is 4 mm, which is varied by a special regulator with a digital scale. If it is fixed in the up position, the fabric will not feed, so while working it should be lowered down, which means a longer stitch.
- Feeds fabric in the opposite direction. You can sew not only in the forward direction, but also in the opposite direction, in which the material is fed to the master. Switching is performed by a control lever, which is set to a certain position. The stitch length does not change, and switching in the opposite direction occurs without removing the fabric and stopping sewing.
- Presser foot pressure adjustment.The value changes, as a rule, when working with particularly light and silk fabrics, which require a slight reduction in presser foot pressure. With coarser materials, on the other hand, the clamping force needs to be increased. Adjustment is carried out using a screw with a scale.
The quality of sewing is also affected by thread tension - ideally, both threads are intertwined in the middle of the fabrics being fastened. The stitching on both the bottom and front sides should look the same.
The process of setting up a PMZ sewing machine
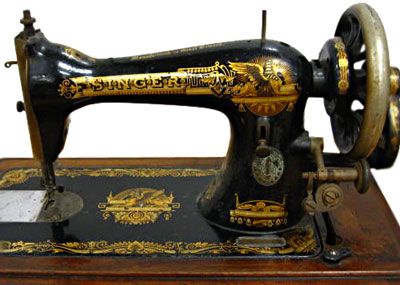
The PMZ sewing machine is notable for the fact that it can confidently handle any fabric, regardless of its density and thickness. For this reason, it is still popular among craftsmen, despite the fact that the model is quite old. Many people have a Podolsk manual machine in their homes. For the machine to operate correctly and efficiently, it is necessary to configure it correctly:
- The device for winding the thread is located on the back side of the product, near the flywheel, to which the tension device is attached.
IMPORTANT. When threading the thread, the flywheel wheel must be turned off, which will eliminate the possibility of operation. This is done by twisting the friction screw onto the master.
- A bobbin is installed on the winder.
- A spool of thread is fixed on the rod.
- The thread is pulled under the tensioner washer and starts up towards the bobbin.
- The frame of the winder is pulled down until the pulley rim and the flywheel come into contact.
NOTE. Until the procedure is completed, you must constantly hold the free edge of the thread, which guarantees its smooth winding.
The bobbin is attached to the cap so that there is an oblique slot on top - through it the thread will stretch to the spring and come out again through the end slot. The entire structure is fixed in the machine and the shuttle device is closed.
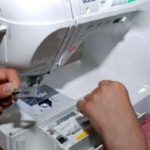
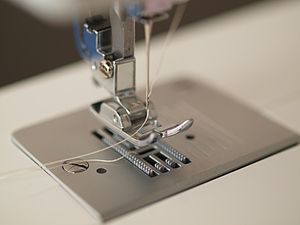
To attach the needle, the needle bar is set to the upper position. The groove of the blade is turned to the right, and the flat side of the flask is turned to the left. Next, the thread pulling lever is fixed in the upper position and the upper thread is wound, and the handwheel turns towards the master. Threading is carried out from the reel and to the eye of the needle. The lower thread is pulled outward when the handwheel is turned, which allows the needle to lower and grab it from the shuttle, and then rise up.
It is also recommended that you familiarize yourself with the following important points:
- The rotation of the flywheel away from the shuttle and towards the master will allow you to avoid getting the thread tangled in the shuttle.
- When idle, the presser foot rises.
- When turning on the machine, the fabric must be under the presser foot, otherwise the teeth will become dull.
- When working, pulling and pushing the material is strictly prohibited, because the needle is fragile and can break.
- The plate located above the shuttle must be closed.
Older models do not have the bobbin pressure spring found in newer machines. A little trick will help fix this - cut out a paper or fabric circle, the diameter of which is slightly less than the diameter of the bobbin, after which an axial hole is cut out in it. Next, the circle is attached to the bobbin case, lubricated with machine oil and the bobbin is fixed there.
Basic rules for doing the setup yourself
Even an inexperienced person can configure it independently. To do this, you must adhere to certain rules:
- First of all, you need to adjust the spring that lifts the thread.It is twisted to a position that will make it impossible for the thread to unwind when secured with a bobbin.
- Optimal thread tension should be ensured using the mechanisms in the interline shuttle screw and on the front panel of the device.
- The functionality of the machine is checked, which will require an unnecessary piece of material. After work, the stitching is inspected - if hanging loops are found in it, then the upper thread is too tight and needs to be loosened. If the product is set up correctly, the seam should look even and have nodules in the middle that cannot be felt.
- The correct value of the foot pressure is set, for which the spring is adjusted by tightening a special bolt. Most models have it in an accessible location and rotate very easily for quick adjustments.
IMPORTANT. The bolt in the car should not be too tight, but should not be loose. Too much pressure can cause the fabric to rip, while too little pressure can result in a crooked seam due to insufficient pressure on the material.
- The serviceability of the electric drive is checked. An incorrectly set speed, which is performed by the regulator located in the pedal, leads to incorrect operation of the product. An incorrectly set sewing speed also prevents efficient work - the machine operates abruptly even with slight pressure on the pedal. The defects must be corrected by removing, cleaning and reinstalling the pedal.
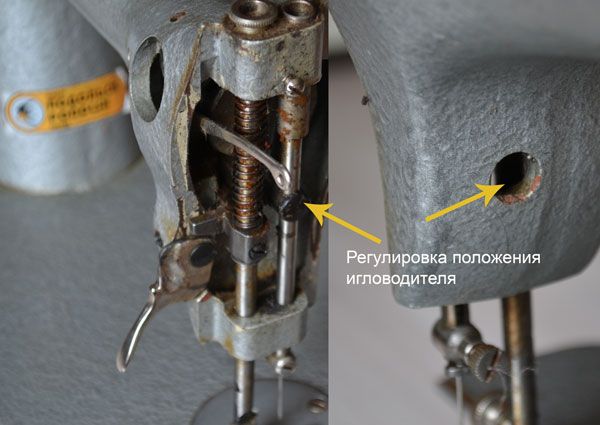
The final preparatory stage is checking the needle holder, the set stitch length, the sharpness of the fixed needle, and its compliance with the selected fabric. You can even customize an old manual machine.
How to set up a sewing machine after a long period of inactivity?
If the device has been left idle for a long time, then its use should be preceded by adjustment and cleaning. This is required to check the functionality of all mechanisms and elements and the absence of rust. To do this, the old manual machine must be disassembled and all its components are treated with machine oil. After this, the machine is put back together and idled at low speed, which will allow the oil to evenly cover the parts.
IMPORTANT. It is imperative that the needle is replaced and only then the thread is threaded.
For the first start, use unnecessary material, since drops of machine oil can leak out and get on it. If the line is correct, then you can confidently begin work.

Select the correct tension for the upper and lower threads using the clamping screws.

please tell me what needs to be done with my “Podolsk” machine, it was produced in 1956, it works properly, but recently the top thread on the fabric has started to get tangled in a “beard” every time I start working, to avoid this I have to constantly tighten the top thread .