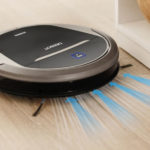
DIY robot vacuum cleaner
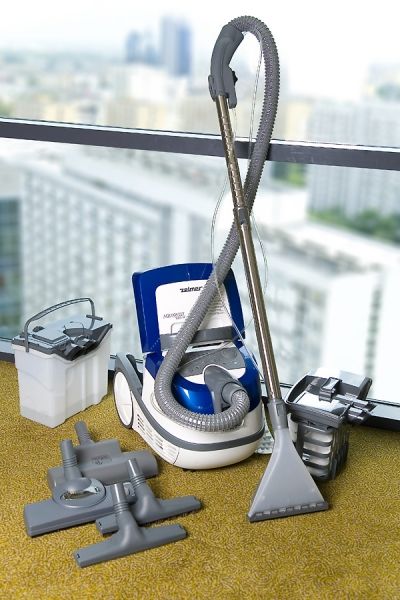
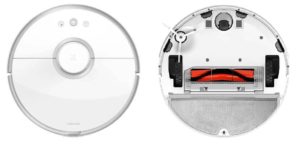
It can be difficult for modern people to keep their home clean. However, technology has come a long way; Robotic vacuum cleaners have appeared that clean the apartment independently. They cost a lot of money, but you can try to create such a device yourself.
The content of the article
Features of making a robot vacuum cleaner at home
 For manufacturing, you need at least amateur skills, because the process of manufacturing a robot vacuum cleaner requires time and patience. But a ready-made device will help you save money first, and then time and effort spent on cleaning.
Theoretical aspects
To successfully make a robot vacuum cleaner with your own hands, you need to understand the essence of its work from the inside. Let's look at a few rules, the observance of which will ensure the correct functioning of the equipment:
- The robot must have the shape of a washer or disk for the correct movement;
- The wheels are placed along the diameter of the vacuum cleaner so that it can make turns;
- The center of gravity is most optimal on the wheels, but can also be close to them;
- The average speed of the device is 25–35 cm/sec;
- A contact bumper measuring at least 0.5 from the circumference is a mandatory component of a robot vacuum cleaner;
- Charging a homemade robot must be done from a charger; there is no need to disassemble the device;
- Dust and debris should be collected in a separate container that can be removed and cleaned.
How to make a drawing
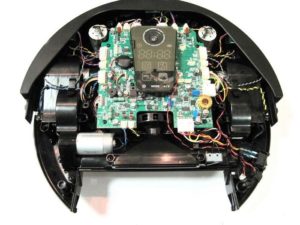
 Modern Internet resources allow you to assemble a robot vacuum cleaner without drawings or other diagrams. However, in order for you to understand the structure of the device, we advise you to draw up such a drawing in order to visualize the internal structure. The fact is that choosing parts for a robot is easier than correctly arranging them inside. Let us present you with an approximate drawing of the future miracle of technology:
Advice! Mark on the drawing all the components of the future vacuum cleaner and their approximate dimensions. Use arrows to indicate the direction of air and dust particle suction. Visibility is one of the steps to the success of a future build.
To draw up a diagram, let's decide what components will be needed in the work:
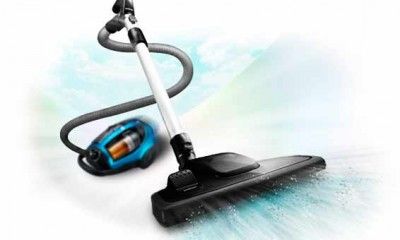
- The Arduino board is the “brain” of the future robot;
- Turbine from an old vacuum cleaner;
- The engine is small (you can take an old computer cooler);
- Rangefinders - 2 pieces;
- Wheels (preferably 2 regular and 1 swivel), motors with gearboxes;
- Controller (for engine);
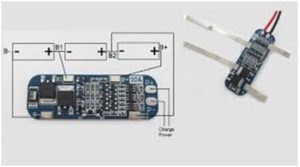
- 3 lithium batteries;
- Charge controller;
- Wires;
- Thick cardboard.
Important! If you can’t find an old turbine, you can make it yourself from thick cardboard. The diagram is attached.
Features of the assembly
 When assembling a robot vacuum cleaner with your own hands at home, start by organizing the power supply. To do this, charge the batteries using the controller. Next, you need to create control of the device’s drive motors. It is best to use a module on an L298 type chip. To adjust the speed, you need to apply a PWM signal to the ENA or ENB pin.To change the direction of rotation, apply opposite signals to IN1 and IN2 for one motor, and to IN2 and IN3 for the second motor.
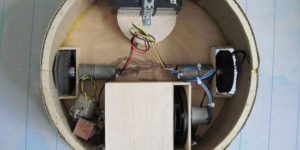
Then the motor needs to be connected to the Arduino. Make a circle out of cardboard, then attach wheels to it (calculate the diameter for the “filling” - about 30–35 cm). Use regular wheels on both sides, but with bevel gears, and between them at the back there is a turning wheel for maneuverability.
Mount all the electronics and the vacuum cleaner unit onto the manufactured base. We attach rangefinders to the front.
The next step is to build a turbine, so we remove the blades of the computer cooler and glue a turbine from an old vacuum cleaner into it with hot glue. Secure it exactly in the center: we don't want any imbalance.
You can build the side walls of the vacuum cleaner yourself. The main thing, do not forget: it must have a cylindrical shape.
Testing the device
 After assembling the vacuum cleaner, be sure to check its operation. He will have to perform the following actions: drive forward to the obstacle. If an obstacle is encountered on the way, the robot moves back, makes a U-turn at an uncertain angle and goes in that direction. And also do not forget to check the suction power of the device. If everything works, you have successfully completed the task!
Expert advice
- Try assembling a robot platform from plywood. You can also use a small disc-shaped plastic basin or container.
- When choosing wheels, do not choose too large ones, otherwise your robot will drive at too high a speed.
- If you want to improve your vacuum cleaner, attach two brushes to the front that will push debris into the dustbin.
- Instead of rangefinders, you can use a system of bumpers connected to limit switches.