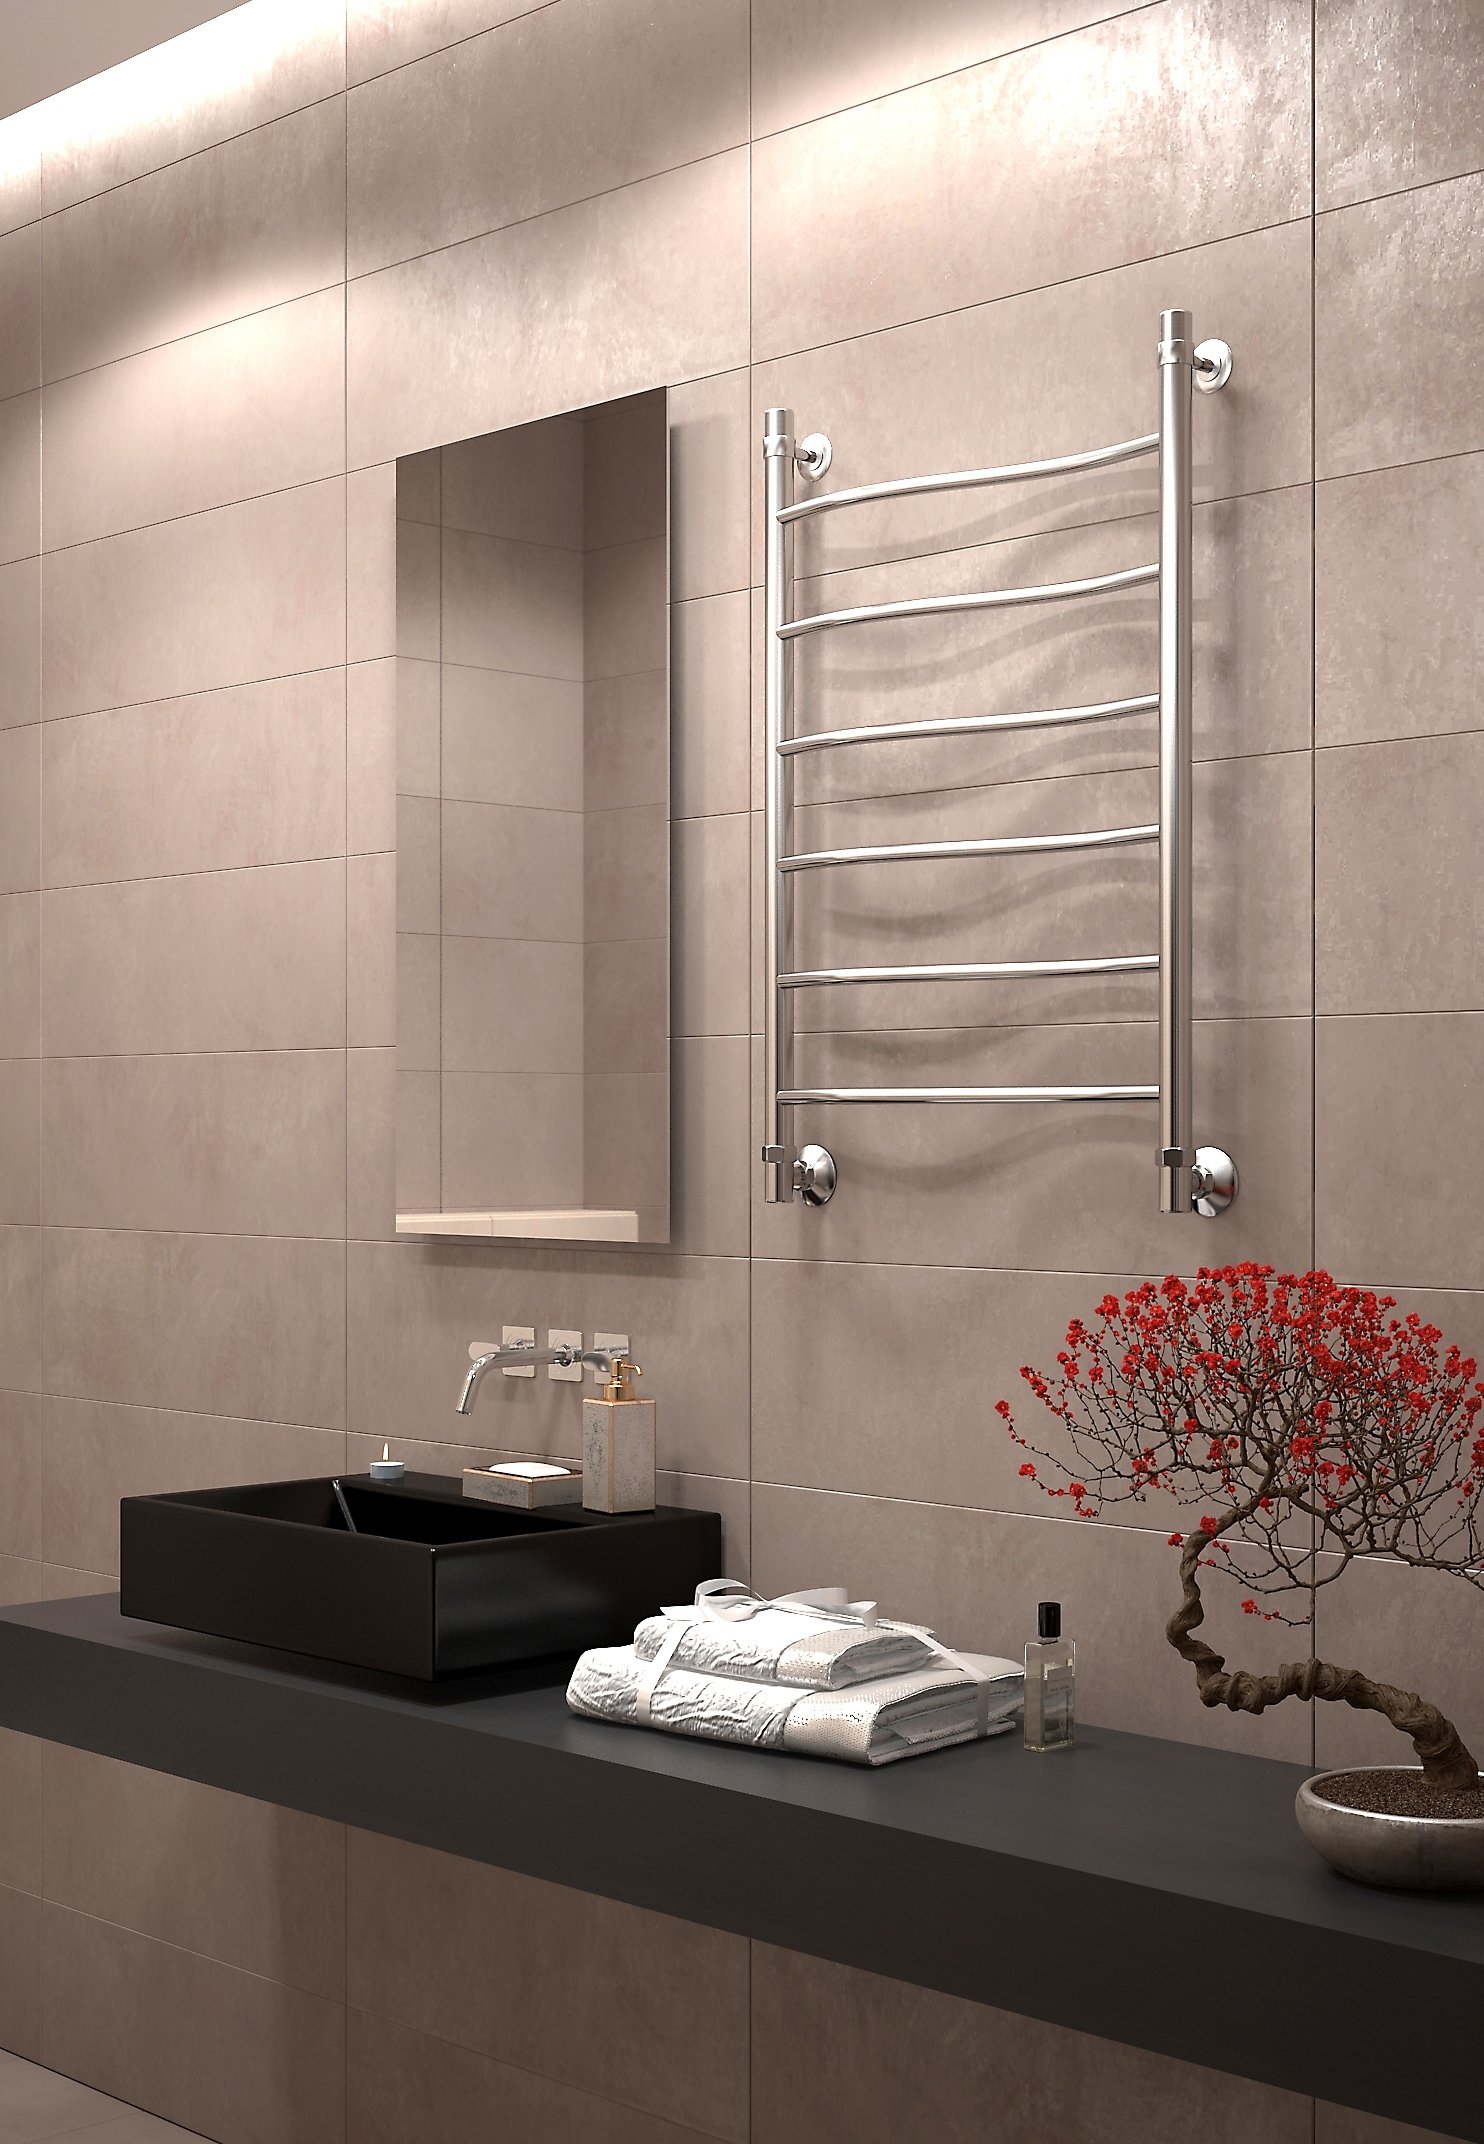
Installing a heated towel rail with bottom connection
 The bathroom is a room where there is always high humidity. It is not customary to install heating in such rooms, so heated towel rails come to the rescue. Thanks to them, the temperature rises and helps get rid of excess moisture, as well as make your stay in the bathroom more comfortable.
The content of the article
How to install a heated towel rail
To understand how to connect, you first need to study the types of heated towel rails.
So, there are four main groups:
- U-shaped. They are the simplest (side connection).
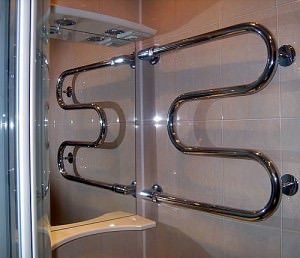
- Snake. Also one of the simple models that has a side connection.
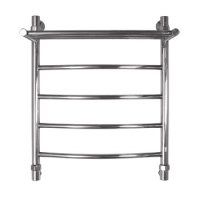
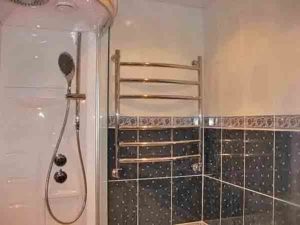
- Ladder. This design consists of several side bars.
- Complex shape. Such dryers will decorate your interior due to their unusual shape. Connecting this device is very labor-intensive, so you should seek help from a professional.
The following materials are used for the manufacture of PS:
- copper;
- brass;
- stainless steel;
- steel.
Also, all towel dryers are divided into three types:
- Mermen.
- Electrical.
- Combined.
What you need
For high-quality installation of the dryer you may need:
- The product itself.
- Brackets.
- PPR pipes.
- Knife for cutting PPR.
- Dowels.
- Bulgarian.
- Screwdriver.
- Screws.
- Two American women at 3⁄4.
- Screwdriver.
- Welding for PPR pipes.
- Two water sockets.
- Linen winding.
- Two taps.
- PPR elbow with internal thread.
- Twelve pieces of polypropylene elbows.
- Combined coupling with internal thread.
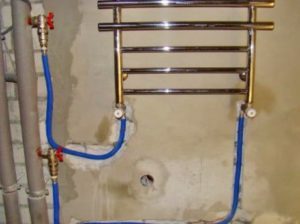
Bottom Connection Variations
This variation has both its pros and cons, let's talk about them.
The benefits include:
- The ability to hide pipes under the shower or bath, so there is no need to scratch the wall.
- This option will work in any direction of supply in the riser.
Minuses:
- Less effective when compared to side installation.
- It is necessary to bleed the air.
Necessary conditions for high-quality operation of the PS:
- The top of the riser should be lower than the connection points.
- The angle of inclination of all pipes must be observed. It must be at least 3 mm per meter. It is recommended that the slope be no less than 30 mm per meter.
- The presence of humps is unacceptable, since as a result air will accumulate inside and circulation will be disrupted.
- In order to ensure strong circulation, the diameter of the pipes should not be less than 3/4″. It is permissible to use pipes with a smaller cross-section only if the length of the pipes leading to the device is short, however, in this case, uneven heating may be noticeable.
- All supply pipes should be insulated to improve circulation.
Bypass installation
The basic rule is that it is strictly not recommended to install taps on the bypass, because a closed or excessively narrowed bypass can lead to a number of negative consequences:
- Riser circulation problems.
- The water pressure in all apartments will deteriorate.
- The quality of operation of a heated towel rail with a bottom connection will deteriorate.
The standard equipment of the devices includes:
- Mayevsky crane;
- silicone gaskets;
- locking units;
- transition corners;
- telescopic brackets.
Important! It is recommended to use components made from the same material. This approach will help avoid the occurrence of electrolytic corrosion.
Before proceeding with installation, you need to remove the old equipment. To do this, you need to disconnect the riser from the water supply. Then:
- If the device is welded to the riser, then it must be cut off with a grinder.
- In the event that the substation is not one piece with the hot line, you just need to unscrew the threads at the connection points.
- Remove the outdated dryer from its brackets.

Important! It is possible to mount the coil without installing a bypass, but professionals strongly recommend making a jumper. Ball valves must be installed at the ends of the device. If the need arises, you can shut off the supply of warm water while it continues to circulate through the riser.
To install the valves, you need to cut new threads on the remaining sections of pipe. Then, install a tap on the finished pipes.
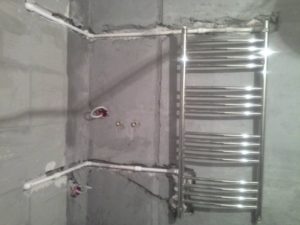
Dryer mount
The operating procedure is as follows:
- Markings for brackets are applied to the wall.
- The holes into which the dowels are inserted are prepared.
- The brackets are screwed to the PS, the device is applied to the wall and fixed with screws.
- Using fittings, the unit must be connected to jumpers and valves. All connections must be reinforced with linen winding.
 The installation method described above is universal. If installation does not require welding, you can do the installation yourself.However, before proceeding directly to the installation, you need to correctly select both the dryer itself and additional elements for it. If properly connected, the heated towel rail will serve for many years without any complaints.