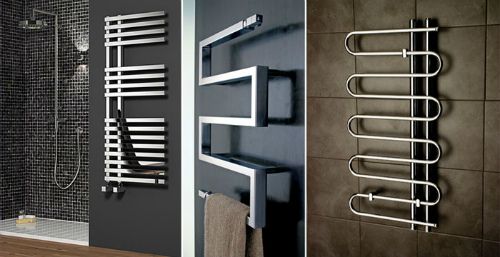
How to attach a heated towel rail to the wall
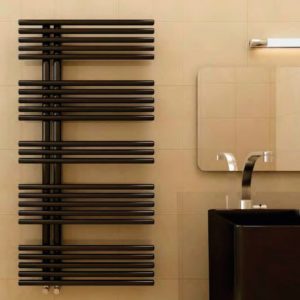 Currently, manufacturers of heated towel rails present a large number of options on the market. Nowadays it is very easy to find an item of the right size and design. However, in order not to make a mistake in your choice, you should correctly install and firmly fix the device. For this purpose, you need to use the services of a plumber or try to install it yourself.
The content of the article
Types of heated towel rails
When choosing a device, pay attention to its dimensions - they must correspond to the parameters of the bathroom. Nowadays, it is possible to purchase heated towel rails of various sizes and shapes. There are units with a diameter of 2.5 centimeters. Most often, such samples have the shape of the letter “M” or “P”. When the diameter is 4 centimeters, they are exclusively U-shaped and very rare, since the production of such models is a more labor-intensive and expensive process.
REFERENCE! Most often, preference is given to heated towel rails with a diameter of 3.2 cm; they are considered standard.
One of the main differences between different models of bathroom heated towel rails is the shape. It happens:
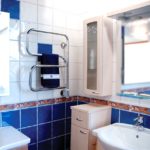
- Horseshoe-shaped. Perfectly complements a room designed in a minimalist style. Looks stylish and takes up little space.
- Form "E". Neat, elegant, without any frills.
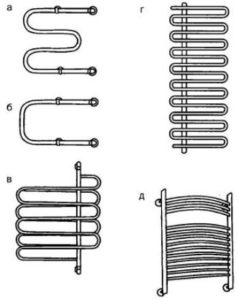
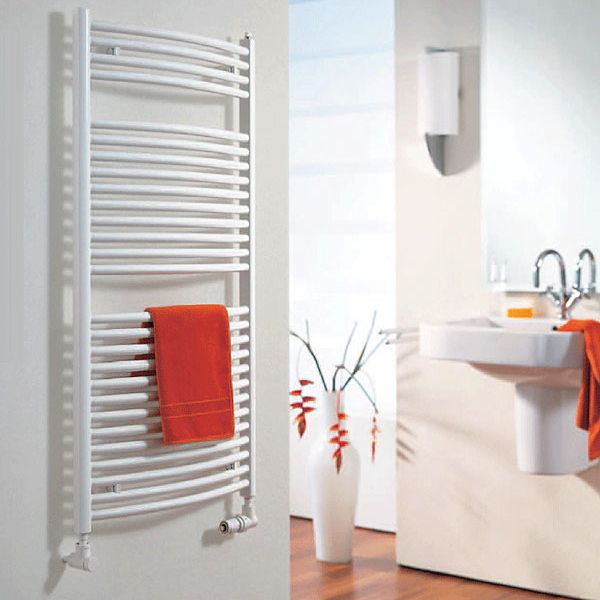
- Ladder. More in demand than other types. Suitable for installation in any room.
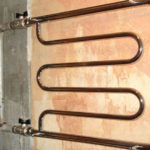
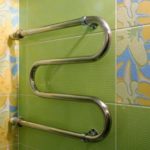
- “M” is figurative.It looks like a snake and like those models that were installed in every home in the past.
- Snake. Mainly used as decoration, but it serves its purpose. Looks great on a dark wall.
- With shelves. A model where shelves are inserted into one of the parts of the device. It is useful because you can hang or place objects on it.
There are also heated towel rails:
- water - the most common, connected to a hot water supply, less often - directly to the heating system;
- electric - they work, as the name implies, from electricity, according to the type of connection they can be with open or closed wiring, and the role of the coolant is water, oil or antifreeze;
- combined - they can be simultaneously connected to the water supply system and the heating element.
REFERENCE! Before installing a water heated towel rail, it is necessary to coordinate its connection with the utility service.
Mounting methods
There are differences in the method of fastening heated towel rails:
- Stationary. If you attach a device using this method, it will be strictly fixed - its position cannot be adjusted.
- Turning. With a rotating mounting option, the heated towel rail can, if necessary, be rotated 180 degrees relative to the mounting surface. The role of a seal during installation is performed by rubber rings. If you expect active use, you should choose the highest quality models.
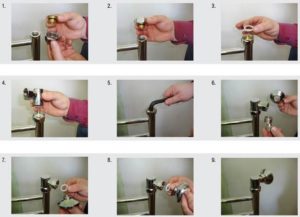
The place where the heated towel rail will be mounted is determined before purchase. This approach allows you to understand the required parameters and type much more accurately. Choose products that come with fasteners in the kit. If there are none, purchase them yourself. Procedure:
- Prepare the base for mounting.If necessary, dismantle the previous unit. To do this, turn off the water and unscrew the nuts with a pipe wrench, then carefully remove it from the wall and remove the old fastener.
- Unpack the device and fit it with the holders. To do this you will need a screwdriver. As soon as the necessary components are used, you should correlate the device with its future location. Make marks along which you will drill. For accurate calculations, use a level. It is better to attach the heated towel rail with someone's help.
- At this stage you should drill holes of the required size. Use different drill bits for tile and concrete surfaces. Insert plastic dowels into the holes made.
- Attach the device mount.
- Finally, you should connect the heated towel rail to the DHW system or heating system.
Mounting an electric heated towel rail
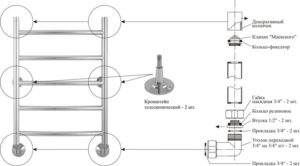 First you will need to mount the heated towel rail to the wall (discussed above). Next, you have a choice: connect the device via a junction box or using a socket. If an outlet has been chosen, then you need to think about safety - it must be waterproof and located at a distance from water. If it is from a junction box, then you need to take care of the wires coming out in the right place when installing electrical wiring in the bathroom.
After the product is installed, it is necessary to connect the wires to the terminals of the device. The switchboard must first be disconnected. Insulate the connection point of the wires. Check that everything is done well - shake the housing, making sure that it is securely installed in the wall.Turn on the switchboard and make sure it is working.

