DIY garage ovens
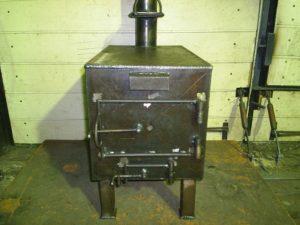 It is usually very cold inside a private garage in winter. Using electric heating devices is expensive and ineffective, so many car owners prefer to make stoves themselves, choosing the most suitable option for themselves.
The content of the article
What kind of stoves can be made for a garage
The following types of stoves are most often used for garage premises:
- wood stoves;
- from two barrels;
- long burning stove;
- unit under development;
- brick version of the heating device.
Each option has its own positive characteristics and disadvantages. Therefore, for self-production, each owner chooses a more convenient and affordable device.
Wood burning stoves for garage heating
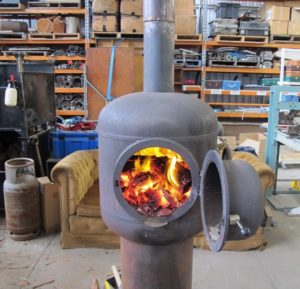 People who are not involved in plumbing consider the manufacture of a heating device for a garage to be labor-intensive and complex. In fact, some units are so simple that they can be assembled from materials that are available to almost every car owner.
Before you start assembling the structure, it is necessary not only to draw up a definite work plan and draw a diagram of the future stove for the garage, but also to study all the pros and cons of the chosen option.Let's look at the most effective units and the process of their manufacture.
Vertical
These are the most common options for garage stoves that can be made from the following materials:
- pipes;
- barrels;
- gas cylinder.
The design is compact and ergonomic, does not take up much space.
The assembly algorithm is as follows:
- prepare a cylindrical part that meets the parameters;
- divide it into 2 halves, one large - for the firebox, the second small - the ash pan;
- then square holes for the doors, which are made from cut-off parts, are installed in these elements;
- attach hinges to the doors;
- in the place where the cylinder is cut, a grate is installed - a grate made of steel rods, which are welded to the top of the ash pan at a distance of no more than 2 cm from each other;
- a hole for the chimney is cut in the upper part of the firebox;
- fix a pipe of the required cross-section and length to remove carbon monoxide from the room.
The vertical potbelly stove is ready for use.
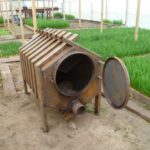
Horizontal
This is the second option for the location of the furnace part of the stove. The negative side of such a unit is its bulkiness, which is why the structure is built only in large garage spaces. For manufacturing, you can use either a large cylinder or pipe, or sheet steel of a certain section.
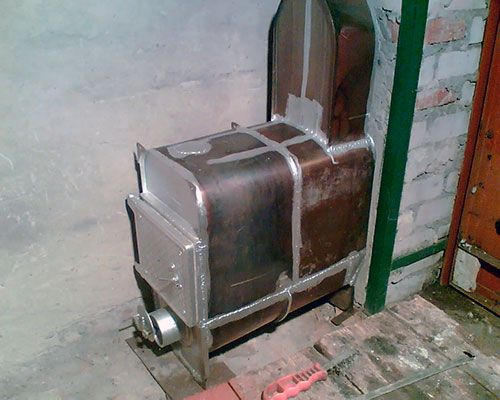
Instructions for making a stove:
- There is no need to cut the part into 2 parts; the ash pan is made separately.
- On one side of the cylinder, drill holes that will serve as a blower and removal of ash and firebox.
- Make a rectangular ash pan from sheet steel and weld it to the bottom of the structure.
- On one side of the product, cut a hole for the door.
- Weld the hinges.
- In the upper part, install a chimney from a pipe of a certain cross-section, in a pre-made hole.
- Weld the legs so that the structure stands level and firmly on the floor.
The stove for the garage is ready, you can start lighting it.
From two barrels
The design of two barrels was invented to ensure that the walls of the potbelly stove do not overheat, as happens in sheet metal stoves. The heating unit is manufactured in the following way:
- select 2 barrels of different diameters, so that you can place one inside the other while maintaining a gap, which is filled with sand or pebbles;
- doors for the chimney and ash pan are constructed in such a way that the contents of the internal space do not spill out, covering it with strips of sheet metal;
- a chimney is installed in the upper part, with a pipe for removing combustion products.
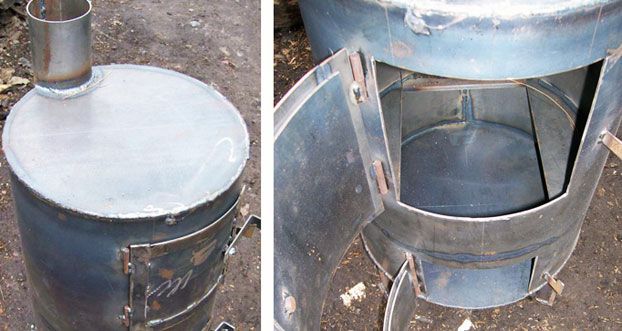
IMPORTANT! This design will take much longer to heat up, but it will retain heat for a long period, which is important in winter.
Do-it-yourself long-burning wood stoves
This design allows you not to add firewood for a long time – 15–20 hours. This is achieved by arranging moderate draft with the help of air. For this design, a 200 liter barrel is used.
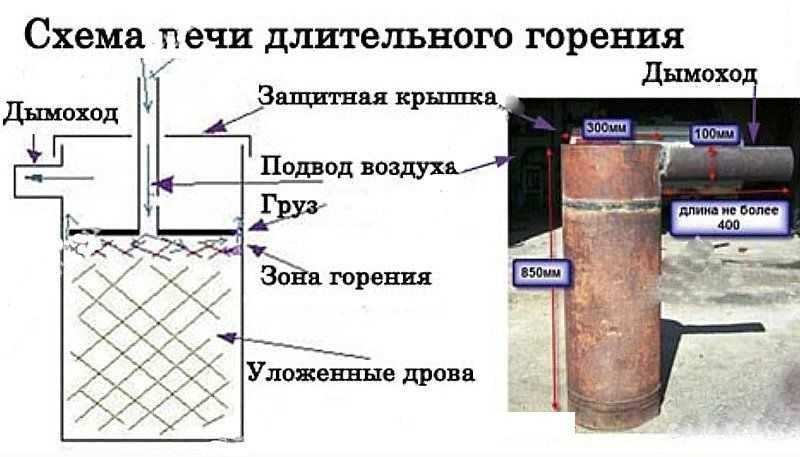
A chimney with a diameter of at least 150 mm is installed in the upper part of the structure. You should also arrange a special hole for the vent through which air will flow.
The next step is to install the doors for the firebox and ash pan. The last step will be arranging the cargo, for this you need:
- make a circle from sheet metal, smaller in diameter than the barrel itself;
- several sections of channel are welded to it;
- make a hole in the circle for a pipe with a cross-section of 100 mm;
- a square metal sheet is welded to the bottom of the barrel to give stability to the finished structure;
- place the load in the barrel and cover with a previously prepared lid with a hole for the chimney.
The finished long-burning stove is installed on a foundation made of concrete or brick.
Furnaces in progress for the garage
This is a fairly effective design, which will be more difficult to build than a wood-burning stove. The economic aspect of this furnace is obvious - every motorist has used oil, in addition, it is not difficult to buy this fuel at car services, and it is inexpensive.
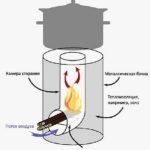
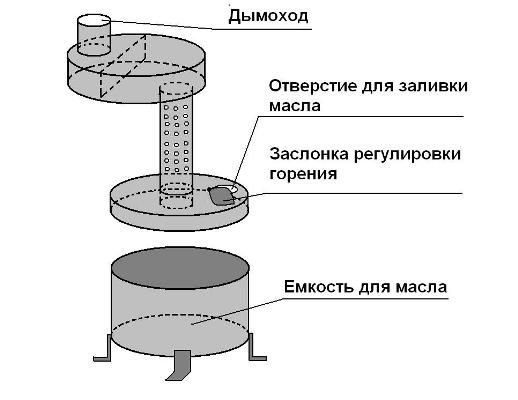
The main difference of this design is the arrangement of two compartments, connected to each other by a pipe with holes drilled around the entire perimeter.
In the lower compartment, oil will burn, transforming into gas, which, passing into the second half of the furnace, mixes with air during combustion, giving a lot of heat. In the first container, which can be of any configuration, an adjustable blower is installed to regulate the air supply.
Legs from a metal corner are welded to the bottom, which can support the entire structure. Next, a thick-walled pipe with perforation into the initially prepared hole is welded to the upper part of the first chamber.
A second chamber, in the shape of a cylinder, is welded to the top of the pipe, in which the chimney is installed. In this design, you can burn any liquid fuel that does not ignite quickly.
Do-it-yourself brick oven for the garage
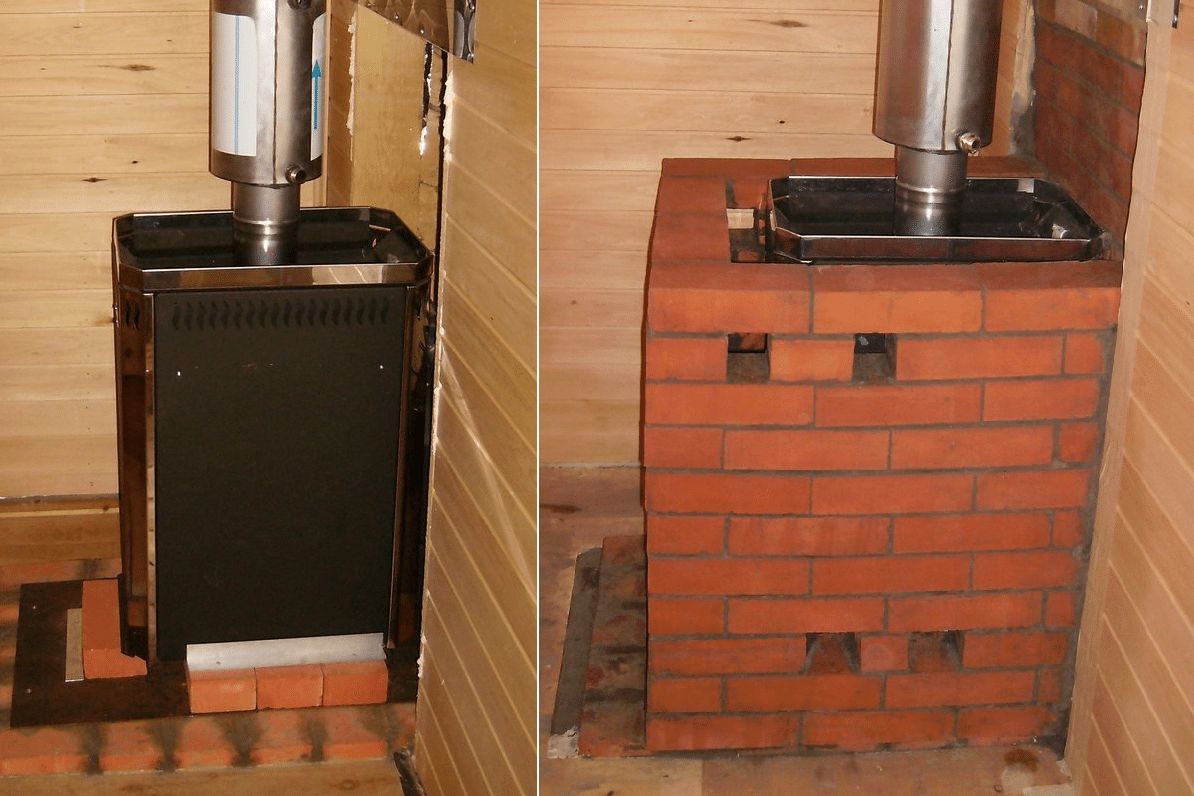
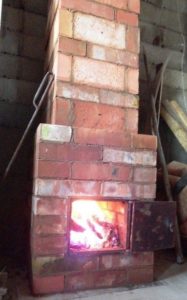 Sometimes a brick heating structure is installed in a large garage, despite the fact that its installation process is much more complicated than all the units described above.The advantage of this design is the fact that the unit heats up for a long time, but also cools down for a long time.
The brick oven must be heated in advance, 1–2 before starting work in the garage. To build this structure, you should prepare the required amount of fireclay and refractory bricks.
ATTENTION! A brick kiln has a fairly large specific gravity. Therefore, it is advisable to build a reliable foundation for the structure.
The heating unit is built in 9 rows, at levels 2–4 the ash pan and firebox are laid out. The pipe is made of brick and leads out through the ceiling and roof; it is important that the masonry is level, otherwise the chimney will quickly become clogged.
Any car owner can build a stove in a garage if he approaches the structure wisely and uses the tips presented above.

