How to cover cracks in a stove between bricks
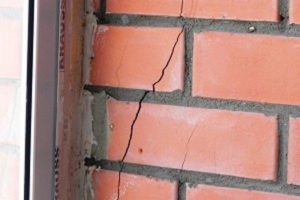 Since ancient times, the stove has warmed a person’s home, but it could be the cause of carbon monoxide poisoning. It was possible to get poisoned if cracks and crevices formed near the stove, between the bricks. Therefore, with the onset of the cold period, every owner should carefully check the operation of the stove and its appearance. If cracks are found, repairs must be carried out immediately.
The content of the article
How to cover up cracks in a brick stove
Before troubleshooting, you need to find out the extent of the damage:
- The top layer of the plaster mortar simply cracked, and a web of small cracks appeared. This only affects the appearance of the oven.
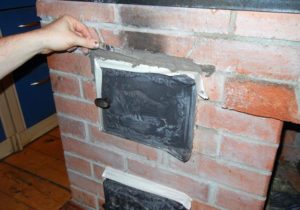
- There is a crack between the bricks or a cracked brick, but the stove does not smoke.
- A crack through which smoke and gas leaks, but it does not grow.
- A gap that gets bigger every day and a lot of smoke comes out through it.
If in the first two cases the problem is easy to deal with - just prepare a fresh solution for plaster, then in the third case - with a smoking stove - you need to carry out serious repair work. In the fourth case, contact specialists.
The owner must choose what to use to fill the cracks. There are several options:
- fireclay clay is environmentally friendly, moisture-resistant and resistant to elevated temperatures;
- clay and sand - the mixture does not collapse when the temperature rises, there is no need to buy it in a store, but prepare it yourself;
- grout - can withstand very high temperatures, is easy to prepare, but quite expensive;
- oven glue is a very heat-resistant and expensive material.
A mixture of clay and sand
The most inexpensive way to repair a furnace. Preparing the solution is also easy, you just need to know in what proportions to combine them. Necessary:
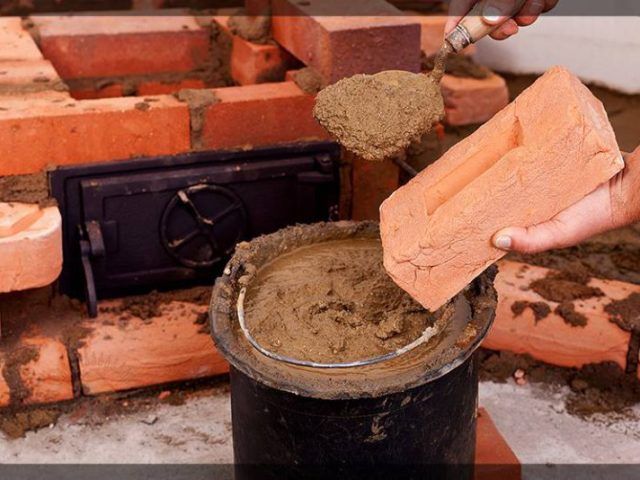
- Soak the clay in advance - fill 1 bucket of clay with 3 buckets of water for a day. It should have the consistency of soft plasticine.
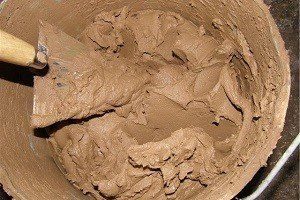
- Dilute the resulting mass with more water to the consistency of sour cream. Stir and strain to obtain a homogeneous solution.
- Sift the sand to remove small stones and debris.
- Add it to the clay solution, approximately 1:1, until the required composition is obtained.
There is interesting information about obtaining a high-quality composition.
REFERENCE! You can dip the handle of a shovel into the resulting mixture; if there is clay stuck to it, then you need to add sand. Only after seeing small clumps of sand and clay solution on the handle can you begin to plaster the walls of the stove.
To improve thermal insulation, in rural areas, horse manure is added to the composition.
Using glue
Furnace glue can be purchased at the store. It consists of fireclay clay and cement with increased fire-resistant properties. The package contains instructions for its use, which must be strictly followed when preparing it. The solution is plastic and easily fills the resulting gap and crack.
Special grout
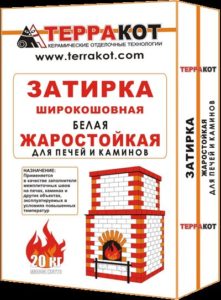 Grout can be bought at the store, but it is expensive.The package contains instructions for its use. The method for preparing the working solution is simple. It is enough to mix the powder with clean water at room temperature, a certain volume, until smooth. After 15 minutes the solution can be used. Grout consumption for a 10 mm crack – 1.5 kg per m2.
Application of fireclay clay
Fireclay clay (kaolin) can be purchased in stores; it is cheaper than grout, but also withstands higher temperatures and is effective. It is packaged in bags with detailed instructions for use. But it's not easy to work with it. Stages of preparing the working mixture:
- The clay is gradually filled with water, mixed thoroughly and infused for about three days.
- After this, the mixture is mixed with the addition of sand and, if necessary, water. The working solution should be as thick as sour cream.
In the store you can purchase a composition with instant mixing, without infusion. The price of this mixture is higher. When preparing the solution, you must use PVA glue.
IMPORTANT! Fireclay clay is recommended to be used if the stove is lined with fireclay bricks and based on its mortar, because there is the same percentage of expansion when heated. This ensures greater strength of the entire structure.
How to properly coat an oven
Furnace repair has its own peculiarities. It is better to do all the work in stages. Here are some tips:
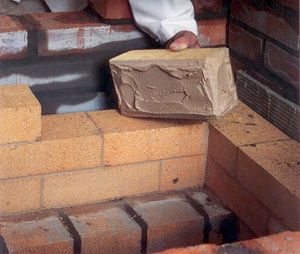
- Remove all the plaster at the crack site, widening it and deepening it up to 1 cm. This technique will increase the size of the repair surface that needs to be filled with mortar, which will significantly improve the quality of its adhesion to the furnace wall.
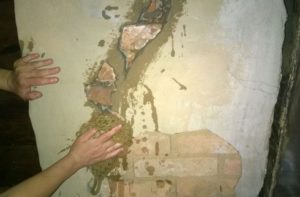
- Coat all prepared areas with water or primer. Then heat the oven, drying the entire surface thoroughly.
- While the stove cools, the repair areas are coated with a thin layer of clay solution.
- For greater practicality, you should use burlap or reinforcing mesh, which is attached with self-tapping screws.
- The prepared working solution is applied in a small thickness, in two layers.
- The oven must not be used until the solution is completely dry.
Causes of cracks in the stove
When laying or plastering the stove and its use, cracks and even cracks may form. There are several reasons for their formation:
- Poorly prepared solution.
- Improper finishing.
- Uneven heating of the oven.
- Incorrect use.
- Incorrect foundation construction.
Repairing furnaces is not a complicated process, but it is responsible. It doesn't matter which solution was chosen. The main thing is to do everything slowly and carefully, then the stove will last a long time.
The stove is NOT smoking - it is smoking!

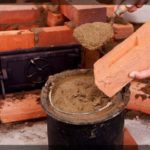
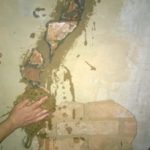
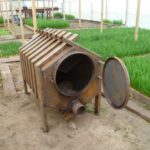
Repairing a stove is a very difficult process, and sometimes much more difficult than building small heating appliances, such as a standard stove with a heating shield. Indeed, before repairing, you need to understand the problem. And there can be many reasons for improper functioning: from improper use of the heating device to errors in construction (as a rule, everything comes out in a complex). This time.Regarding the mixtures used for repairs, in theory I will give 99.99% that a clay-sand mixture homemade by an amateur will fall out of the seams very soon (in practice 101%), since its correct preparation has many nuances and takes a considerable amount of time. Therefore, it is much easier to buy a special repair mixture that does not crack when it dries quickly in seams heated to maximum expansion, which should not be dried, but should be moistened abundantly when caulking (or, in Russian, filling) with the prepared solution. Let’s say “Plitonit - thermal repair” would be suitable, and “Terracotta” seems to have thrown something out on the market... Conclusion: an article to fill the site with content, in principle, with almost correct theoretical premises, but completely divorced from practice. For example, the author of this commentary only on general approaches to the repair of brick stoves at one time made a rather large brochure, but in my mind, a whole book should be written there so that an uninformed person would somehow understand the issue. Therefore, dear readers, if you have reached the end of this text, my advice to you is not to engage in DIY repairs of heating devices, contact specialists, I assure you, it will be cheaper.