How to assemble a manual meat grinder
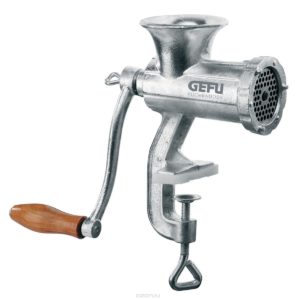 A manual meat grinder is a simple device that has been used for grinding meat and various products for several centuries.
In every kitchen you can find this device that turns meat into juicy minced meat. In addition, it squeezes juice from soft vegetables, purees fruits, and is used to make cookies and pasta dough.
The content of the article
Features of manual meat grinders
Although in the modern world, electrical household appliances are ruthlessly replacing mechanical devices, many people prefer manual units for grinding meat.
Some housewives are sure that manual meat grinders are a relic of time. However, the advantages of the devices prove the opposite.
Advantages
- Low cost compared to electrical appliances for similar purposes.
- Durability.
- Easy to use.
- Possibility of use in any conditions (at the dacha, in the yard).
- Independence from sources of electricity and voltage.
Experienced chefs are confident that the taste of ground meat passed through the grate of a manual meat grinder is much better than that obtained using an electrical appliance.
The fact is that the consistency of the minced meat is quite coarse, and not airy and creamy.
Advice. This minced meat is preferable for preparing cutlets and other meat dishes - it holds its shape well and does not crumble.
For objectivity, it should be noted that the device has flaw. When using a manual unit, it is the need to put a lot of effort into processing meat.
Advice. To make your work easier, you need to monitor the condition of the cutting edges of the knife and sharpen them regularly. If the cutting surfaces are sharp, then the meat is ground easily.
Housing material
Manual units were made of cast iron, steel, durable plastic, and aluminum. Soviet meat grinders that were cast made of cast iron, were cheap and easy to operate. Many housewives still have them. They cannot be broken, but they are quite heavy.
Meat grinder aluminum much easier. It also lasts a long time, but it is difficult to twist meat on it - you need to put in more effort.
Plastic the models are light and functional, but short-lived. They must be handled carefully so as not to break.
How does a manual meat grinder work?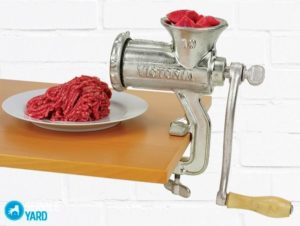
A familiar kitchen device is a fairly simple technical device from a design point of view.
His the principle of operation is based on two points - manual drive and mechanical pressureand, which is created by the screw.
- The meat loaded into the bowl falls onto the screw shaft. It performs the function of a transporter.
- Due to physical impact, the meat is moved by the auger towards the exit and pressed against the grate.
- The knife rotates and moves along the plane of the grate, cutting off fragments of meat from large pieces.
- The cut pieces can only pass through the grate once they are quite small.It is not recommended to load too large pieces into the meat receiver, as they can block the operation of the unit.
- The resulting minced meat passes through the grate and ends up in a container, which must first be placed under the clamping nut.
The grinding process occurs continuously as long as the meat grinder handle rotates. If the resulting minced meat is not fine enough, you can skip it again. The quality of grinding can also be adjusted using interchangeable grates.
If large pieces of meat or veins get stuck, you can turn the handle in the opposite direction using the reverse of the auger. The product will come out through the top opening and can be loaded again. Incorrect operation can also be caused by fibers wrapping around the knife. In this case, you need to disassemble the device, clean it manually and reassemble it.
Advice. To keep all parts of the unit in working order and prevent rust from appearing on them, you need to disassemble the meat grinder after each use.
Parts and components
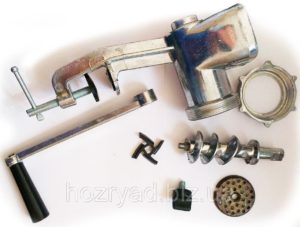
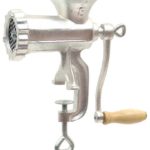
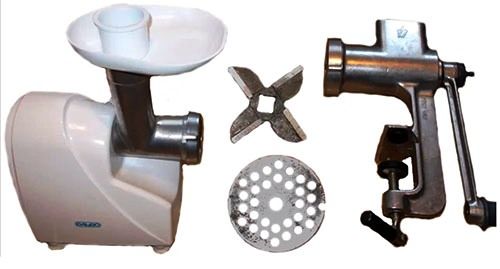
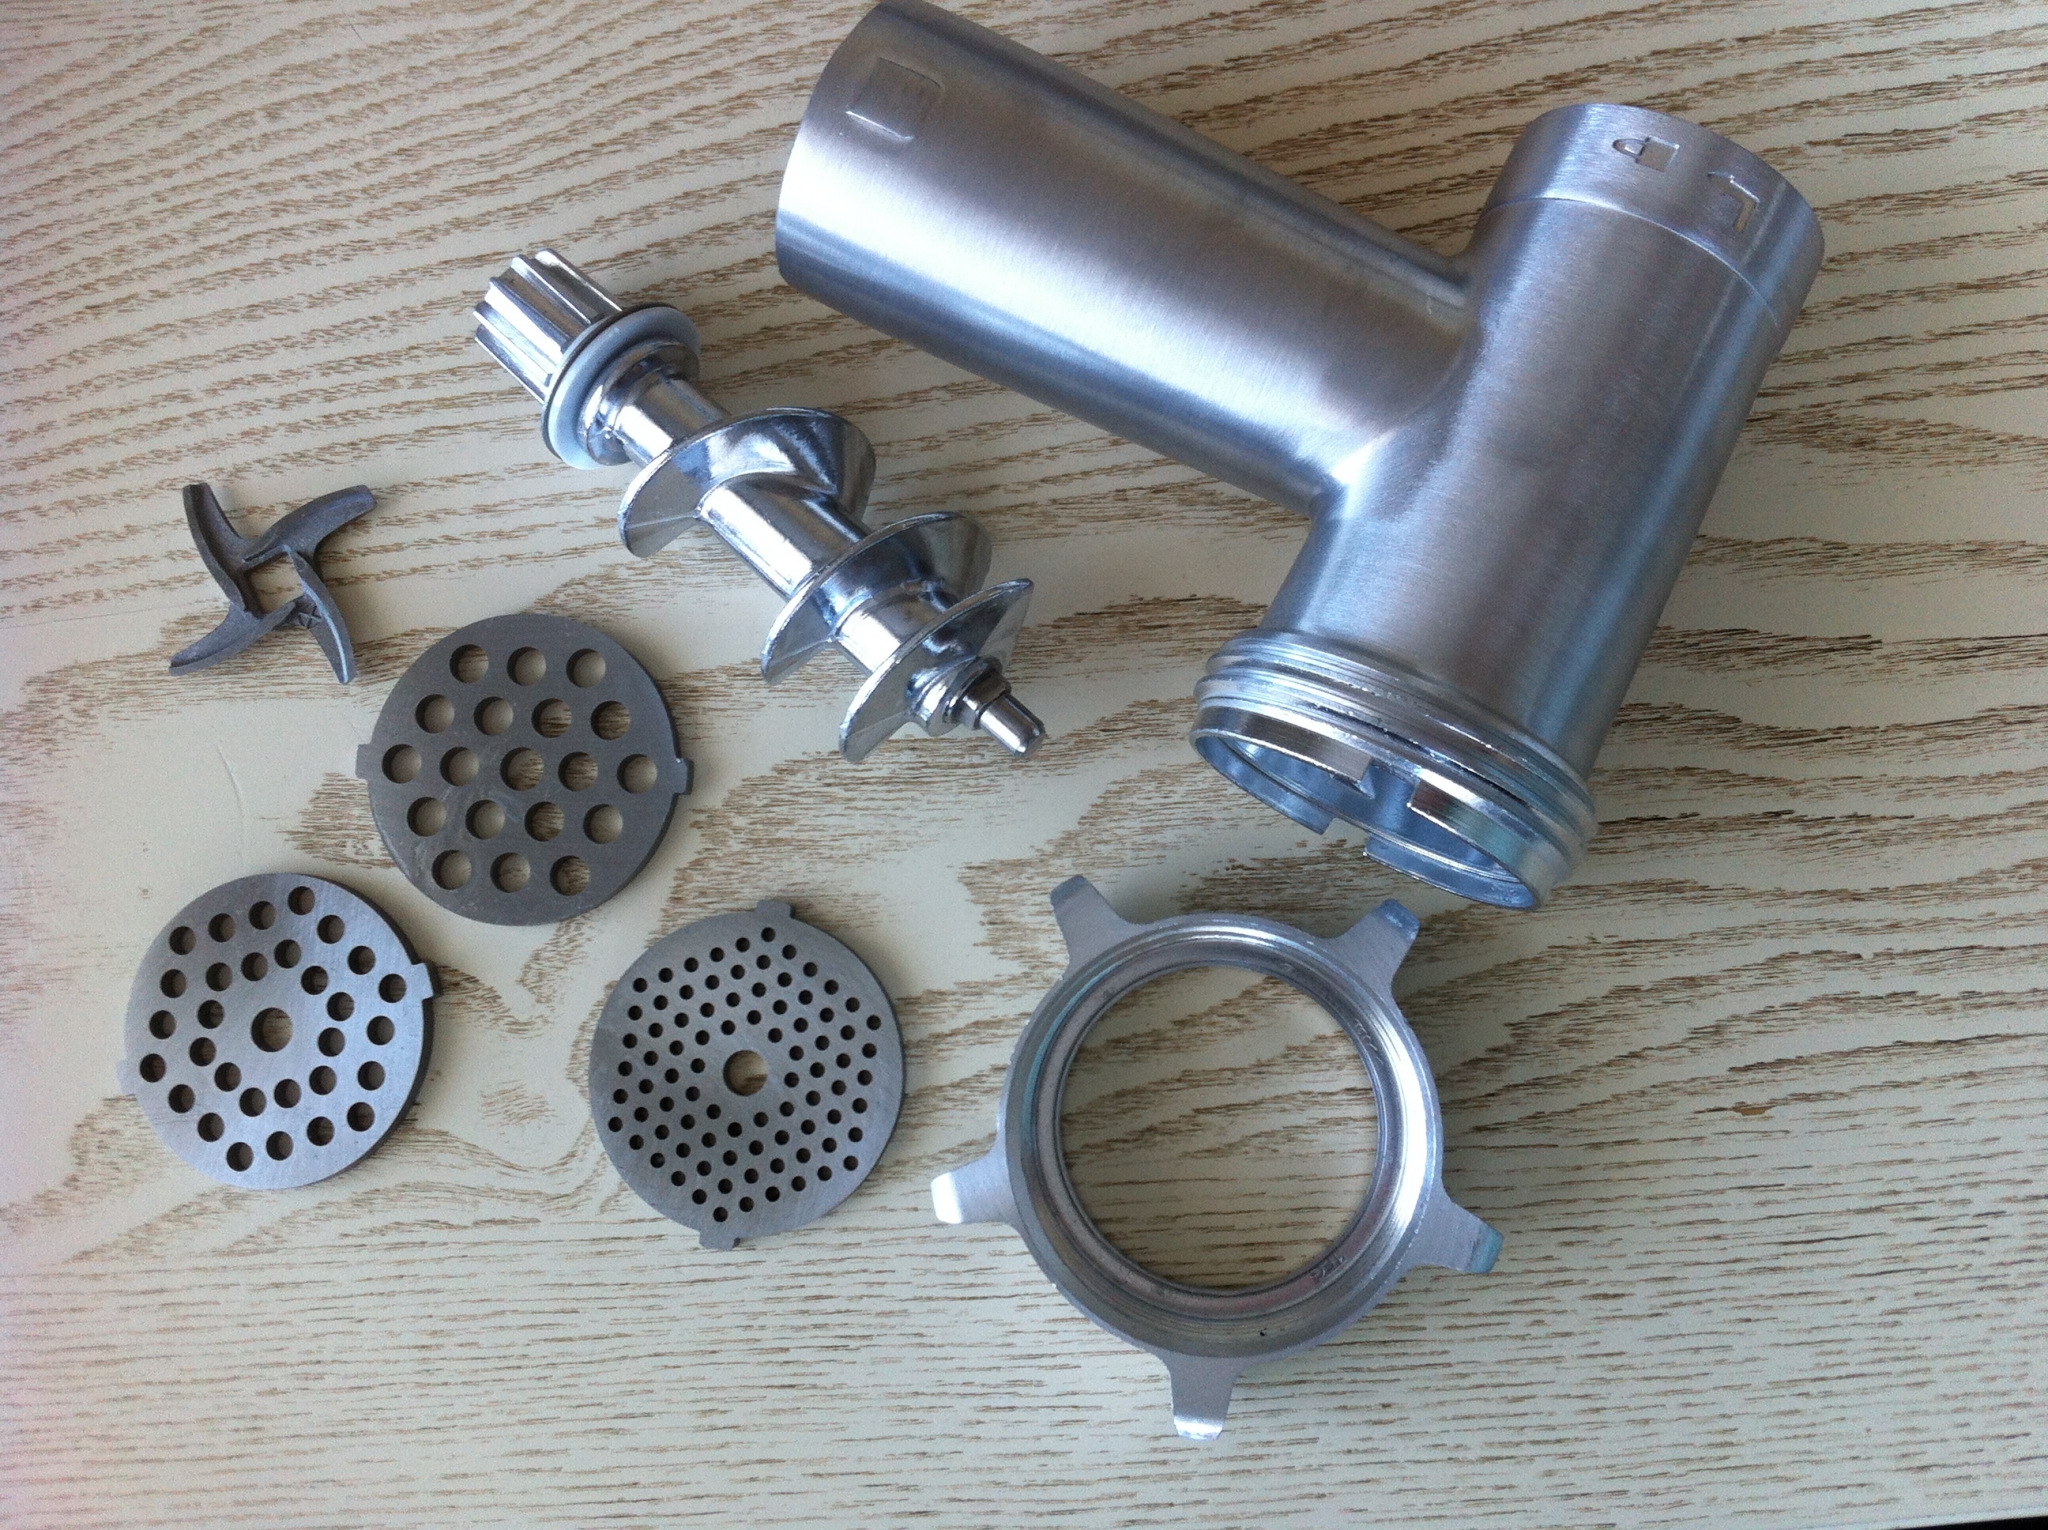
A manual meat grinder consists of several parts, which are shown in the photo.
- All metal main body made of durable metal (cast iron or steel). It has ribs inside it designed to separate pieces of meat of a size that can pass through the auger.
- Meat receiver for storing products. It can be removable or stationary.
- Auger shaft. With its help, the grinded products move from the bowl to the cutters, and then to the outlet. The screw has a spiral shape and is made of durable metal.
- Knife, grinding everything that gets into the meat receiver. There is a square hole in the center for fitting onto the auger. Can be with four cutting blades or disk type.It is important to install the knife correctly so that the mechanism does not jam.
- Mesh ring or grid (it's called a stationary knife). The standard hole size for minced meat is 4-4.5 mm. There are protrusions on the grille that help secure it firmly between the body and the nut.
- External knurled nut, which securely holds the working tool on the shaft: knife and grid. It is made of durable metal, with a thread cut inside that matches the threads on the body.
- Pen, driving the shaft. The hand grip area is usually made of plastic or wood.
- Screw fixation for clamping the handle and securing it to the shaft.
They can also go to the unit additional grilles, replaceable knives, attachments for kebabs, tomato and fruit juice.
Assembling a manual meat grinder
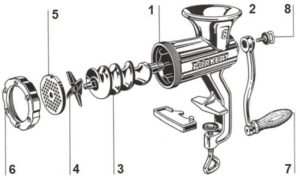
To ensure that the operation of a mechanical meat grinder does not cause problems, it is important to make sure that all its parts are clean. It is also important to assemble it correctly, performing the following steps step by step.
- Insert the screw shaft with the narrow side inward into the rear hole of the housing. A handle is placed on the thicker end, and a knife is placed on the small square protrusion. Usually the narrow part has a square cross-section, and the place for the handle is round with one flat side.
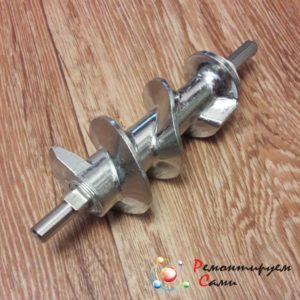
- Put on the handle onto a wide rod and secure it with a screw.
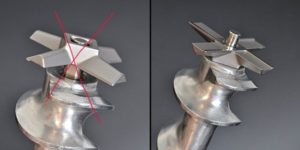
- Put on a knife flat side out, pressed tightly against the shaft. This is the most important point in assembling the entire structure.. The correct operation of the unit depends on the correct positioning of the knife. If you install it on the opposite side, the meat grinder will push the product rather than chop it.
- Put on the grille so that it is pressed as tightly as possible to the plane of the knife.
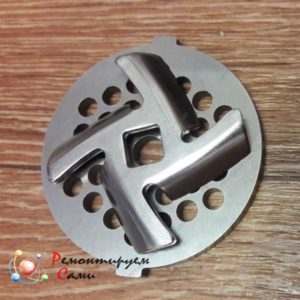
Important! There is a small protrusion on the body, and a recess on the edge of the grille. You need to align these two parts as accurately as possible, otherwise you won’t be able to tighten the nut tightly.
- Screw on the clamping nut, rotating it to the right until it stops. After securing with a nut, the grille must be fixed motionless - not fall out or rotate. If you cannot tighten the nut tightly, it means the grille is skewed.. You need to unscrew it to adjust the parts and screw it back on.
Once you remember the nuances of the location of knives and fasteners, you will no longer have to face difficulties when assembling any model of meat grinder. You will always be able to assemble the device correctly.
Important! Use exactly the cutting tools that are included with this meat grinder; they are not interchangeable.
Steel knives require regular sharpening, because the quality of grinding depends on their sharpness.
Mounting the meat grinder on the table
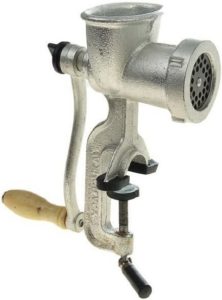
A manual meat grinder requires some effort to grind meat, which means the assembled unit must be securely fastened to the table.
For fixation, a special threaded clamp is provided - a clamp., and in some models a vacuum suction cup for attaching to a smooth work surface.
For securing with a clamp need to:
- place the unit on the edge of a flat table surface;
- Holding it with your hand, tighten the screw located at the bottom (similar to a bench vice).
Some models are equipped with rubber feet to protect the table surface from damage from metal utensils.
Advice. If rubber feet are not included in the kit, you should select softening pads yourself. Instead, you can use fabric or regular newspaper.
This will prevent the metal surface of the foot from “fidgeting” and make the process of grinding meat easier.
If you do not attach the meat grinder to the countertop, then during operation it will fidget and jump off, which means grinding meat will require additional effort to hold the device.
Due to its significant weight, dropping the device on your foot or on the floor is undesirable.
How to disassemble a meat grinder
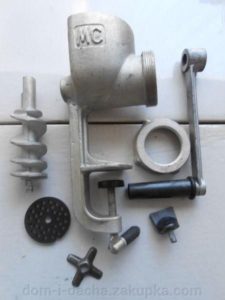
After each use, you need to disassemble the meat grinder to wash all its parts, dry it and fold it for storage.
Important! The unit cannot be washed when assembled, as it is impossible to remove all the remaining meat from it.
Procedure
Analysis will not be difficult if you perform several steps step by step.
- Unscrew the clamping nut (grab it with a towel so that your hand does not slip).
- Remove the parts from the auger pin.
- Unscrew the screw securing the handle.
- Remove the handle.
- Remove the auger.
It is better to disassemble the meat grinder over the sink or over the table so that food residues do not fall out on the floor.
When the unit is disassembled, you need to clean all its parts, wash them with hot water and lay them on the surface until completely dry.
It is better to wash knives in cold water, because hot negatively affects their sharpness. If there are pieces of meat stuck in the grate, you can use a toothpick or match to push them out.
Advice. After all the meat has been rolled through, you can skip a raw potato or a piece of bread. This will make it easier to clean the device later.
It is better to store the meat grinder in parts and assemble it immediately before use.. For reliable operation of the mechanism, you can lubricate all internal parts with sunflower oil before starting grinding.
If you follow the rules for storing a manual meat grinder and use it carefully, it can serve for many years.

