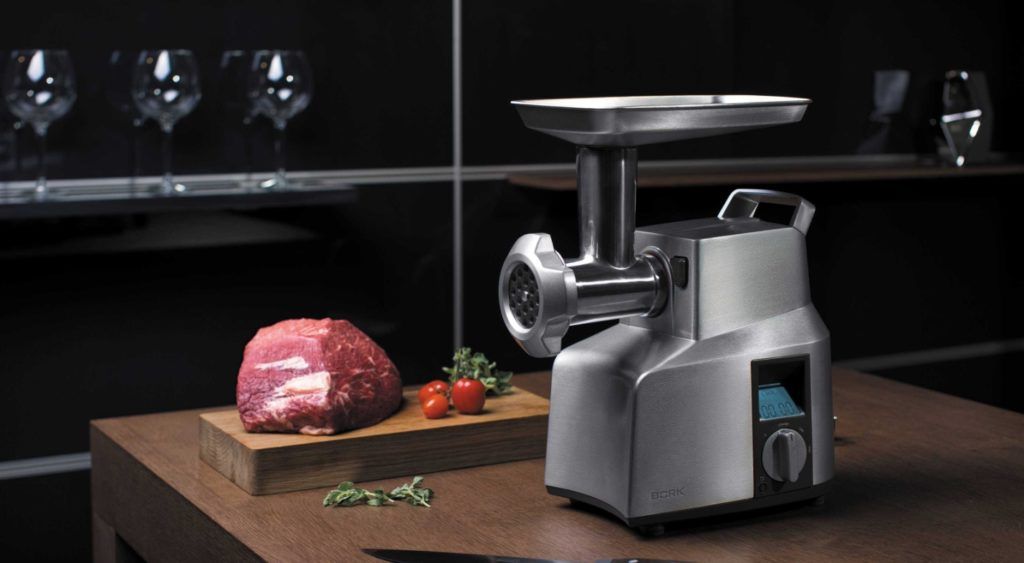
How to properly insert a knife into a meat grinder
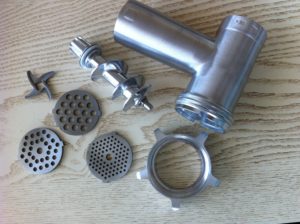 Despite the wide range of modern household appliances, the meat grinder has firmly entered the life of every housewife, becoming a sought-after appliance in the kitchen. Many users prefer a manual meat grinder, which has long established itself as a reliable assistant in the field of cooking.
With this kitchen appliance you can quickly chop meat or vegetables, as well as prepare fruit puree or squeeze juice. But not every housewife knows how to properly assemble the mechanism of a kitchen appliance so that all the parts perform their functions.
The content of the article
Main parts of the meat grinder
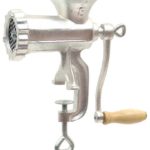
Before you start working with a meat grinder, you need to study its design in detail. A device with a manual mechanism is a simpler option, as it does not have many attachments and a speed switch. The basic working structure of a manual meat grinder is almost the same as its electric counterpart.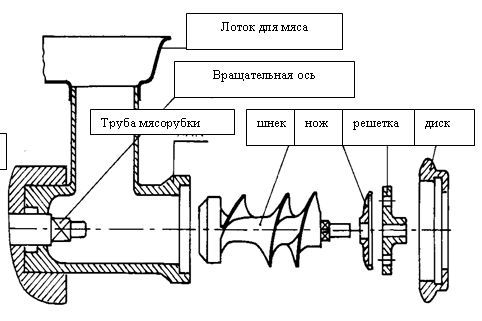
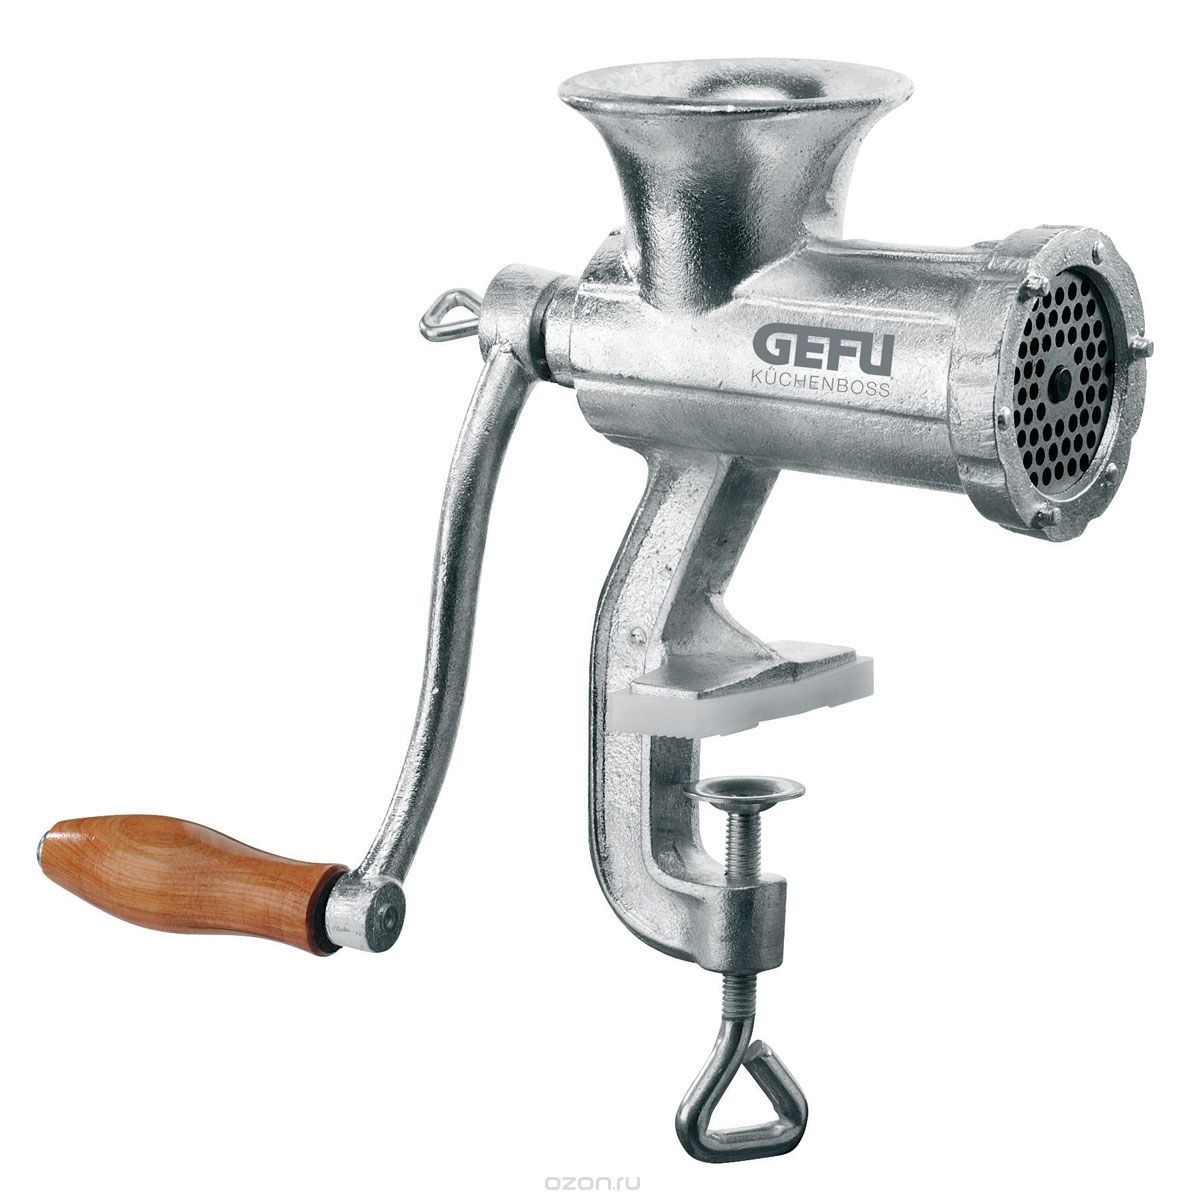
The structure of each type of household appliance includes the following parts:
- Frame. The first models of hand-held kitchen utensils were made of durable cast iron, and later products made of aluminum alloys appeared on sale. Modern electric meat grinders have a plastic base. On top of the body of each device there is a meat receiver in the form of a wide neck;
- Screw. This part has a spiral shape, thanks to which it easily pushes food in the direction of the knives;
- Knife. There are two main types: cruciform and disc-shaped. The edges of this part are sharpened on one side for quick grinding of products. In the middle of the knife there is a small square hole through which it is secured with other parts of the device;
- Lattice. Designed to regulate the degree of grinding of products. Some models may have several grilles with different hole sizes;
- Clamp cover. It secures the internal parts of the meat grinder in the body. There are special protrusions on the surface for convenient and quick twisting;
- Pen. It is the main element of the design of the manual mechanism, since thanks to its scrolling, the products are crushed;
- Latch. Secures the meat grinder to the table surface.
IMPORTANT! The hand-held kitchen appliance is installed on the edge of the table surface and secured with a threaded fastener. It is recommended to place material between the table and the metal part to prevent the meat grinder from moving during the work process.
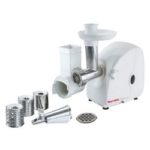
Unlike devices with a manual mechanism, electric meat grinders have a stable body that does not need to be secured. This technique does not require manual rotation of the shaft, since its rotation is carried out by a motor. You can control the product using buttons on its body.
REFERENCE! Meat grinder attachments must be sharpened regularly and should not be used for cutting hard, stringy foods or bones.
How to assemble a manual meat grinder? Which side should the knife be inserted?
In order for a mechanical meat grinder to produce grinding quickly and efficiently, you must pay careful attention to the initial assembly of the product. To do this, follow the following sequence:
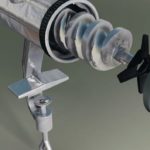
- the screw-shaped auger must be completely inserted into the body of the device with its thick side towards the back so that its end protrudes from the hole in the meat grinder and can be secured there with the handle;
- a knife should be placed on the other, thinner part of the shaft, with the smooth side facing the grate;
ATTENTION! When installing the knife, it is important not to confuse and place the blades with a flat surface to the grate, otherwise the products will not be crushed, but simply due to the rotation of the auger, they will be squeezed out through the grate, which will lead to the mechanism stopping.
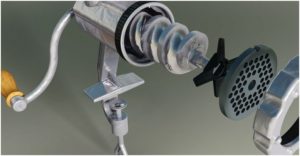
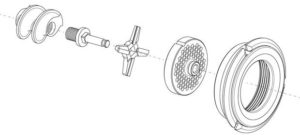
- When the blade is in place, the grille is secured. There is a special groove on it, which must coincide with the protrusion on the surface of the product. It should fit tightly to the installed parts;
- The last step is the securing lid, which screws onto the grille.
There is a special clamp on the leg of the mechanical meat grinder, which must be attached to a flat table surface using a screw.
IMPORTANT! In models where you can change attachments, when using them, the knife must be removed from the structure, and a grid is moved in its place, on top of which the attachment is placed.
Only the correct sequence of product assembly, as well as timely sharpening of parts, contributes to high-quality processing of products and long-term operation of the device.
How to assemble an electric meat grinder
The process of assembling an electrical device is practically no different from its mechanical counterpart, despite the fact that the operating principle is much more complicated. Assembly is carried out according to the following scheme:
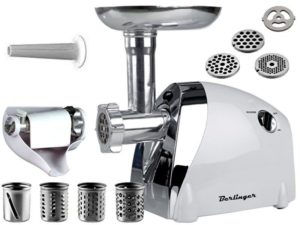
- a metal screw is inserted into the body of the product, which should be turned counterclockwise until a click appears;
- a ring with several holes is put on;
- a double-sided knife is installed, the smooth side away from the screw;
- a grid with medium holes is inserted;
- the second knife is attached with the polished side to the grate;
- put on a grille with small holes;
- All parts are fixed with a fastening ring.
To prepare sausage, knives and grates are removed from the structure, instead of which you need to install a special washer and put on the nozzle, and then secure it with a fixing ring.
REFERENCE! Depending on the model, the installation method for parts may vary, so please read the instructions carefully!

