Cleaning the water cooler
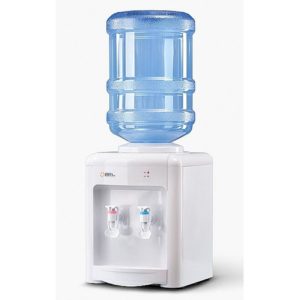 The water cooler is a popular item. It is incredibly simple and easy to use. The cooler is even installed at home. And in offices, banks, and social institutions, it has become one of the most popular devices.
Like any other device, the cooler requires attention during operation. It must be cleaned periodically with your own hands. This procedure can be entrusted to professionals, but it is quite possible to carry it out yourself. What is needed for this and how to properly clean it will be discussed in the article.
The content of the article
Cooler device
The cooler design is simple and consists of the following elements:
- Containers for water, usually with a volume of 19 to 30 liters.
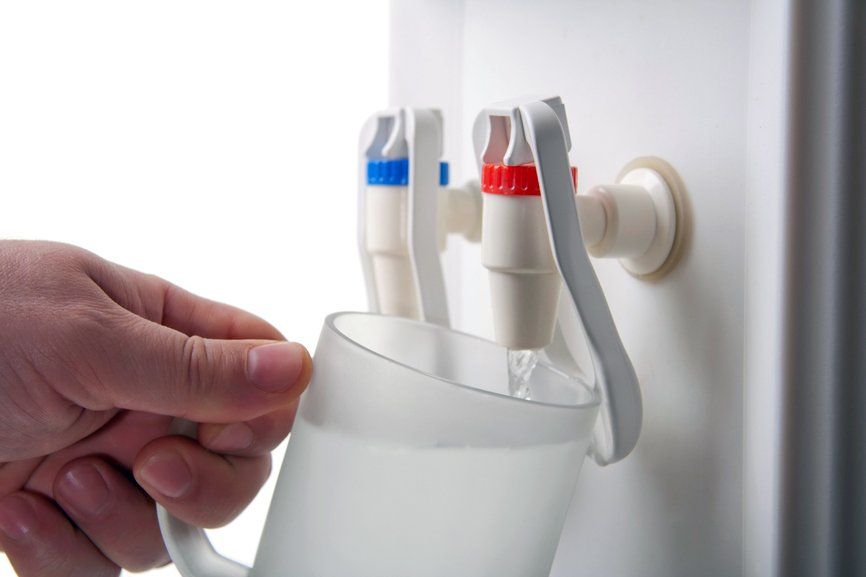
- A dispenser whose distribution system consists of compartments for hot and cold water.
- Connecting pipe. Thanks to it, water from the cold compartment enters the boiler to prepare hot water.
- Check valve. Serves to balance the pressure of the system. Also, thanks to it, water flows do not intersect.
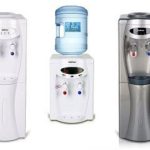
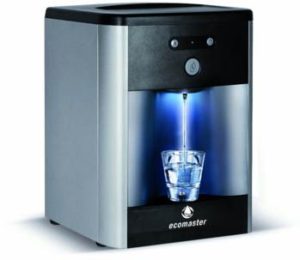 Coolers can be floor-standing, tabletop, or flow-through. Floor-standing ones operate from the electrical network. On the front panel of such a device there is a display that displays the choice of operating mode. Such coolers must be installed on a perfectly flat floor surface.
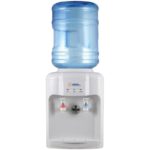
Tabletop units consist of a plastic water bottle and a plastic base. They need to be placed on a durable surface, as these devices are heavy.
In flow-type devices, water does not come from containers, but directly from the water supply. They have a built-in water purification system. The operating principle is reminiscent of conventional filters that many of us install in the kitchen.
How often does the cooler need cleaning?
The purity of the water in the bottle does not mean that the cooler does not need cleaning. Bacteria are not visible to the human eye. But they are capable of migrating from individual elements of the device into water, thereby making it dangerous. You need to clean the device approximately once a quarter.
Attention! The instructions for coolers indicate that cleaning must be done at least once every six months.
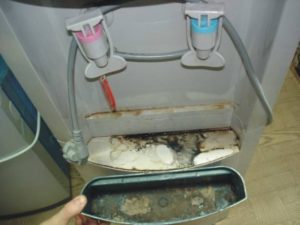 But you need to take into account the quality of the water used, the temperature of the room, and the frequency of use. To make sure your cooler is safe for your health, you need to clean it more often.
In addition, the cooler requires mandatory cleaning if the water manufacturer has changed, repair work has been performed, and if it has not been used and has been left in the off position for a long time. If the container has not been changed for 30 days, then it is also necessary to clean it.
What happens if you don't clean the cooler?
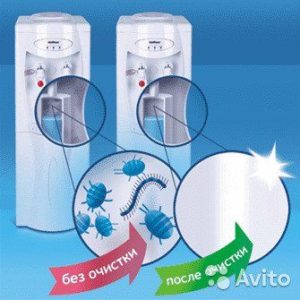 The main task of cleaning is the elimination of pathogenic microorganisms, which accumulate in huge masses in the parts of the device and are able to penetrate into the water.
- Microorganisms that live in the device can form a coating on the internal components. The same unpleasant green coating settles on all parts of the device.
- The water contains spores of various algae. If there are a lot of them, the water turns greenish.At the same time, the device itself becomes dirty.
- If you neglect to clean the device, mold may form on its walls. This is a real health threat.
- When a cooler is located in a large office and a large number of people use it, it is inevitable that various debris will get inside the device: threads from clothes, dust, hair. Debris can clog the valve and tubes, leading to overheating and failure.
- When a liquid is heated, scale forms. It can disrupt the operation of the heating element and tank, and damage the hot water tap. If scale paralyzes the heating element, the water will stop heating.
What you need for cleaning
Before you begin the procedure, you need to carefully study its intricacies. Do not clean the inside of the device under a tap with running water. Experts also strongly discourage the use of steam cleaners or dishwashers.
Important information! The use of powders, abrasive substances and flammable liquids: acetone, kerosene or gasoline is strictly prohibited. They destroy parts of the device and can lead to failure.
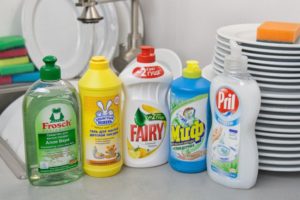 Cleaning can be timed to coincide with changing the bottle. It is better to prepare in advance the products that will be useful in order to wash the cooler:
- gel, cream or liquid dishwashing detergent;
- brush;
- dishes with clean water (basin or bowl);
- rubber household gloves;
- paper napkins or towels;
- a solution of 5 liters of water and 1/3 cup of citric acid.
Instructions
When the preparatory stage is completed, they proceed directly to cleaning. It includes several steps that must be performed in strict order:
- The cooler must be de-energized.
- Remove the bottle.
- When the water in the device cools down, it must be drained. Taps are used for the bulk of water. Then open the valve and drain the remaining water. The valve is usually located on the side or bottom of the appliance. It is better to find its location in advance. It is recommended to rock the cooler from side to side to remove all the liquid to the last drop.
- Remove all elements. The first step is to disconnect the drip tray. Next are the taps.
- After this, you need to examine the structure, since a screwdriver may be needed to dismantle some elements.
When the cooler is disassembled, its parts are cleaned. It includes 3 types of work:
- sanitation;
- descaling;
- rinsing.
Sanitation
It is also called disinfection. Its purpose is to remove bacterial plaque from the walls of the elements and disinfect them.
It is convenient to place the elements of the device on a liquid-repellent mat. Begin work by cleaning the external surfaces. To do this, you will need a soft foam sponge and dishwashing detergent. Next, using a citric acid solution, wash all internal parts and removable parts. To clean hard-to-reach places, use a brush.
The disinfection solution must be poured into the water tank. To carry out this manipulation, you will have to remove the bottle receiver by turning it counterclockwise. The tank should be full. Check the filling by opening the taps. If everything is done correctly, the water will flow in a continuous stream. In this position, the tank is plugged in for 10 minutes. The heated liquid will remove remaining impurities invisible to the eye. After the time has elapsed, the device is turned off. Drain the solution. And repeat the procedure a couple more times.
If it is not possible to use the electrical network, the solution can be left in the tank for up to 6 hours and then drained.
Important! After the disinfection procedure, the cooler must be rinsed with clean water.
Descaling
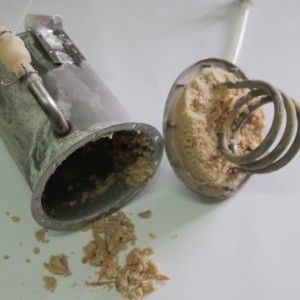 If the scale is insignificant, then it can be dealt with already at the first stage by using a solution of citric acid.
A more aggressive method is to use vinegar diluted with water. It is also poured into the tank and left there for 15 minutes. Next, plug the device into the network, wait for the water to boil, and turn it off. After these manipulations, the solution must be left in the tank for 5 hours.
In the most advanced cases, chemical agents will come to the rescue. Any product for descaling teapots will do. The powder must be dissolved in the required amount of water (indicated on the instructions). Fill the tank with the solution and connect the cooler to the network. After boiling, wait 20 minutes and drain the solution.
Attention! All cleaning work must be done with gloves. If the solution gets into your eyes, they should be rinsed with plenty of clean water. If this procedure does not help, you should consult a doctor.
Cases of contamination can be so advanced that even the fan in the device is damaged by scale. Only replacing parts will help here.
Rinsing
The final stage. It is necessary to clean the cooler of any remaining solutions that were used for cleaning. This step should not be neglected, since not removed drops of the cleaning solution can subsequently penetrate into the water, and with it into the human body. For rinsing, use ordinary water. It must be poured into the tank. Connect the device to the network and boil the water. The water must remain in the tank for some time.It is best to leave it for several hours, such as overnight. Then the water must be drained through the taps. This procedure can be repeated 3-4 more times. When boiling again, the water can be drained after a quarter of an hour. When rinsing, it is important not to forget about the removable elements. They are also immersed in clean water and washed.
Adviсe
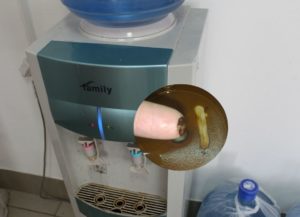 In order for the cooler to serve for a long time, it is important to properly care for it. In the period between cleanings you need to follow simple recommendations:
- All external surfaces should be cleaned frequently, every 2-3 weeks. This rule applies to taps, drip tray, container connection ring and front panel.
- You always need to realistically assess your own strengths and not take on dismantling removable elements if you are not sure that you will also be able to install them correctly in the future.
- All side surfaces, the neck of the container and the needle must be regularly wiped with damp alcohol-based wipes.
- Installing a new bottle should be done with cleanly washed hands to avoid germs getting on the internal surfaces.
- After installing a new bottle, you need to drain a glass of water from each tap. The same procedure must be followed after cleaning.
- The device must be supervised during all stages of the cleaning procedure.
Cleaning the cooler yourself only at first glance seems like a complicated and energy-consuming procedure. But after several cleanings the principle will become clear, and the work will not take much time. It is important to be consistent in performing actions and maintain a positive attitude.

