How to disassemble a Bosch coffee grinder? Step-by-step repair of a coffee grinder from a professional
It is not difficult to understand how to disassemble a Bosch coffee grinder. For the job you only need flathead and Phillips screwdrivers. If necessary, also use superglue or new replacement parts. Step-by-step repair instructions with photos and descriptions can be found in the article.
The content of the article
Diagnostics of breakdowns
Before learning how to disassemble a coffee grinder, it is advisable to carry out diagnostics. This is necessary to accurately understand the cause of the malfunction. As a rule, you can install it yourself based on a number of signs:
- If after turning on the device does not make sounds or does not function at all, the problem is due to broken contacts or broken wires. They need to be properly cleaned, connected or replaced altogether.
- It also happens that after disassembly, no damage to the wires is found. Then the violation comes from the engine, which can only be repaired at a service center. If the motor is very worn, it must also be replaced.
- If the coffee grinder is working, but there is a burning smell, and the knives are cranking harder than usual, then the internal parts are dirty. But they may be clean - then the reason is due to lack of lubrication.
- Sometimes the device does not make noise when turned on; you need to move the power cord directly at the entry point into the case. If the device starts to work, this indicates a breakdown. The solution to the problem is to replace the cable or resolder it.
Step-by-step disassembly instructions
Once the cause of the breakdown has become clear, you can begin the actual repair of the Bosch coffee grinder. To work, you will need only 2 screwdrivers designed for a flat slot (thickness within 1.5 mm). It is more convenient to work together, you need to act like this:
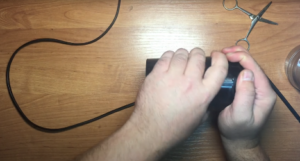
- Hold the case tightly in your hands and press the bottom panel with your finger.
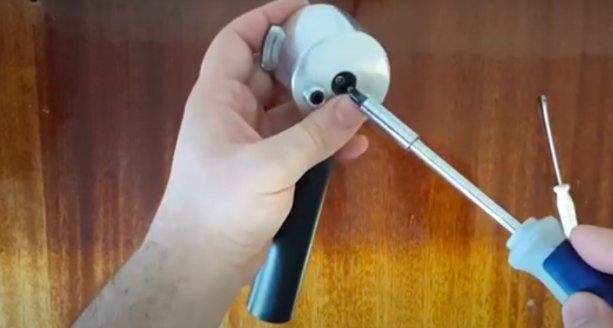
- Help with a flat-head screwdriver by inserting it into the crevice and running along the contour like a chisel.
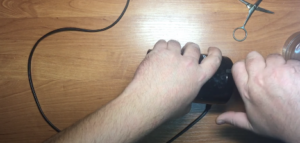
- After this, remove the lower part.
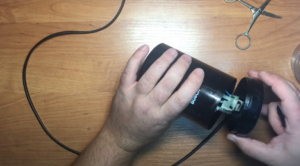
- And then the body itself in the form of a cylinder is removed.
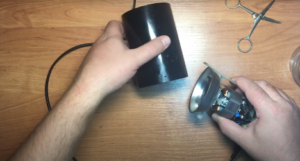
- Release the 3 plastic latches and disconnect the motor.
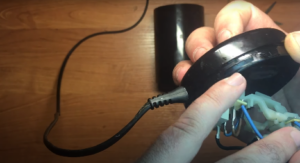
- Unscrew the nut from the bottom, while simultaneously holding the chopper blades so that they do not rotate.
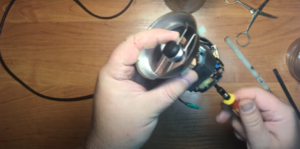
- Next, remove the knife. To do this, you need to rotate it counterclockwise and at the same time hold the bolt with a screwdriver.
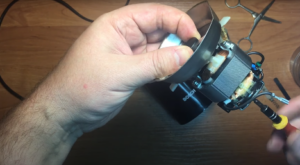
- After the knife gives in, it can be removed.
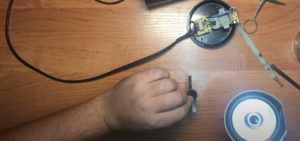
- In this case, the reason is related to thread abrasion.
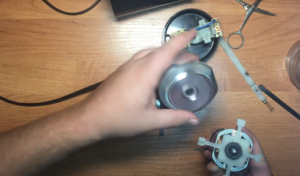
- To fix it, just apply 2 drops of superglue, after which you can put the knife back on. This is what repairing a coffee grinder is all about.
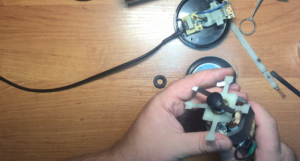
- Next, assemble the device in the reverse order, aligning the wires correctly.
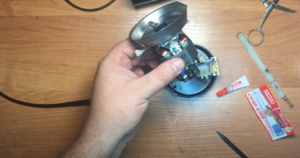
- And they check his work.
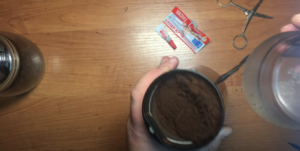
The causes of breakdowns may be other. For example, the knife often wears out or ground products get on the contacts. If there is no precise understanding of the reason, it is recommended to contact a service center.


