How to use a yogurt maker
High-quality and fresh fermented milk products are an integral part of the diet of any family. The yogurt maker will become an indispensable household device in the home. Preparing daily breakfasts for children will be a simple task for you.
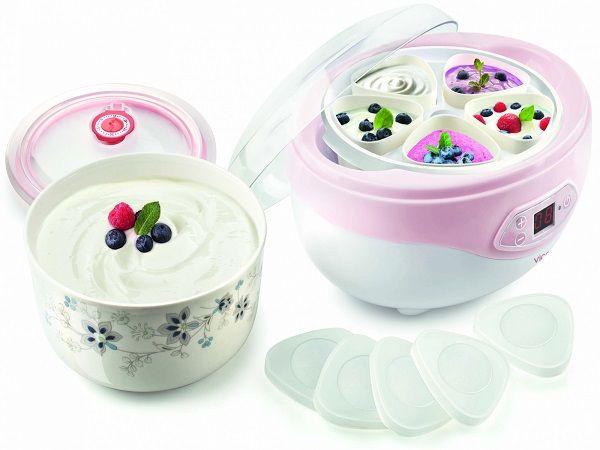
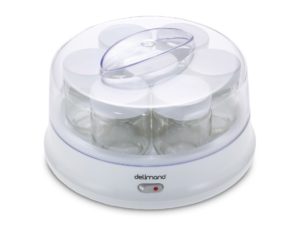 In a yogurt maker you can make sour cream, cottage cheese, kefir, fermented baked milk, yogurt, bifilac, sherbet, and ice cream. This electrical appliance creates comfortable conditions for preparing fermented milk products at home.
Its main advantage is that the products are always fresher and healthier compared to store-bought products. And the absence of preservatives, storage and flavoring additives in the homemade product will bring enormous benefits to the body.
The content of the article
Rules for using a yogurt maker
 The main criteria in cooking are temperature and time. The temperature in the yogurt maker does not exceed 37–38 C, which allows bacteria to break down milk sugar. As a result, milk turns into a fermented milk product.
The fermentation period takes from 8 to 12 hours. If the timer is set for a short amount of time, the product will turn out to be liquid in consistency.
CAREFULLY!
The product cannot be overheated; the microflora necessary for fermentation is destroyed.
The device consists of:
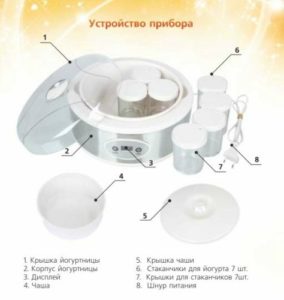
- working chamber;
- electric heater that maintains the desired temperature;
- thermostat;
- metal case with settings panel.
For ease of use, standard models include the following: functions, How:
- automatic shutdown;
- temperature adjustment;
- delayed start.
A standard yogurt maker has a power rating of 13 to 18 watts. The cooking process will consume 1/10 kW/h, which is quite economical.
How to make yogurt: instructions
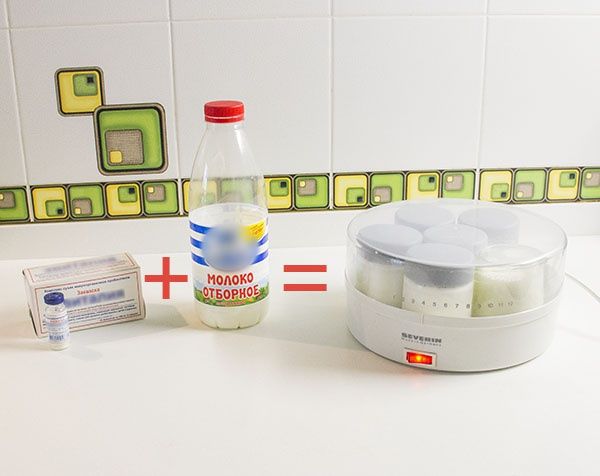
Our own yogurt consists of two components - milk and a specialized starter culture. It is better to use natural milk; if you don’t have it, pasteurized milk will do.
Important!
Fresh homemade milk must be boiled.
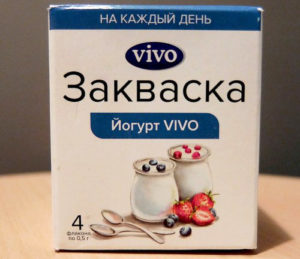 Baked milk is also suitable; the taste of the finished product will only improve. Sourdough is purchased in health food stores. Next, you can use the leftover yogurt from the previous fermentation as a starter. In proportion: 100 gr. starter for 1 liter of milk.
Those who suffer from cow protein intolerance can use soy milk. It will take a little more time to prepare the product.
Dressing ingredients
You must first sterilize the container, either in boiling water or a double boiler.
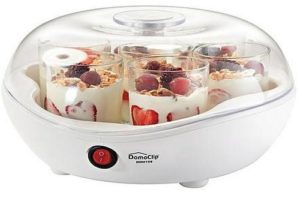 After boiling, milk must be cooled to a temperature of 40C. Then add the required amount of starter to it and mix. Pour the mixture into existing containers.
ATTENTION!
Carefully wipe any drops of milk that spill past the jars from the surface.
Setting the mode
You need to turn on the yogurt maker, place all the jars in the working chamber, then close the device with the lid. Set the “Yoghurt” mode in the settings panel.
Setting the time
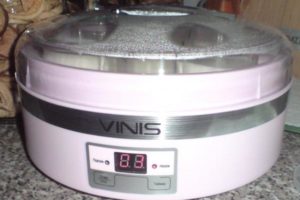 The time interval is set depending on the type of starter; exact information about the ripening period is indicated in the instructions for the device.
CAREFULLY!
From now on, do not move the yogurt maker.
After cooking, place the finished product in the refrigerator. Cooling is the final stage of reproduction of lactic bacteria.
How to use a yogurt maker correctly: subtleties of operation
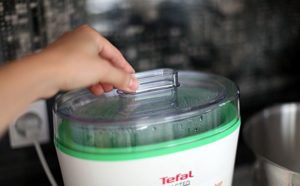 Please take into account the following tips and features of the device so that its use does not bring unpleasant consequences:
- After turning on the yogurt maker, you cannot move it from its place.
- The device should be located away from sources of vibration.
- 3 Voltage surges will adversely affect the operation of the device. It is recommended to use the device at night.
- Do not open the cover of the device during operation. After finishing work, the lid must be removed backwards, in relation to the yogurt maker.
- It is recommended to choose glass jars with a screw cap.
- Prepared yogurt can be stored in the refrigerator for no more than 8 days.
- The set of containers with lids can be washed either by hand or in the dishwasher. To clean the device, you can use abrasive sponges, acetone, and alcohol. It is enough to clean the parts of the device from above.
Now making yogurt according to all the rules for operating the device will not be difficult.

