Easy replacement of the ironing board
Whatever expensive and sophisticated clothes you have in your wardrobe, they should be carefully ironed. It would seem that there could be difficulties with this if the iron can be purchased in almost any supermarket at a low price.
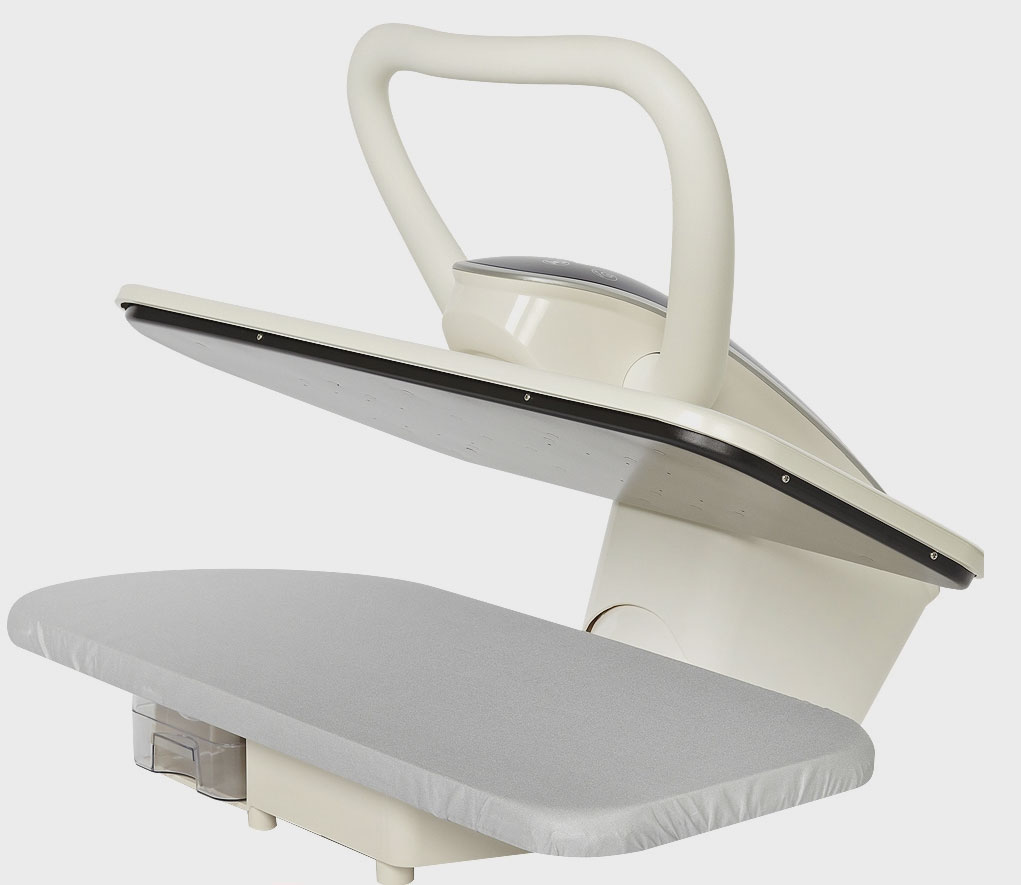
But to give your clothes a well-groomed look safely and efficiently, an iron is not enough. The main role is played by the surface on which ironing is done. There is a special device for this, an ironing board.
Now it costs an order of magnitude more than an iron, and you can’t buy it everywhere. And sometimes it just suddenly breaks down. So what to do if you don’t have an ironing board at hand and have nowhere to buy one, but have unnecessary plywood?
There is a way out, let’s create the board ourselves.
The content of the article
All you need is plywood, batting and fabric
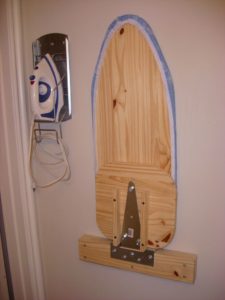
From these simple components we will create an analogue. Lightweight and accessible to use anywhere.
We will need:
- Screwdriver;
- Pencil;
- A piece of plywood;
- Ruler;
- Batting;
- Scissors;
- Textile;
- Furniture stapler;
- Self-tapping screws. (4 pieces).
IMPORTANT: It is necessary to choose a fabric that is resistant to both wear and high temperatures.
Even ladies can assemble a mini ironing board
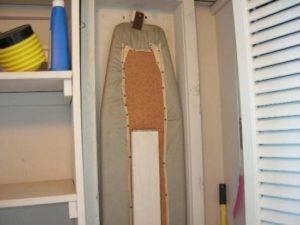
We produce a smaller version using a fairly simple technology. Any woman can cope with this task on her own.
- With a pencil we mark the places where our legs will be located.
- Using a screwdriver, screw in the screws, leaving some of them “free.”These will be the legs of our mini board.
- We apply the batting to the plywood, add 3 centimeters to each edge and cut it off.
- We do the same with the fabric, only we add 5 centimeters along each edge.
- Laying out the fabric.
- We position the batting so that the edges of the material remain free.
- Now we finish it off with plywood (legs up).
- With a sharp but careful movement, we lift the fabric and, bending it onto the plywood, shoot it with a stapler. Thus, we fix fabric allowances along the entire perimeter of the plywood.
If you don’t have a stapler at hand, you can replace it with instant strong adhesive.
IMPORTANT: The surface of our ironing board should be perfectly flat. To achieve this effect, when fixing the fabric on the reverse side, lightly press the plywood surface.
The product is practical and convenient
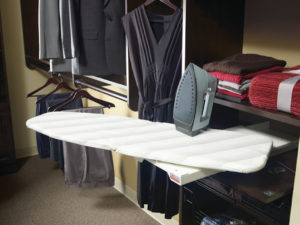
Our design will be minimal in weight: convenient on the road, at the dacha. Mobility and ease of manufacture are perhaps the main points that distinguish our homemade ironing board from expensive, heavy and large-sized industrial analogues.
But you can spend a little more time on the process and sew the cover. To do this, we also lay the fabric and batting on it. We sweep the batting along the perimeter with threads, after which we fix the hand seam on a sewing machine. Fold the rest of the fabric in half and also stitch it. We insert an elastic band inside the fabric seam.
Now we have a removable cover. It gives our ironing board versatility, since you can remove it and put it on any other flat, suitable-sized surface.
But the main thing is practicality. If it gets dirty, we can wash it and continue using it in the future.
In this simple way, with available materials and minimal financial costs, we received an extremely necessary device that is useful to have on hand.

