Installation and connection of the oven
It is impossible to imagine any modern kitchen without an oven. Pies and chicken, a festive dinner or a family lunch - all this can be prepared only with its help.
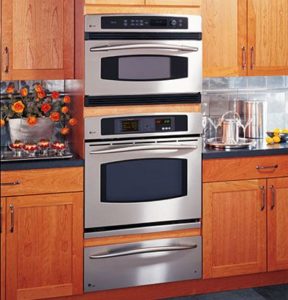 When purchasing a new oven, the question usually arises: should you entrust the installation to the store’s service center specialists, or do it yourself, with your own hands? In essence, embedding is not a very complicated operation, but there are a few rules to follow.
The content of the article
Oven installation: instructions
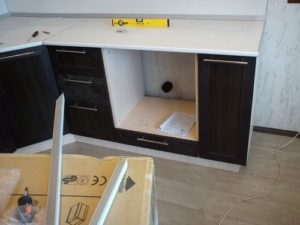 Before purchasing a built-in electric oven, you should carefully read the instructions for it. The data contained will help you determine whether a particular model is right for you and your kitchen set.
Preparing the site
As a rule, the manufacturer specifies the following requirements for installation and operation:
- The minimum required distance of the device relative to sources of high humidity (sink, washing machine and dishwasher);
- Is it allowed to build in this equipment or not, as well as the distance required for ventilation between the body and the walls of the niche;
- The power of the device and the voltage requirements for the network to which the device is connected.
ATTENTION! If a new oven is installed in place of the old one, do not forget to measure the overall size to see if it will fit in a niche or under the hob.
Preparing the electrical network
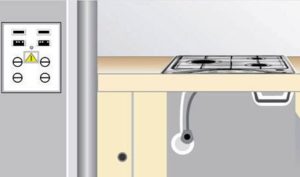 Electric ovens are high-power devices, so the choice of wires and sockets should be taken seriously. The ideal option would be to run a separate cable from the electricity meter so as not to overload all the wiring in the house.
IMPORTANT! When choosing a cable, you need to focus on the device passport, diagram and look for wires designed for the power specified by the manufacturer. This will extend the life of both the wires and the oven itself.
The second important aspect is grounding. They absolutely should not be neglected. In a private house, grounding an oven is not difficult, but in an apartment you will have to work hard. The wire must be connected from the outlet to a metal battery riser, water supply or sewer pipe.
Accordingly, the electrical outlet must also be grounded.
Cabinet connection
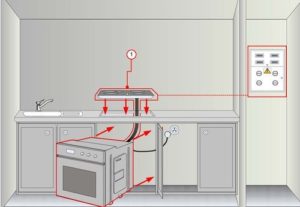 Once the space for the oven has been prepared, the wiring has been done and the socket has been installed, you can begin to place the appliance itself. You need to free it from the shipping packaging. Then, open the door and remove all components, instructions and fasteners.
ATTENTION! Check the installation instructions provided by the manufacturer; you may need to attach or disconnect some parts.
After this, you can turn on the oven and push it into its permanent place.
Before starting operation, you need to warm up the oven to operating temperature in order to get rid of any remaining factory grease on the body and parts. To do this, simply turn on the heat and wait until the slight haze and foreign odors disappear.
The device is now ready for use.
Precautionary measures
 In order to avoid injury when installing an electric oven, you should follow basic safety precautions:
- Do not turn the oven on or off with wet hands to avoid electric shock.
- Do not touch hot surfaces while the appliance is operating. As a rule, manufacturers of household appliances indicate them in the instructions and additionally mark them with warning signs.
- Do not leave the oven on unattended.
- Place the electric oven out of the reach of children and pets.
- The device must be placed on a flat, stationary base or securely fixed in a niche to prevent it from falling.
By following these simple rules, you can enjoy trouble-free operation of your device for many years.

