How to sterilize jars on a kettle
 Since ancient times in Rus' they said: “A summer day feeds the year!” And today, any self-respecting housewife makes supplies for the winter. Vegetables and fruits for supplies can be grown in your garden or purchased at the market. Meat products are also preserved.
The content of the article
Why is sterilization necessary?
Conservation is a complex process. Each step is responsible. It is important not only to strictly follow the recipe for preparing the preparations, but also to maintain ideal cleanliness at all stages. This applies to food and utensils. After all, if the processing of vegetables and fruits is insufficient or the dishes are poorly washed, bacteria will remain in the product, which will begin to multiply during storage. The fermentation process will begin in the contents. It may end up with the lid on the jar swelling, breaking off, and the fermented product staining everything. Even if this does not happen and the lid remains in place, eating such a snack or jam is dangerous to health - poisoning is possible. Therefore, you need to be patient, take time and strictly follow all stages of conservation.
Sterilization happens:
- in the oven;
- in the microwave;
- in a saucepan;
- steamed;
- over the kettle;
- in a steamer;
- in a slow cooker;
- in the dishwasher.
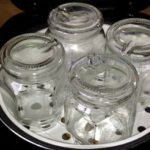
Preparing jars for sterilization
Before choosing one of the sterilization methods, it is necessary to properly prepare the jars for this process.
IMPORTANT! Remember that jars need to be sterilized approximately two hours before preservation.
Actions before sterilization:
- Carefully inspect the selected dishes for chips and cracks. This is a must! The slightest crack will cause a jar with hot contents to burst not only on the kitchen table, but also in your hands. Not only is it possible to get injured or burned, but the product, carefully and lovingly prepared, will also spoil.
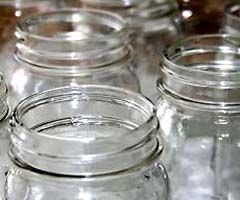
- It is better to take used cans, not new ones. This glass is already tempered, therefore more durable.
- The cleanliness and integrity of the enamel on the lids is also an important condition. It is necessary to inspect them for rust. For disposable lids that are rolled using a seaming machine, be sure to check whether there is an elastic band in the inner groove.
- To wash containers, it is advisable to take a new, clean sponge. Then you can leave it for further use during the next preservation.
- You need to wash dishes very carefully. In hot water, using soda or detergent. You especially need to pay attention to the neck, dirt often accumulates there. Don't forget to thoroughly wash the bottom of the container. After using detergent, rinse thoroughly with plenty of water.
- If used reusable lids are selected, they should also be washed thoroughly. Under no circumstances should there be rust on them.
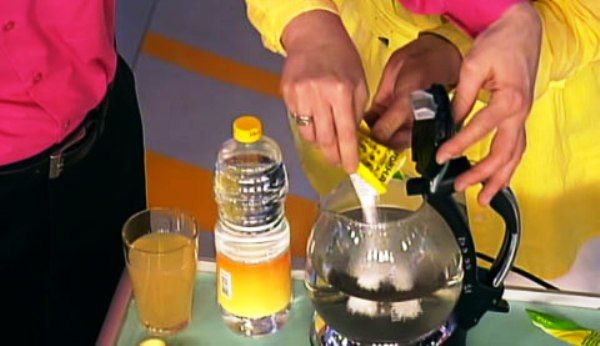
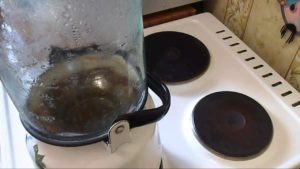
Sterilizing jars on a kettle
It is easier and more convenient to sterilize jars on a kettle - no additional utensils or equipment are required. The only thing you need is to spread a clean kitchen towel on the table, ironed with a hot iron.
REFERENCE! The method is best suited for a small number of cans, 500–700 ml in volume.
Process steps:
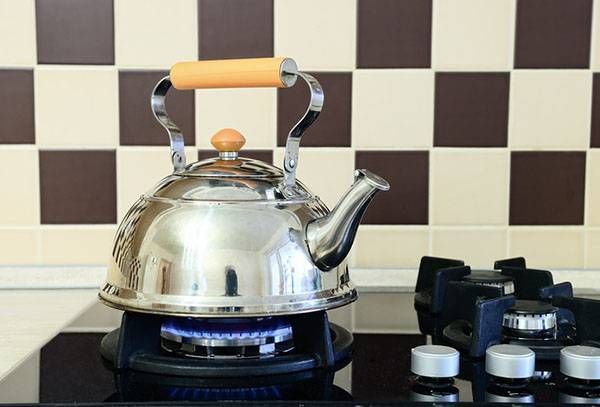
- Put a kettle of water on the fire.

- We put the jar on the spout of the teapot. If the length of the spout allows, you don’t have to hold it - just hang it.
- Another option is to remove the lid and, instead, place the jar upside down. This can be done if the diameter of the teapot neck allows it. You can simultaneously sterilize one jar on the neck of the kettle, and the other on the spout.
- Place the lids in the water.
- We wait until the water boils and steam comes out of the spout.
- Sterilization time for 2–3 liter jars is 15 minutes. For a smaller volume – 10 minutes.
- If you have to hold a jar, be sure to do it using oven mitts! The hot steam will heat up the container very quickly, and you may get burned or drop it.
- You need to be prepared for steam to enter the room. The resulting condensation from the can should be dripped onto the stove or nearby.
- After the specified time has passed, remove the dishes from the kettle (don’t forget to take oven mitts!). Place it upside down on a spread towel. Let them flow.
- The boiling water from the kettle should be drained. Take out the lids and also place them on a towel.
The dishes for preservation are ready. Happy preparations!