Do-it-yourself spotter: a guide to creating a tool at home
What is a spotter? This is a device/mechanism for reliable connection of thin sheet metals. Essentially this is welding. The function of the spotter is welding of thin sheet metals. A pulse with a high current intensity is applied to a section of metal, the surface heats up and instantly melts, the sections are fused, connected and solidified. The spotter is used mainly for car repairs and working with thin metals.
In this article we will look at how to make a spotter for car repair with your own hands.
The content of the article
Why is a spotter used to repair cars?
To fix dents. The car gets dents that cannot be accessed from the other side. Will you have to disassemble the car? Not if there is a spotter. With its help, studs/nuts/washers are spot welded to the damaged area. They are pulled, stretching the body and correcting the dent. Next, the welded element is cut off, straightened, and the surface is ground.
The spotter can also be used for soldering metals. It is often used to heat and process the material/workpiece.
How does a spotter work? How to use a spotter for car repair?
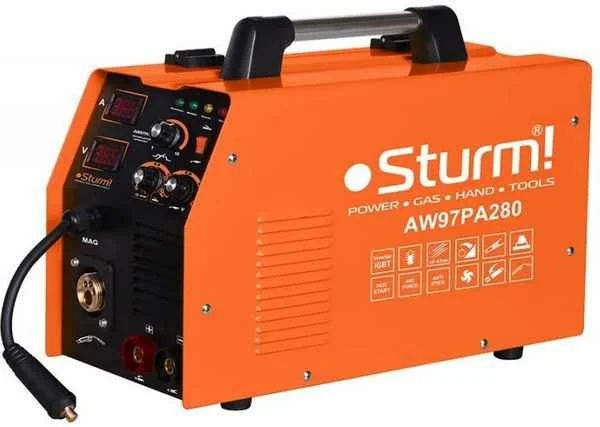
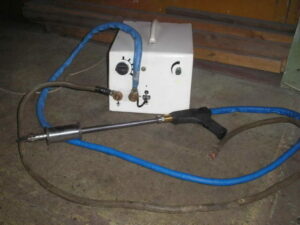
A standard spotter consists of:
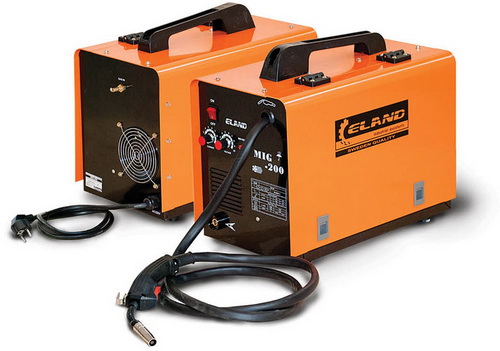
- Power source (transformer, rectifier, inverter, battery).
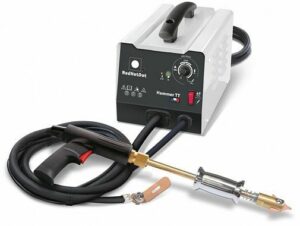
- Pistol grip.
- Connecting welding cables.
- Masses.
- Attachments (stings, reverse hammer).
Clean the body weld area. Connect the spotter to the power supply. Combine the mass with the cleaned area. Insert the electrode or nut/nozzle into the working handle. Launch the spotter. Give a short but powerful impulse. The nut/breaker tip will be welded to the surface of the body. Pull the handle to straighten the indentation.
A spotter is one of the best tools for various tasks in the garage. Below we will tell you how to make a spotter with your own hands from available materials.
What is needed to assemble a spotter?
You will need:
- 12 Volt battery
- Terminals
- Cable lugs (5 pieces)
- Ground clamp
- Welding cable (3 pieces, thickness +8 millimeters - otherwise it will overheat)
- A gun for a spotter (can be made from a screwdriver)
- Ties
- Flat connectors
- Twin wire
How to make a spotter gun from a screwdriver
First you need to disassemble the screwdriver. Unscrew the screws of the housing, disconnect the motor with the gearbox, screw the screws back.
Then unscrew the screw with a screwdriver inside the chuck/bit cavity. It has a right-hand thread. Next, unscrew the cartridge itself - insert a hexagon into the screwdriver, clamp it and rotate. The cartridge has a left-hand thread. If it doesn't work, hit the hexagon with a hammer.
A piece of steel tube needs to be welded to the drive shaft from the chuck. The trimming from one edge should be cut in half by 3-4 centimeters. In the cut half you need to drill a hole for the bolt. This will be a kind of clamp for the welding cable.
Using a tester, check the wires from the screwdriver start button for short circuits.
Make a hole in the screwdriver body. It should be in the center of the air outlet grille.
Connect the welding cable to the start button wires, connect all the elements and thread them into the hole you made.
The end of the cable must be threaded into a steel tube of suitable diameter. Clamp the structure in a vice. Take the bolt and install it on the tube. Hit the bolt several times. Back off 1-2 centimeters and make a dent in the tube again. Repeat the same on the opposite side of the tube. Three or four of these dents are enough to hold the cable.
Making a spotter for car repair
Next you will need a starter from a passenger car, even a faulty one will do. You need to remove the retractor from it. You don't need the spring - pull it out and install the armature in the starter. To prevent it from falling out, weld a metal plate to it, leaving a small gap.
Connect the welding cable from the screwdriver/gun to one of the two contact bolts of the retractor. Along with the cable from the gun, you need to stretch a two-wire wire from the button, but do not connect it anywhere yet.
The second piece of welding cable must be routed from the remaining contact bolt to the positive terminal of the battery.
The third piece of cable must be connected to the negative terminal of the battery. It will be a mass.
One of the wires from the power button must be connected to the retractor. Connect the second, longer one to the negative terminal of the battery.
Instead of stings, you can use scraps of copper tubes. Sections from old water taps are perfect.
Advantages of a homemade spotter:
- The stings change quickly.
- You can connect a reverse hammer.
- Manufacturing cost.
- Power.
- Efficiency.
How to make mass for automotive work
On such a homemade spotter you can also put the usual mass from inverter welding - it will work properly.
If you want the mass not to overheat, then it is better to make it yourself.
You will need:
- Powerful nut made of brass rod.
- Steel bolt for nut.
- Smaller nut.
- Cable lug (we recommend copper).
Sharpen the tip of the bolt and thread it through the lug from the cable. Screw a small nut onto the bolt. Tighten the larger nut. The length of the bolt must be greater than the height of the nut.
How to use homemade mass
Install the nut on the working part. Connect it and the ground to the same material. Turn on your homemade spotter. The mass and nut will stick to the material. Next, tear off the additional nut and start unscrewing the larger one. A larger one will increase the grounding area, because of this it will heat up less.