DIY resonant water heater. Mechanism diagram
tehnika.expert
Heating a metal structure using vortex flows of an electromagnetic coil is popular both in industrial production (for example, in melting furnaces) and in everyday life - for example, electric stoves and boilers. Such devices are very expensive in terms of price, so craftsmen have long been looking for ways to create high-frequency heating of water using improvised means. In our article we will talk about the principles of operation of an induction heater and present our own method of creating equipment at home.
The content of the article
Why do-it-yourself induction water heating is so popular
To understand all the differences from standard heaters, it is worth discussing the operating principle of the equipment in question. It is based on an alternating current that arises inside an electromagnetic coil and moves through it. If, for example, an iron rod is inserted into the coil core, then under the influence of vortex flows it will begin to heat up, and very productively. That's all the work!
It is important to take into account the fact that the procedure will be successful only if a current with varying frequencies is transmitted to the coil.If you supply a constant power supply, you will get a simple electromagnet.
The heating rod is called an inductor. Heating boilers are manufactured with steel cylinders in the form of an inductor, and for kitchen stoves, flat coils are installed directly close to the source of heat supply to the panel.
The second component is a circuit that increases the frequency of the transmitted current. We need this because the standard frequency of 50 Hz is not enough to heat the element abundantly. The electrical circuit allows you to “overclock” the system up to 10 kHz, which is enough for optimal “heating” of the steel core.
Advantages of induction water heating circuits
Undoubtedly, this system has undeniable qualities that an electrode or heating element does not have:
- The heater is an ordinary piece of metal that does not participate in chemical reactions. Therefore, an induction device can last at least 10-15 years, and fail only due to the failure of the coil, replacing which is a mere trifle.
- It goes well with many heat-conducting liquids: water, antifreeze or even car oil.
- The inductor is not covered with dozens of layers of scale during prolonged use.
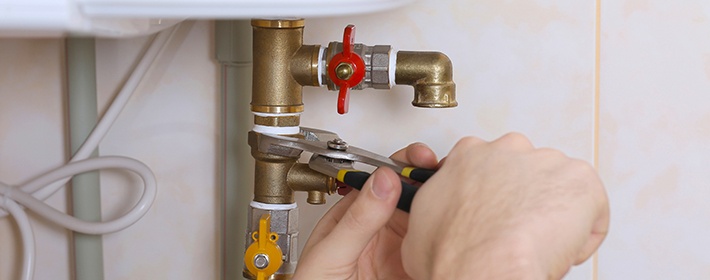
DIY induction water heater - tips before installation
tehnika.expert
- Such a heating system will be an excellent solution for a closed heating system with a connected circulation pump.
- The device can be connected to plastic pipes.
- The distance from walls and other devices to the boiler is at least 30 cm, from the floor and ceiling - at least 80 cm.
- Behind the outlet pipe, consider a safety system in advance: a pressure gauge, a blast valve, an automatic air release system.
Making such an option is not an easy task, but the savings will appear after a couple of months of use. If factory induction circuits work for 20-30 years with pinpoint accuracy, then a high-quality homemade version can even outperform. And most importantly, you know exactly what the circuit is made of, and you can repair it or replace parts at any time.
Preparing everything you need to make a resonant water heater with your own hands
Remember the main thing for which you are installing the entire system is significant savings in energy costs, because the heater copes with the task several times faster than other options (for example, heating elements).
Even a person who knows nothing about heating systems can make an inductor and other parts on his own. Just stick to the information below.
Technological process
Prepare the following components in advance:
- high-frequency transmitter (suitable for a welding machine);
- a piece of plastic pipe with thick walls;
- stainless steel wire with a diameter of at least 7 mm;
- adapters;
- iron mesh;
- enameled copper wire;
- forced pump;
- side cutters;
- Temperature regulator.
There are no standard parts in the design of the resonant heater. That is why you can literally fix the device with what you find in the garage or buy at the nearest store.
Recommendations
When installing an inverter boiler, consider the following parameters:
- The inverter must have sufficient power. For an average inductor, at least 15 Amps is sufficient.
- Pieces of steel wire - 5 cm. Use a side cutter to break the coil into several parts.These elements will become the basis of the heating rod, which will be inside the winding.
- The body is a thick-walled plastic pipe. It is desirable that the walls be at least 5 cm in diameter.
- The adapter is connected to the pipe in the place where there will be a connection to the water supply or heating system.
- The metal mesh is placed at the bottom of the plastic housing. We install it to prevent wire rod from spilling. Wire rod - pieces of wire that will serve as heating elements.
- We pour the steel cuts directly into the plastic case. The procedure is performed until the wire completely fills the entire space.
- We attach an adapter to the second end of the tube.
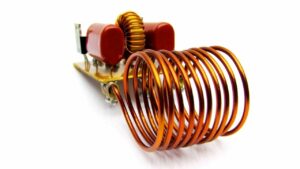
- We wrap the prepared pipe with enameled wires (at least 80 turns, focus on the indicator 80-90). Correct manufacturing of the winding is the most important point in constructing an induction circuit.
- We connect the resulting structure to the water supply system.
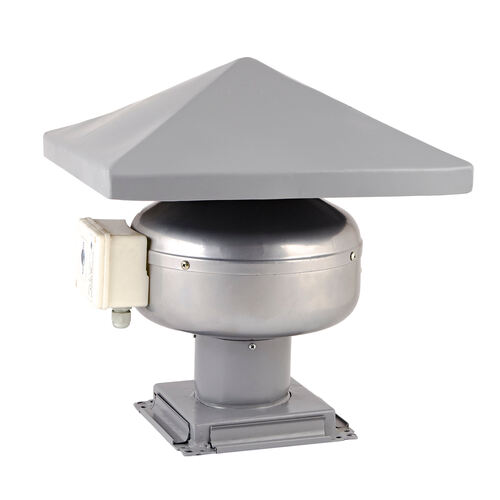
- We install a forced air pump.
- Fill the pipe with water and turn on the inverter from welding.
- We install a thermostat at the break in the main line of the inverter. This way we can adjust water indicators automatically.
- Assemble grounding.
Important: you can turn on the entire system only when you have completely filled the pipe body with water. Otherwise, all the steel will melt and the process will have to start from the very beginning.
DIY induction water heater - diagram
In order for a do-it-yourself induction heater to work as it should, all actions are performed in a clear sequence (according to the diagram suggested below):
- Heater. Cover one side of the plastic tank with a metal mesh. Then we cut off pieces of steel cable and fit them tightly inside. There should be no voids - it’s better to check several times.Then we also place the open end on the mesh.
- Inductor - we wrap the “container” with copper wire, which will create vortices. Remember - at least 80-90 skeins.
- Inverter - we take a part from welding, since it is built on thyristors (they quickly convert electricity into the current we need). Also among the advantages of the thyristor system is automatic control of parameters. To do this, we will additionally install a thermostat.
- Inclusion. We connect the entire finished circuit with ball valves to the heating or water supply.
If you follow such a small number of actions, then in just a couple of hours you can assemble a very decent water heating system.