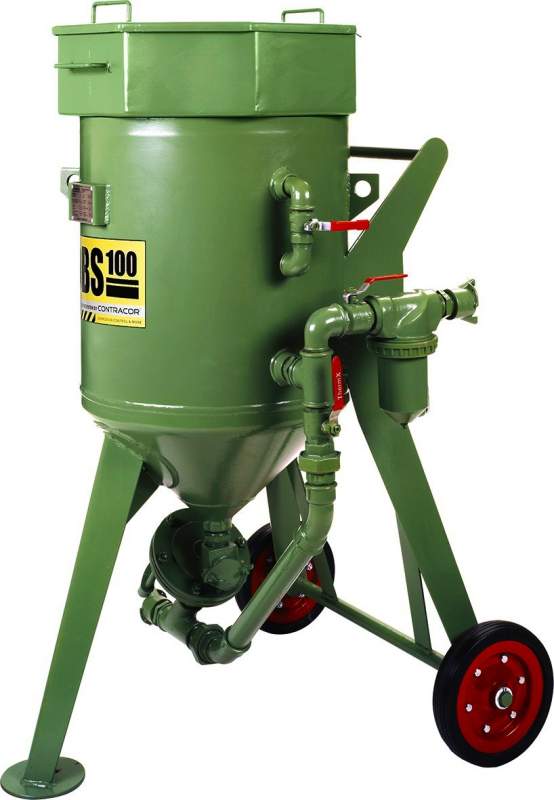
Sandblasting machine: is it possible to do it yourself at home?
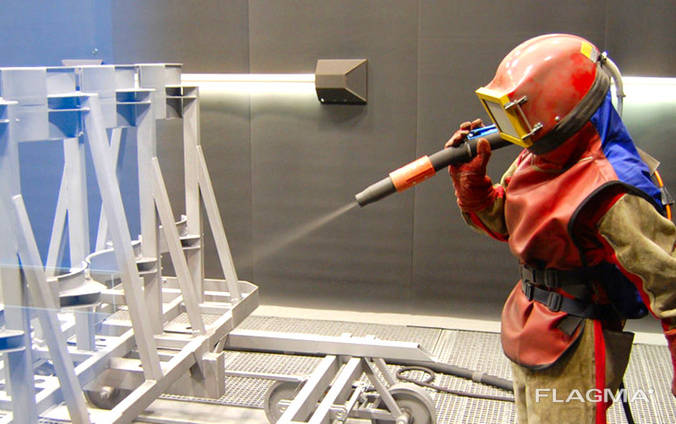
Sandblasting does things that other processing methods cannot boast of. In just a couple of minutes, with the help of a few hundred grams of abrasive, your parts will shine like new. And costs are kept to a minimum.
In our article we will look at an alternative solution for shop equipment - how to create a sandblasting machine with your own hands. Go!
The content of the article
- Is it really possible to do sandblasting with your own hands?
- Sandblasting from a gas cylinder - the simplest design for your home
- Option 2 – sandblast from a fire extinguisher
- Option 3 – sandblasting from a Karcher (or high-pressure washer)
- Are there any other options on how to make a nozzle or gun at home?
Is it really possible to do sandblasting with your own hands?
The average price for such a device ranges from 5 to 10 thousand rubles, depending on the store. Rental will cost about half a thousand a day. Think about whether you should do sandblasting yourself, or would it be easier to get by with a larger budget? If the budget is still small, continue reading the article.
The sandblasting chamber is made with your own hands simply and using available materials. There are even several methods for such production on the Internet. We have collected them together in our article. Let's find out in more detail how to make sandblasting with your own hands.
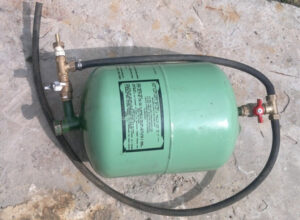
Sandblasting from a gas cylinder - the simplest design for your home
You can assemble a primitive sandblaster with your own hands - based on a compressed gas cylinder. To do this we need several components:
- Ball valve – 2 pcs.
- Compressed gas cylinder.
- A piece of pipe to make a funnel for the abrasive substance.
- Tee – 2 pcs.
- A hose with a 14 and 10 mm passage will be used to transmit air through the system and remove sand to the part.
- Fastening the structure in the form of clamps.
- Insulating tape (or FUM tape, as it is also called).
Let's move on to the stage of assembling sandblasting with our own hands from a gas cylinder:
- Prepare the future tank. All gas is cleaned from the cylinder so that there is not even the slightest odor. Wash with non-abrasive detergents, after releasing the remaining gas in the tank.
- You need to make holes in the cylinder. At the top - for pouring sand through our primitive funnel in the form of a pipe. Below - we will then insert a ball valve there.
- We install taps. The adjuster is welded or screwed through the adapter.
- We install a tee and mixer behind the ball valve. Don’t forget to seal all connections with FUM tape.
- We place a second tap on the valve, where we also place a tee.
- The final stage is to install fasteners to allow the cylinder to move (wheels, handles, etc.). We put whatever is at hand and is convenient to carry.
- For greater stability of the tank, corners in the form of supports are installed. Pieces of fittings or pipe may be suitable.
- We connect all channels for transmitting the abrasive substance: to the tee in the lower part, install the valve along the fitting. A 14 mm tube is placed between the mixer and the tee. One of the last cells of the tee remains for the injection unit. We attach a sleeve under the sand to the lower tee.
To ensure that the tightness of the structure does not suffer during the work phase, we place a threaded cap on the funnel pipe. The device is ready - we can install the compressor and test sandblasting in practice.
Option 2 – sandblast from a fire extinguisher
The assembly drawing of this device is not much different from a gas cylinder. To seal the upper part of the fire extinguisher, we make a plug. You can ask a turner you know to plan one for 50 rubles.
We put a rubber seal on this plug and screw the finished structure into the neck of the fire extinguishing device. This hole will become the basis for filling the abrasive substance.
The next stage of assembly is to drill holes. One is in the bottom, one is on the body itself, not far from the neck. Before drilling, clear the area of paint so that the drill does not slip on the varnish.
Spurs are welded into the resulting holes. We weld the legs to the bottom for stability. Any fittings that are on hand will do.
To make it easier to tighten/unscrew the entire system, it is worth welding a knob-shaped handle to the plug. After assembling and installing all the tubes, as described in the example with the gas cylinder, the device is ready to perform tasks.
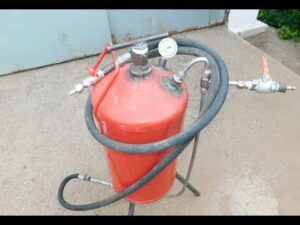
Option 3 – sandblasting from a Karcher (or high-pressure washer)
Karcher is a good alternative to a power unit for sandblasting. You can take it or another brand - it doesn’t make much difference. The car washer quietly creates high pressure, as it is designed to release water under high force, while the water consumption is low.
Our task is to modernize equipment to solve sandblasting problems. For an automobile Karcher, you need to mold a special nozzle to remove sand or other abrasive. What we will need during work:
- Purchased nozzle made of ceramic material. Doing it yourself is difficult, but possible.
- Tube with an additional reinforced layer.
- Mixer assembly. A tee with the appropriate nozzle is suitable.
- Dispenser in the form of a cylinder for sand.
- Sand supply unit through the nozzle.
- A funnel tube for abrasive with a transfer channel to a tank under pressure.
Karcher-based sandblasting works according to the so-called “ejector scheme”. What's the point: high-pressure liquid flows through the mixer at high speed. As part of such energy-intensive work, a vacuum is created in the abrasive supply channel. Under high pressure, it enters the treatment site along with water.
Are there any other options on how to make a nozzle or gun at home?
Self-assembly of a sandblasting gun is a solvable task. To do this, you can take a standard nut inserted onto a ball-type valve. What kind of attachment is this? Essentially, this is a regular nut that clamps the outlet for air and sand.
You can try to make a nozzle in a lathe or on a personal machine in the garage. Or, as an option, you can take a spark plug. This part is cut with a grinder. The ceramic part is separated from the body and metal elements. Its length is adjustable.
Cutting a candle is not as easy as it seems. Also be careful: the candle creates a lot of dust when cutting. Wear a respirator!
Our advice is that if you don’t have the time and equipment, then just go to the store and buy yourself the right attachment. It is inexpensive, and the effectiveness of a factory nozzle is several times greater than that of a home-made one.
The advantage of home sandblasting is that it saves money. Self-assembly will cost up to 5 times less than a purchased device. And if you also use a homemade compressor, then the design can cost nothing at all. However, assembly pumps often do not have enough power to effectively distribute sand across the surface of the part.
A good “mixture” is to make a sandblast and put a powerful factory compressor on it.
What did you get? What are the results? Share with our readers in the comments, we are very interested in the practice of using homemade products and their effectiveness against the background of factory equipment.

