How to level a floor screed with a thin layer: work technology
Leveling the floor with a screed is a mandatory procedure if the height difference exceeds 20 mm. To work, you need to prepare the solution, apply it with a spatula and level it using the rule. The main stages of the work are described in step-by-step instructions with photos, which can be found in this article.
The content of the article
In what cases is alignment required?
Leveling the finished screed will only be necessary in cases where the total difference is large enough - at least 20-30 mm. To check the difference, use a laser level:
- It is installed vertically on the floor.
- Includes a horizontal plane.
- Take a construction tape and install it vertically, resting on the floor at a right angle, as shown in the photo.
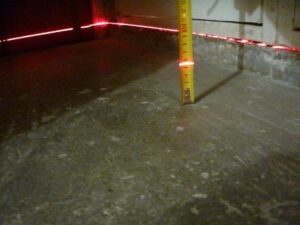
- Mark the value of the laser level on the ruler and write it down.
- Take similar measurements at several points, especially in corners, and record all data. The result will be something like this.
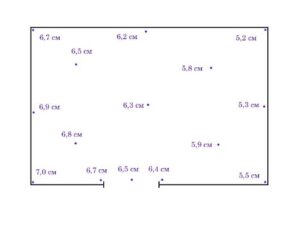
If it turns out that the difference does not exceed 20-30 mm, it is not necessary to prepare a composition for the screed. It is better to use levelers, that is, mixtures for self-leveling, self-leveling floors. There are a lot of such compositions sold - for example, Volma, Axton, Ceresit, Osnovit and others.
Materials and tools
Before you figure out how to level the floor after screeding, you need to prepare materials and tools:
- dry mix for leveling;
- set of beacons;
- construction tape;
- containers, water;
- rule;
- Laser level;
- needle roller;
- putty knife;
- damper tape.
Step-by-step instruction
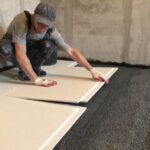
Now it remains to understand how to level the floor screed with a thin layer. Installation is carried out in several stages:
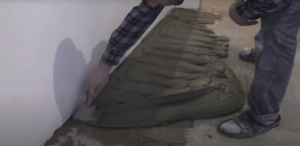
- Mix the glue solution so that it is of medium thickness - the consistency of sour cream. The easiest way is to use a ready-made mixture of well-known brands, for example, “Rodonit”, “Rusean Concrete 5000”, “Starateli S-10” and others.
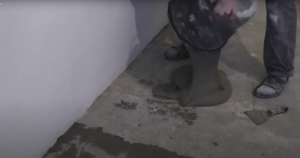
- Pour it onto the floor, trying to do it as evenly as possible.
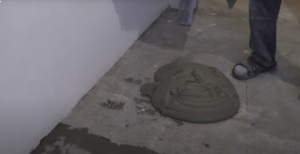
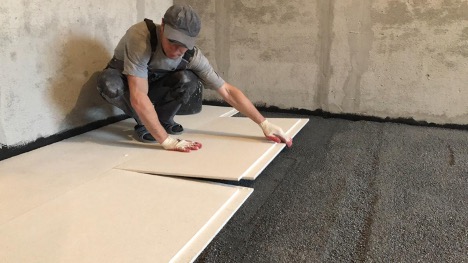
- Using a spatula, spread the composition over as large an area as possible, moving from the wall to the center.
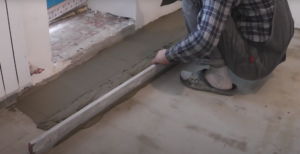
- Level the composition using the rule.
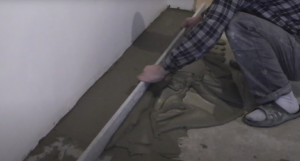
- Treat the remaining area in the same way and wait 2-3 hours for the composition to dry.
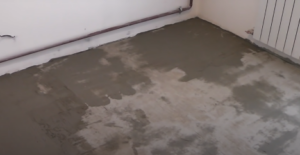
- Apply a layer using the same technology and let it dry for several hours.
- Leveling the floor with a thin layer allows you to achieve an almost perfect surface.
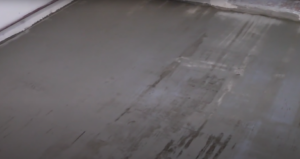
Thus, even uneven floors with large differences can be leveled using a screed. The resulting layer will be quite thin, even if you carry out 2 processing cycles. The described method is universal and suitable for different types of premises - both an ordinary room and a bath or kitchen.