How to assemble a concrete mixer with your own hands at home?
It is necessary to correctly understand how to assemble a concrete mixer. The mechanism is quite simple. Even if it is equipped with an electric motor, connecting all the components is not difficult. To do this, first check the completeness, then assemble the frame, the lower part of the drum and the engine. At the final stage, the upper part is mounted and the operation of the mechanism is checked.
The content of the article
Assembly instructions
Each model comes with instructions that describe the device and assembly diagram. Installation is carried out in several stages. Step-by-step instructions with photos are described below.
Frame assembly
The concrete mixer is assembled at home using available tools. First they make a frame, for this they act like this:
- Lay out the entire fastener and check the completeness according to the instructions.
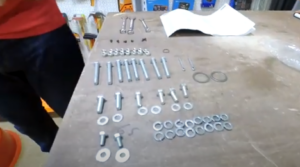
- Distribute all components on a flat surface.

- Install the wheel and secure with a cotter pin.

- Place the second wheel in the same way and install it on the frame.

- Secure the nut after putting on the bushing.

- Next, a forced concrete mixer is assembled with your own hands in this way. It is necessary to install the foot-mounted drum position clamp, insert it into the hole and point it upward.
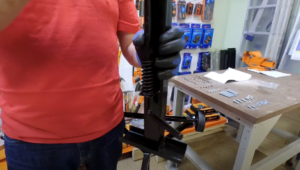
- Insert the clamp into the hole provided for it.
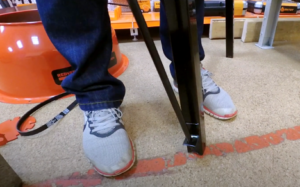
- The base is secured to the frame using bolts.
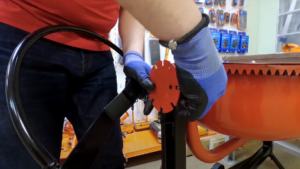

- If necessary, beat with a mallet and secure with fasteners. The frame is assembled - the first stage of assembling a concrete mixer with your own hands at home is completed.

Installing the bottom of the drum and motor
Next, the drum is assembled, starting from the bottom. While working, you need to take the part very carefully, since you can get your finger pinched by the crown. The step-by-step instructions are as follows:
- Secure the drum on both sides to the frame with clamps. First, the screws are fastened temporarily, without tightening the nuts completely. They are finally clamped only after the concrete mixer has been modified.

- Install the slotted plate, inserting the bolts from the drum side, but not the other way around.

- Place the steering wheel in the required slots.
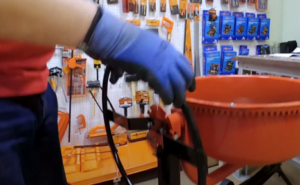
- Check the pre-assembly by pressing the latch with your foot.


- Install the engine on the other side opposite the steering wheel. The assembly diagram of the concrete mixer at this stage is quite simple.
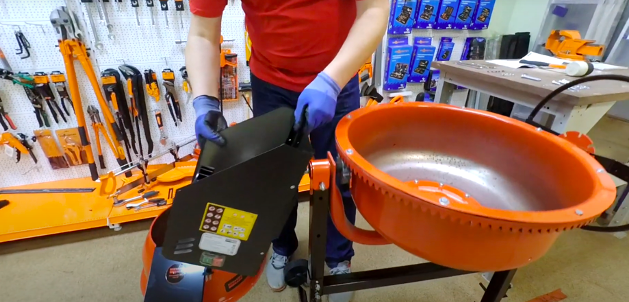
- Secure with long bolts to the frame.


- Unscrew one of the bolts holding the motor, lower it and secure the pulley to the shaft. It has a side that should “look” outward.
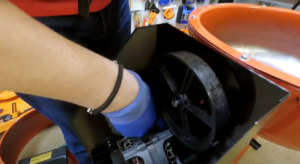
- Put on the belt and check the operation of the mechanism by turning the pulley several times.
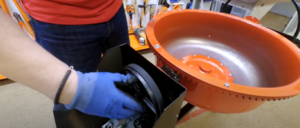
- Place the retaining ring on the pulley.
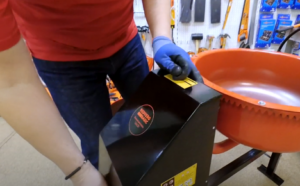
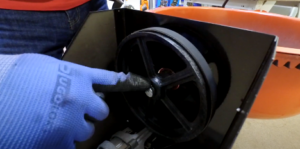
- Place the cover on the motor.

Installing the Drum Top
As you can see, assembling the unit at home is quite simple. It is somewhat more difficult to install a concrete mixer on a tractor with your own hands, but this process can also be carried out independently. At the last stage, install the upper part of the drum, proceeding as follows:
- Unscrew the screws around the perimeter of the drum.

- Mark and align the holes.


- Place the top of the drum.

- Secure with bolts around the entire perimeter.

- Attach the blades to the inner surface of the drum.

- Start the mechanism and check the assembly quality. Now it’s clear how to make a concrete mixer at home.
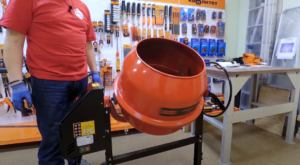
How to use the unit
Assembling the concrete mixer will take no more than an hour. If you work carefully, all parts of the mechanism will function normally. During operation, you must follow the instructions, the sequence of actions is as follows:
- Turn on the green button to start the mechanism.
- Fix the tank in the desired position using the rotary handle, as shown in the diagram. For example, for storage the container is not tilted, but for mixing the solution, on the contrary, it is tilted at a strong angle. To do this, pull the rotary handle towards you and disconnect the hook.
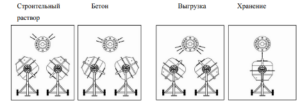
- Connect the cable and only after that plug into the network.
- A self-assembled forced-action concrete mixer begins to rotate - only in this state can loading be done.
- First, water is poured into the drum, then a small portion of gravel is placed and cement is added. Then sand is added.
- If the container is full, it continues to rotate. Unloading is also carried out only with the drum running.
- When finished, the mechanism is turned off by pressing the red button.
- Immediately after work, the surfaces must be washed of concrete, otherwise they will harden and then be difficult to clean.
Thus, it is quite clear how to make a concrete mixer yourself. The procedure is simple, even a beginner can handle the installation. You don't need any special tools either - just have a set of screwdrivers and wrenches; you can use a screwdriver to simplify the work.


