How to make a laser engraver with your own hands: step-by-step instructions with photos and descriptions
You can make a laser engraver with your own hands using available tools. The basis is a DVD drive or an inkjet printer. The devices are disassembled, the laser, cable and other elements are taken out. Then the device is assembled according to the instructions described in the article.
The content of the article
Preparatory stage
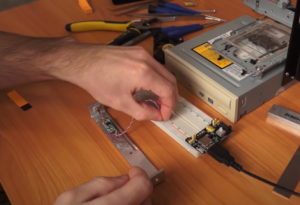
You can make a laser engraver with your own hands from DVD drives. To do this, proceed as follows:
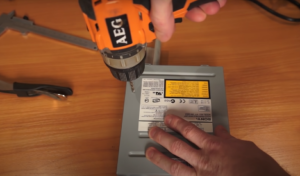
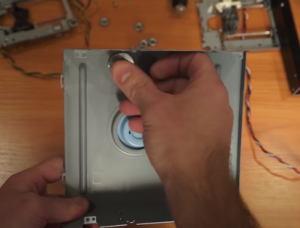
- Remove the drive cover.

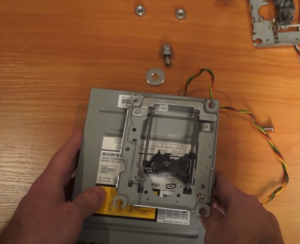
- Use a screwdriver to remove the housing.
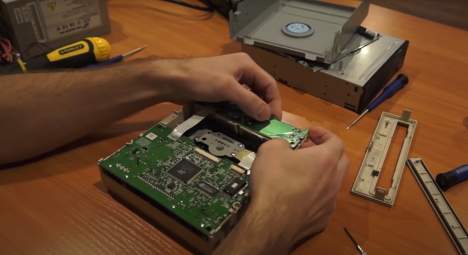
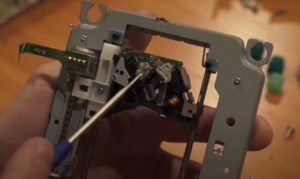
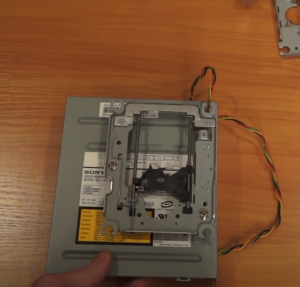
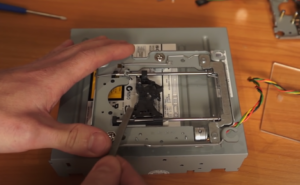
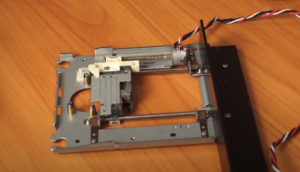
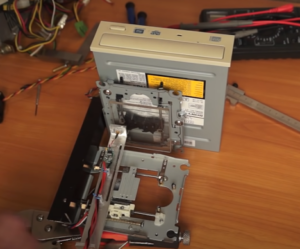
- Remove the inner part of the drive mechanism.
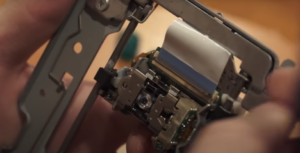
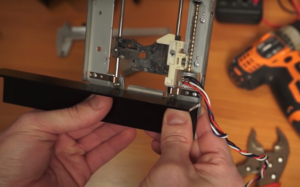
- Of the 2 lasers, only one is of interest - based on it, you can design an engraver with your own hands.
- Bite off the cable from the engine.
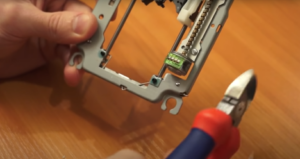
- Solder to the remaining fragment.
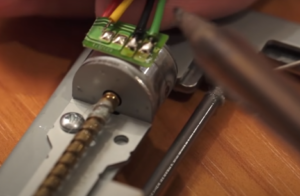
- As a result, you should get 2 such blanks.

Main stage
Then proceed like this:
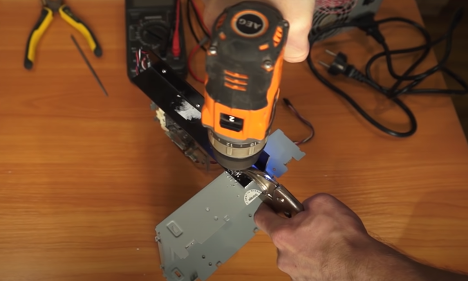
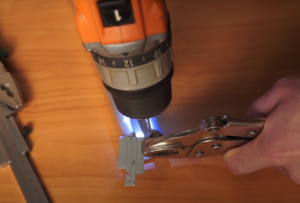
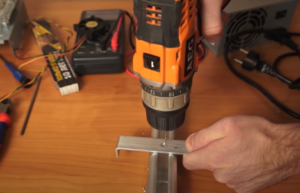
- Take an aluminum corner 40*40 mm and align it with the body as accurately as possible.
- Clamp with a hand vice and drill holes.

- Screw the screws into them.

- Drill holes in the second piece.
- Position it perpendicular to the first workpiece and clamp it in a hand vice.
- And drill a hole.
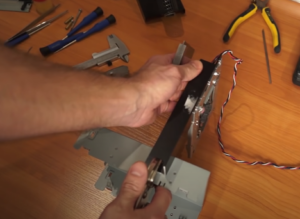
- Secure them with bolts, nuts and washers.
- Secure both parts together.
- You will get something like this.
- Clean the surfaces with a file.
- Make a bracket to mount the laser.
- Place the adapter plate on the carriage and screw it on.
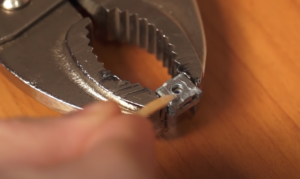
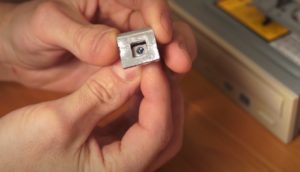
- Take a laser diode.
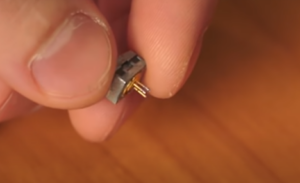
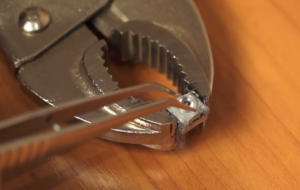
- It only has 2 contacts narrowed. You need to take the optical head and carefully remove the glue.
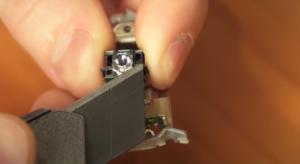
- Apply glue to the laser diode.
- Apply glue.
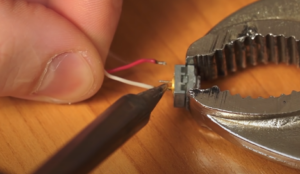
- Solder the wires to the laser diode.
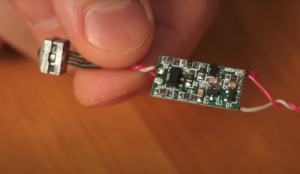
- Solder the laser diode to the current stabilizer. You will get a detail like this.
- The next step in the instructions on how to make a laser engraver with your own hands involves making a bracket.
- Glue the laser using thermal paste.
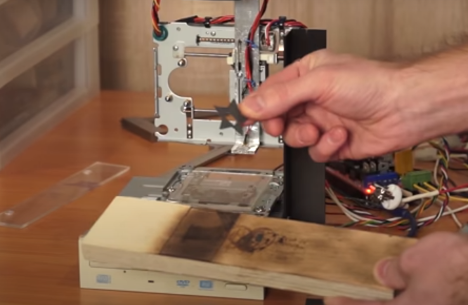
Testing
At the final stage, you need to assemble and test the device, the instructions are as follows:
- After everything has dried, you need to check the circuit for functionality.
- In this case, the laser works normally.

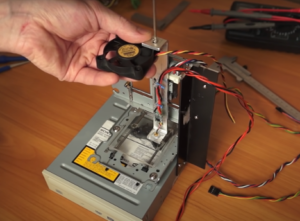
- Install the laser.
- Install a fan to blow away smoke from burning.
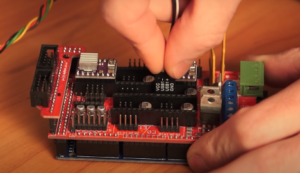
- Take motor drivers.
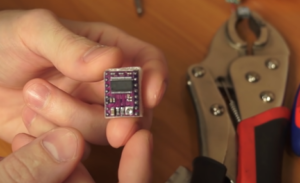
- After wiping the radiator and microcircuit with alcohol, apply thermal paste and glue them together.
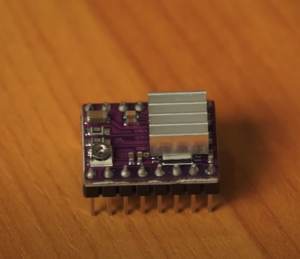
- Install motor drivers on the expansion board.
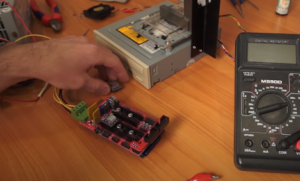
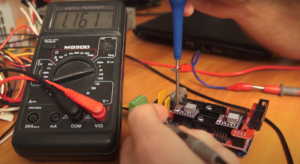
- Without connecting the motors, measure the voltage.
- Connect motors via USB connectors.
- Launch Inkscape on your computer.
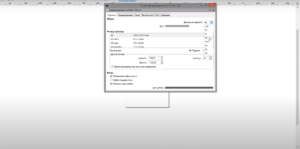
- Create and customize a figure for engraving.
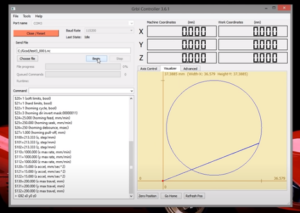
- Test the operation of the device.
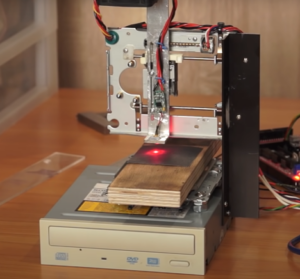
- The result is a drawing like this.
You can make a laser engraver with your own hands and from an inkjet printer. In this case, the assembly scheme is approximately the same. First they make the carriage, then install the motors, test the voltage. Install the software and burn out the part.
Thus, you can construct a homemade laser engraver with your own hands. To do this, you will need old devices, such as a printer or DVD drive. During work, you need to carefully mount each part; the quality of the engraving will depend on this.