DIY comb for heated floors: how to make and connect
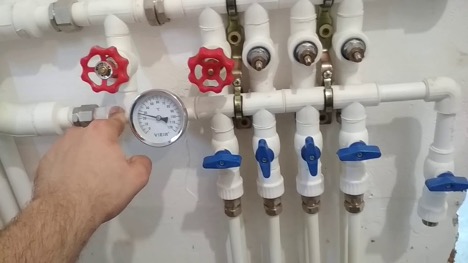
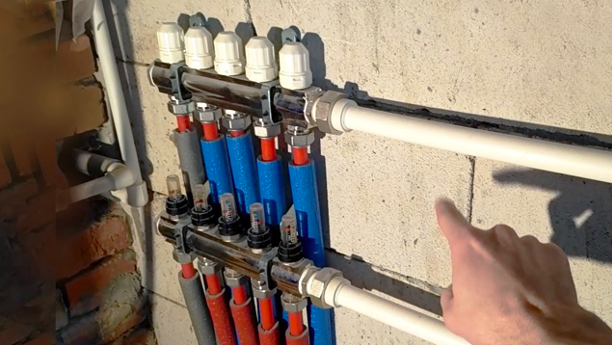
Creating a comb for a heated floor with your own hands is a task that requires care and some plumbing skills. A comb is a device that distributes coolant along the contours of a heated floor, ensuring uniform heating of the entire area. To make your own, you will need the following materials and tools:
- pipes for making combs;
- fittings for connecting pipes;
- fasteners;
- tools for cutting and joining pipes.
The first step is to design the system. It is necessary to determine the number of underfloor heating circuits and, based on this, the number of outlets on the comb. After this, you can begin assembling the structure, ensuring a reliable connection of all elements.
The content of the article
Key points when connecting a heated floor comb
Connecting a heated floor comb requires care and compliance with safety precautions. It is important to correctly connect the comb to the heating system to ensure efficient and safe operation of the entire underfloor heating system.
Before starting work you must:
- Turn off the heating system and let it cool down.
- Provide access to the comb connection point.
Then follow these steps:
- connect the comb to the supply and return pipelines of the heating system;
- connect the heated floor circuits to the corresponding outlets on the comb;
- check the tightness of all connections.
After completing the connection, you need to start the system and check how evenly the heat is distributed throughout the circuits. It is important to ensure that there are no leaks and that the pressure in the system is normal.
Mistakes and how to avoid them
When making and connecting a comb for a heated floor yourself, various errors may occur. Knowing these common problems and how to prevent them will help you avoid trouble and ensure that your heating system is efficient.
One of the main mistakes is using unsuitable or low-quality materials to make the comb. This can lead to rapid wear, leaks and insufficient system efficiency. Use quality pipes and fittings designed for underfloor heating systems and ensure they are suitable for your type of heating system.
Incorrect calculations when designing a comb can lead to insufficient or excessive heating of the room. Make sure that the number of circuits and their distribution matches the area and thermal needs of your room. When in doubt, it is better to consult a professional.
When connecting a heated floor comb, it is important to follow safety precautions. Be sure to turn off the heating system completely and allow it to cool before starting work. Also ensure that all connections are tight and secure to avoid leaks.
After installing and connecting the comb, you must carefully check the entire system. Start the heating and make sure that the heat is distributed evenly across all circuits.Any leaks or anomalies in the system should be corrected immediately.
It must be remembered that regular maintenance of the underfloor heating system after installation of the comb is a key aspect. The mandatory list of work includes monitoring the pressure in the system, checking the condition of all connections and the functioning of all system components. Constant maintenance will prevent various problems and help increase the service life of the heating system as a whole. By following these recommendations, you can avoid common mistakes in the process of manufacturing and installing a comb for a heated floor, which will ensure the reliability and efficiency of your heating system.
Conclusion
Creating and connecting a comb for a heated floor with your own hands is a task that may seem difficult, but with due attention and accuracy it is quite doable. This not only saves money, but also brings satisfaction from the work you do yourself. A correctly assembled and connected comb will provide comfortable warmth in your home and allow you to more efficiently manage your floor heating system.

